Last Stand at Kruger’s Farm, 1899
17th March 2022, 0 Comments
Queen Victoria’s Little Wars, The Men who would be Kings, 28mm
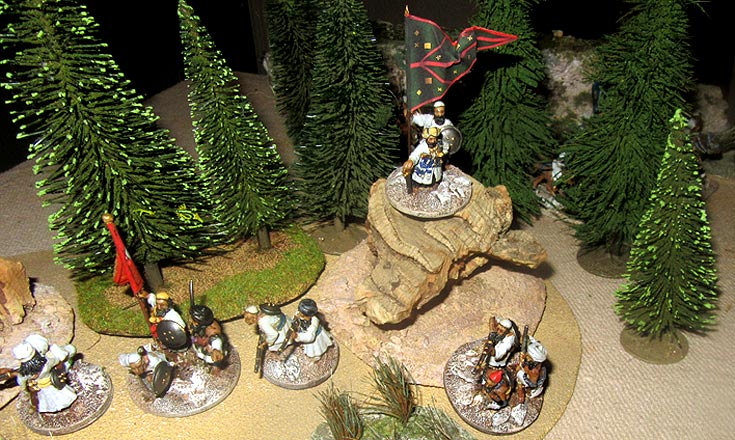
We headed off to the Transvaal this week, for a Colonial-era game set in the 2nd Boer War. In this one, the Boers had been defeated, and were retreating in some disorder. To buy time though, a small rearguard decided to hold off the British pursuers at Kruger’s Farm. The terrain was fairly basic, with a few rocky patches and a lot of open space, a small native settlement, and a Boer farmstead, surrounded by walled fields. Kruger’s farm sat close to one end of a 6×4 foot table, which was bisected by a road. 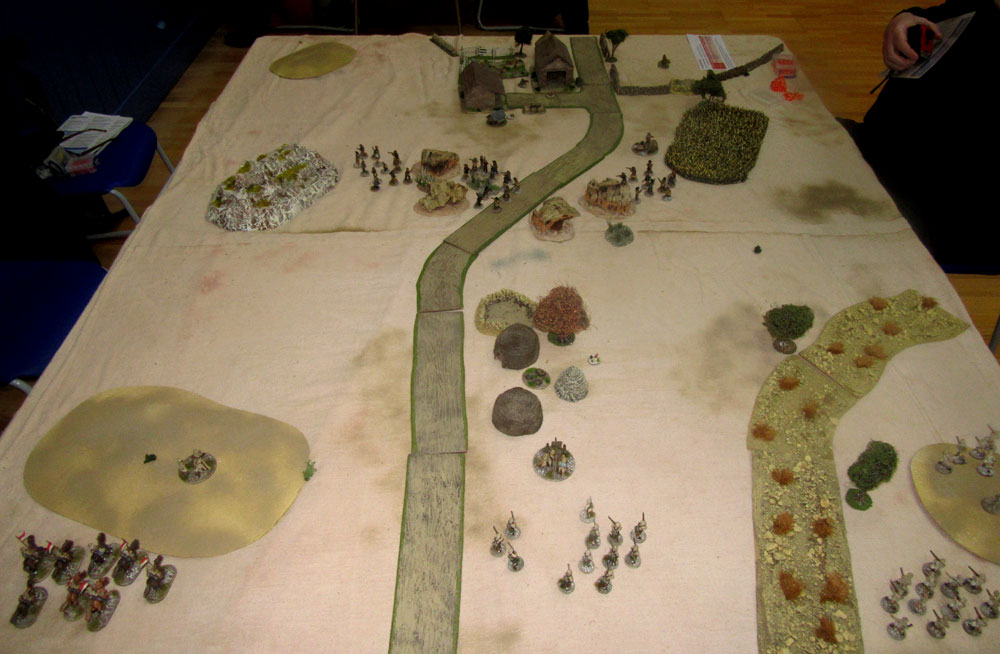 In this game, Sean played the Boers, Nick the British, and I “umpired”, as I wanted to try out a few amendments. The idea was that the Boers knew the area, and had already prepared the farm for a hasty defence. Trenches had been dug in front of it, and a “sangar created” for their “Pom-Pom. Sean had three 12 figure irregular infantry units and the Pom-Pom, with a four-man crew. Nick had three 12 figure units of regular British infantry, an 8 figure cavalry unit, and his own Pom-Pom It worked out at 24 vs 32 points by the way.
  The scenario was based on one in the rule book – scenario C – “To the Last Bullet”. The attackers didn’t have a great advantage in points, so it would be a fairly tough one for the British, especially as one of the Boer units was rated as a “sharpshooter” one. As for the rule tweaks, I abandoned individual leaders for each unit. Instead I allocated them an activation rating, which they used. However, each side also had two officers, who could use their activation rating instead for any unit within 12″. The other change was that the Boers could “go to ground”, which meant they always had some form of cover to hide in, even on the open veldt.
 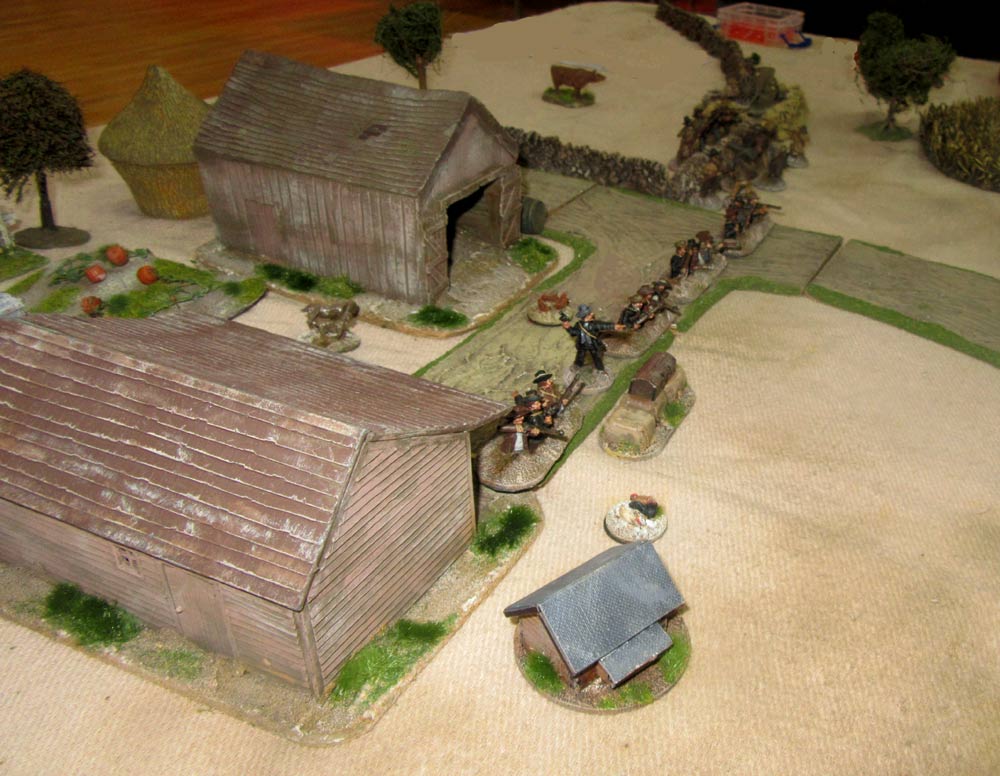 In this game the Boers started a few feet from the farm, and spent the first few turns moving towards it, and taking up their defensive positions. The British advanced too, and once they reached a “sanger” near the native kraal they deployed their Pom-Pom. The dug-in Boers weren’t invulnerable, and so when they started taking casualties, Sean moved them out of range.
 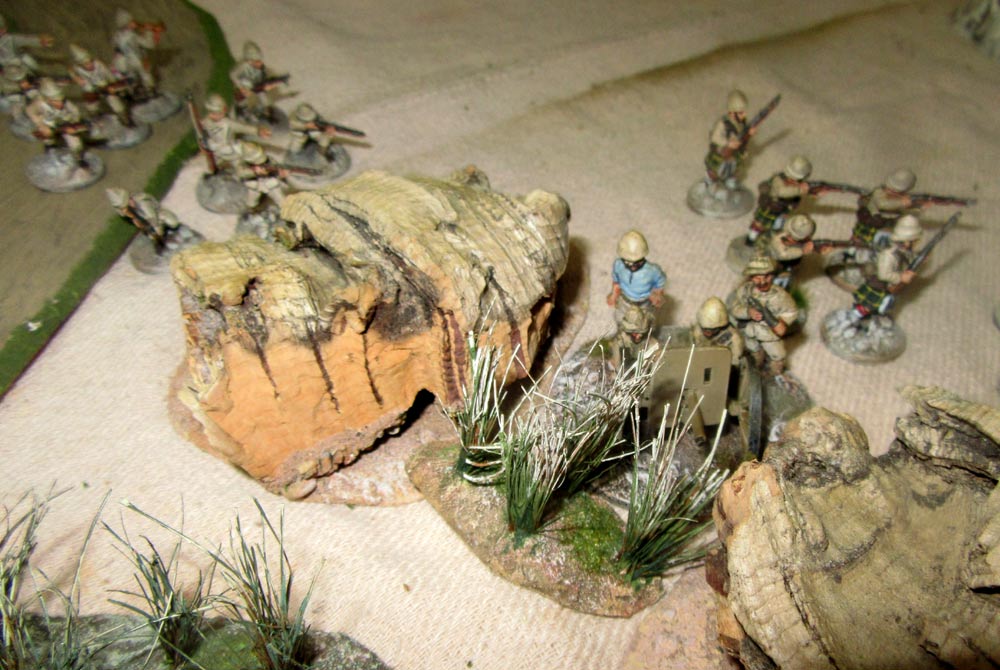 The British Pom-Pom then moved forward up to the line of rocks and scrub a few feet from the farm. It started shooting again, but this time they were in range of the Boer Pom-Pom, who shot with great skill, and killed all but one of the British crew. That pretty much screwed up Nick’s plan to shoot the Boers out of their position, which meant he had to do it the hard way, with the bayonet.
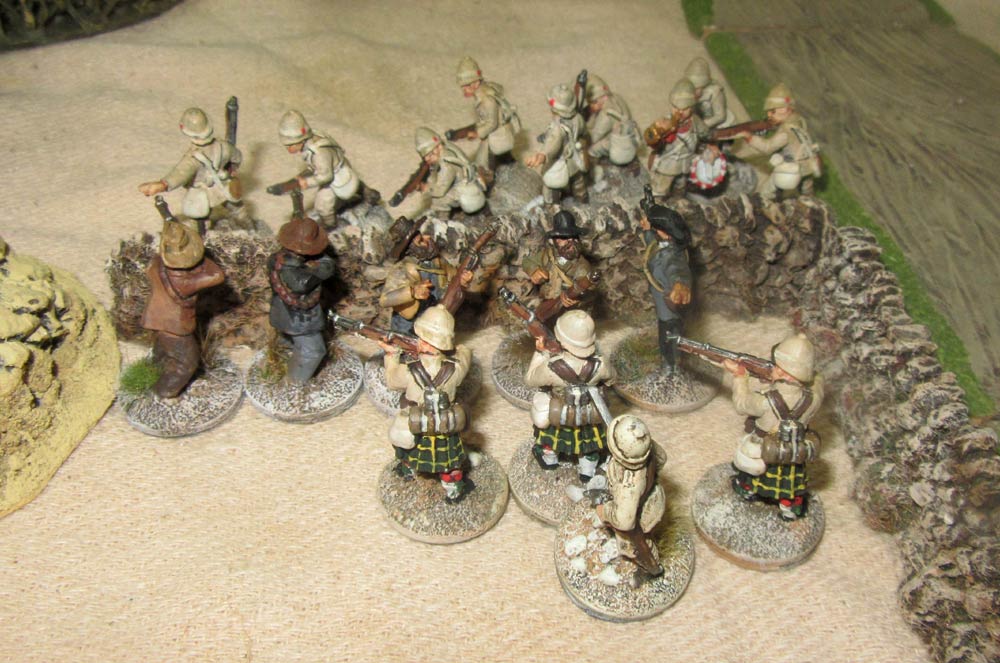
 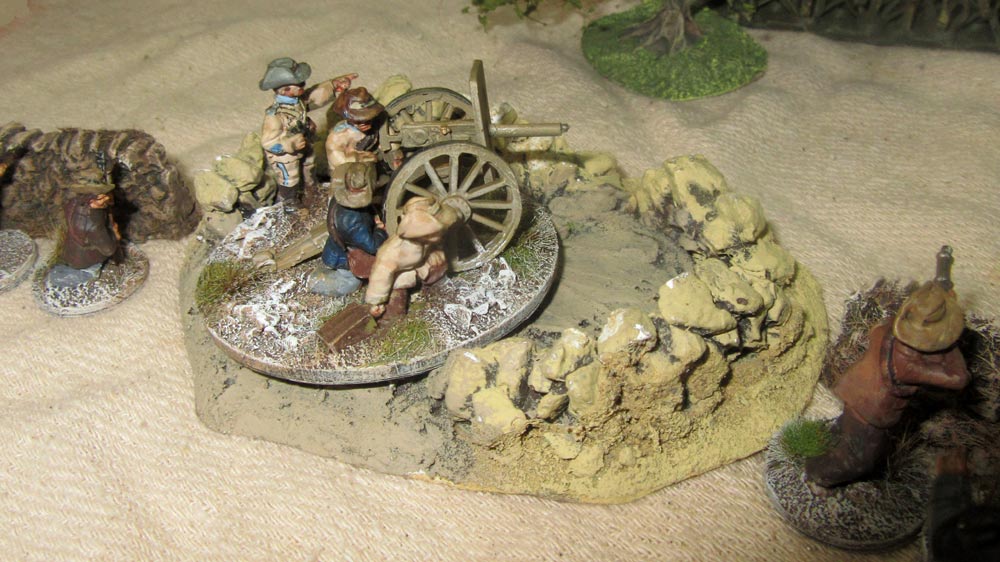 When he began advancing his company of highlanders they came under pretty heavy fire, and started taking casualties from Boer rifles and their Pom-Pom. Their morale held though, although a series of “Pin” results meant the advance ground to a halt. Nick was beginning to despair of ever taking the farm when he remembered his cavalry. Actually, he’d shrewdly been moving them up all the time, keeping out of rifle range of the Boers until he found a small rise to hide behind. That’s when he decided to launch his charge.
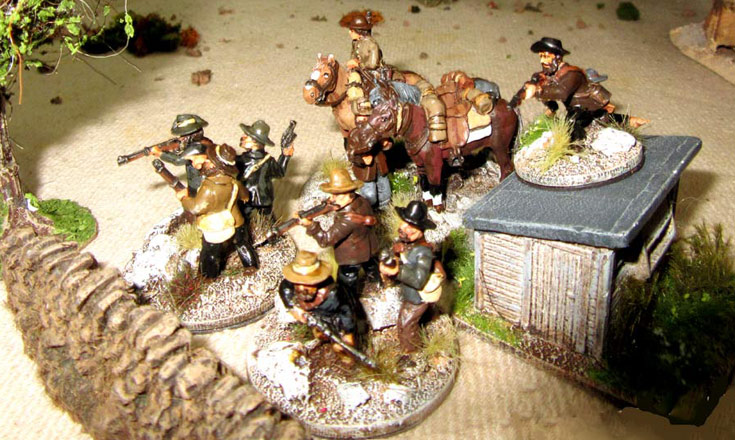
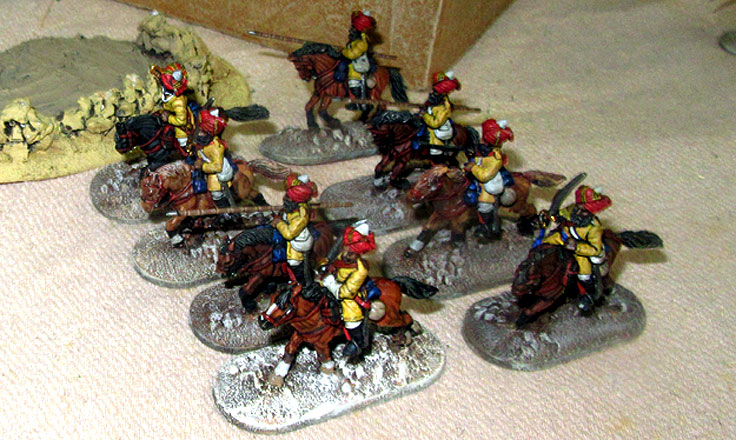
 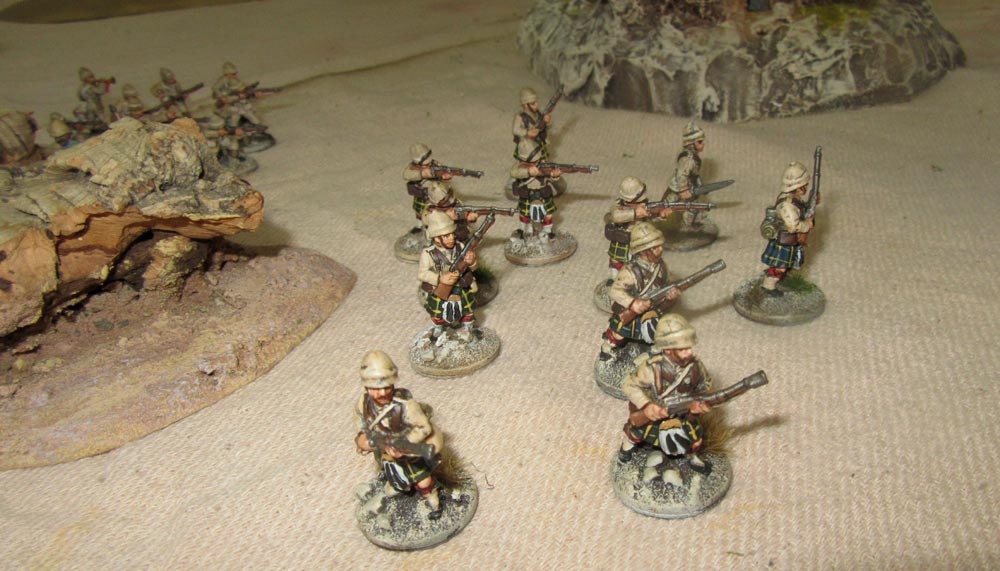 The nearest Boers were about 14 inches away, lining a wall and a fence on the right flank of the farmstead. Nick’s cavalry – a squadron of the 11th Lancers swarmed over the knoll, and attacked “At the Double”. They made it into combat – just – and the rest was down to die-rolling. There’s no Opportunity Fire in these rules, so it was straight on to combat. Lancers have a pretty good edge, and Sean’s rolling wasn’t great. So, the Boers lost five men, to one lancer. The Boers pulled pack, and so the lancers duly followed up.
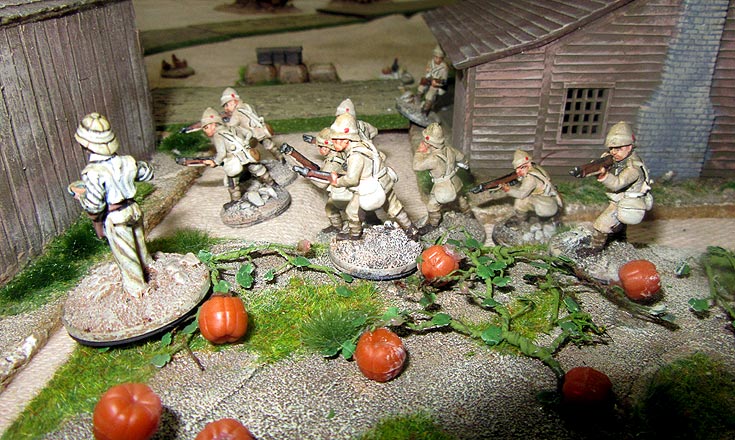
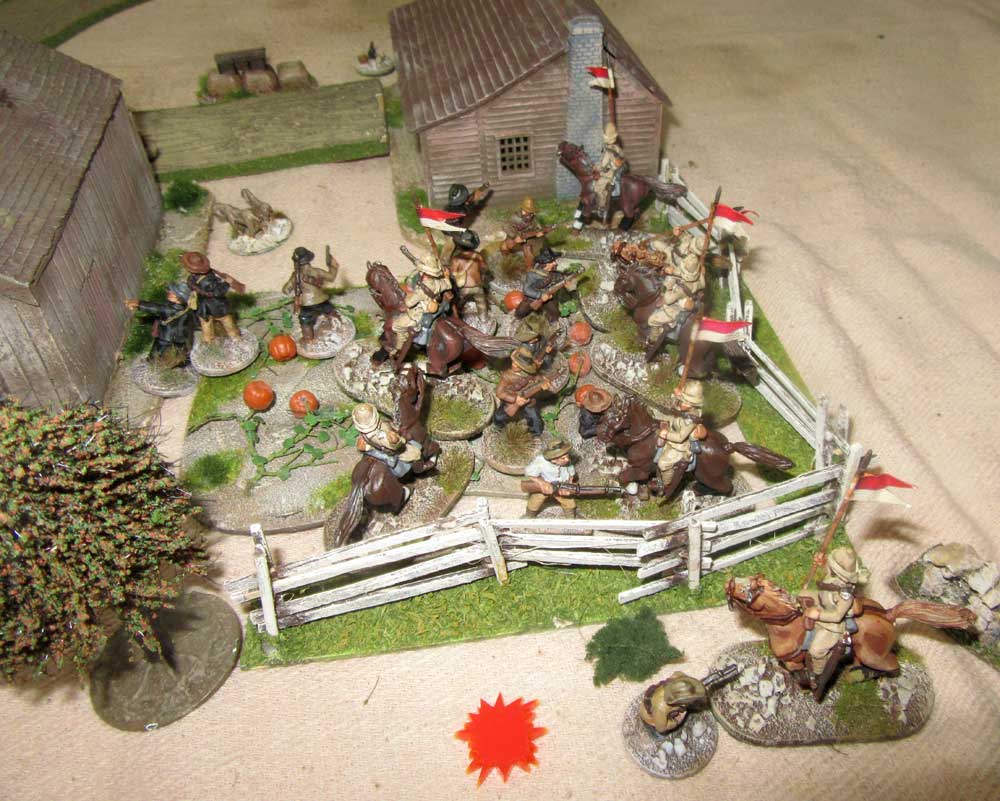 This meant another melee in the pumpkin patch, and the poor Boers were wiped out. Part of another Boer unit had “gone to ground” in the pumpkin patch too, and next turn they’d probably get ridded down too. So, Sean ordered them to run into the barn behind them, which offered them temporary safety. This though, meant nobody could shoot at the British infantry as they resumed their advance.
 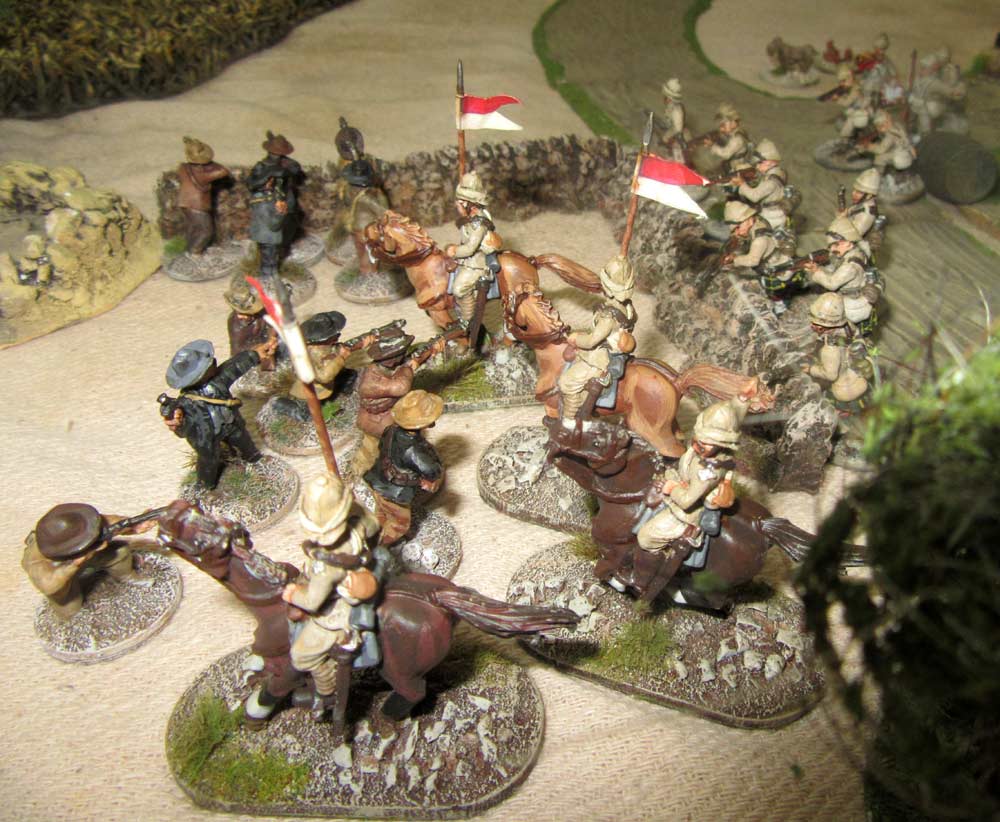 The Boers were in trouble, but Sean was still hanging on… probably as the defenders had now been cut off from their horses. So, they Boers regrouped for a last stand in the walled field across the road from the farmstead. Once the British reached the farm and paused to regroup, the inevitable final stage of the drama began. Inevitably, it involved another cavalry charge by the lancers! This time there were only four of them left, but they timed the charge to go in with an assault by what remained of the Highlanders. The result was the wiping out of the Boer’s second of their three units of infantry – or rather it was reduced to one solitary but brave man!
 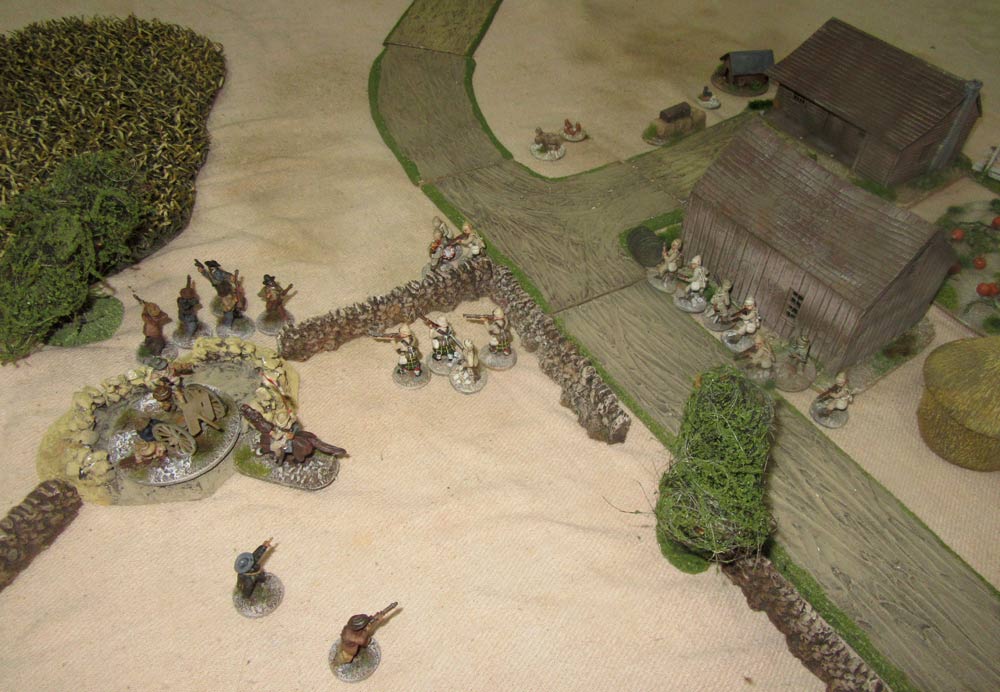 The lancers though, had also suffered, and had just one man left. Both units, incidentally, passed all their tests, and so these one man units still had a role in the game. For the lancer, this inevitably meant charging the gun, whereupon he was cut down. The British though, were now chasing the Boer survivors, and it was clearly all over bar the shouting. So, after a last charge by the Hampshires drive the Boers off, we called it a day. It was an clear British win, but it had been a costly one , as Sean’s Boers wiped out about 40% of the attackers. All in all it was a very enjoyable and fast-paced little game, and I think my rule tweaks to leaders worked fairly well. I’ll try them out again, after I’ve made a few more changes to reflect some things that came up – but they’re roughly on the right track!