

The Drive on Kastorf, 1985
2nd February 2023, 2 Comments
Modern Wars, Cold War Commander 2, 1/300 scale
Well, this was something different. For some strange reason a couple of the guys in the Orkney club have a thing for 1/300 scale tanks. Sean 1 had even built up a “Cold War Gone Hot” West German Bundeswehr force, c.1985, but never raised their Soviet opponents. So, I rashly stepped up to the plate. Before I knew it I had a whole Soviet Motorised Rifle Regiment with supporting tanks and other kit. So, for the first time ever, we gave them an outing. This was meant to be a “learning curve” game – our first with these rules, but inevitably we loaded the table with far too much kit! 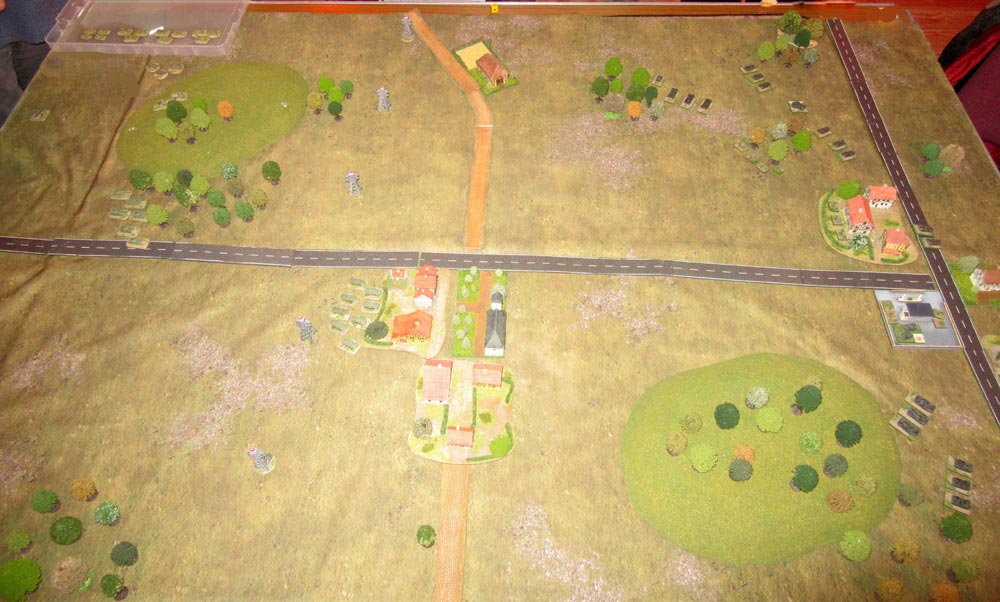 In this one, Sean’s West German force – a mixed battlegroup of panzers and panzergrenadiers – was holding the crossroads at Kastorf, just south of Lübeck, while my guys were driving up the road from Ratzeburg, just west of the East-West border. That’s meant to be Kastorf on the right. So, I guess this was Day 1 of World War 3. In this probe game, played out on 6×4 foot table, Sean played the West Germans (with some help from me), while Sean 2 and visiting archaeology student Dan took command of the Soviets.
  Sean deployed his two tank companies of Leopard 2s with one on each side of the road. His battalion of panzergrenadiers held the two small woods to the south of the road, and Kastorf itself, with another company in reserve. The Soviets entered on the eastern (small) table edge opposite Kastorf, with both Sean 2 and Dan commanding a motorised battalion in BTR-60 APCs, each backed up by two tank companies with T-64s. In reserve was a small AT company, and a Recon one, with off-table artillery to back them up.
 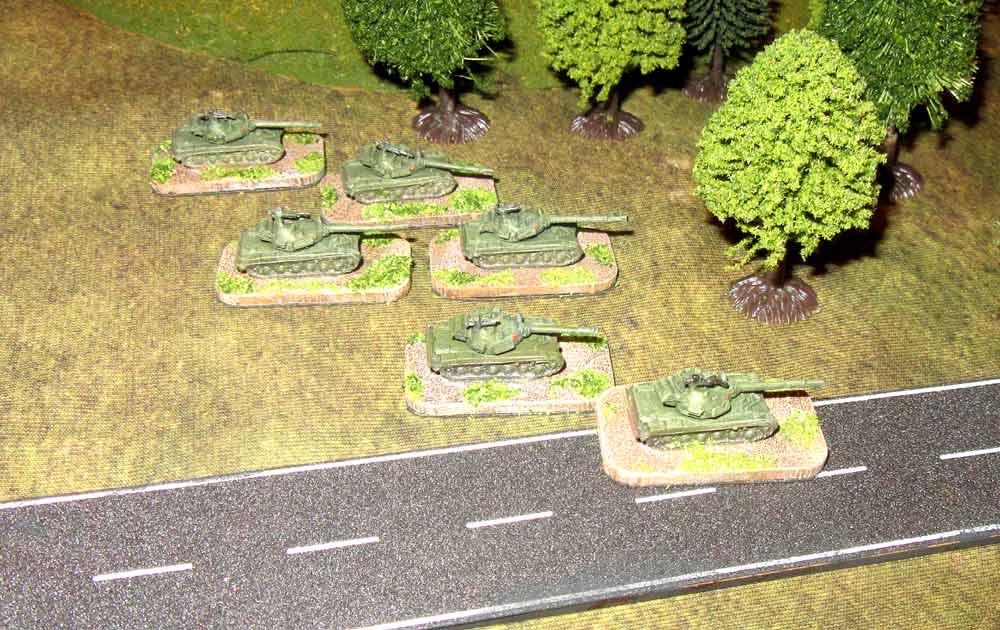 The advance began calmly enough, with Dan reaching the village of Düchelsdorf in the centre of the table, and using it as cover to screen a right hook. Sean 1 opted for a drive up Federal Road 202, heading straight for Kastorf. His Recce troops though, probed forward on his left flank. The Soviets made good use of their artillery during this advance, laying big smoke concentrations to block the Leopards’ fields of fire.
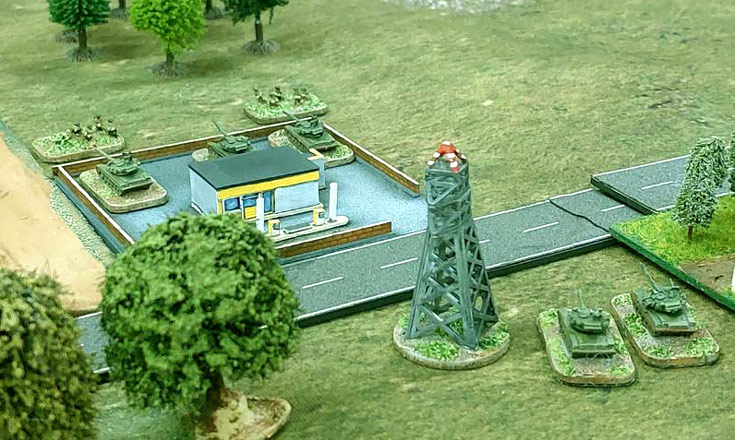
 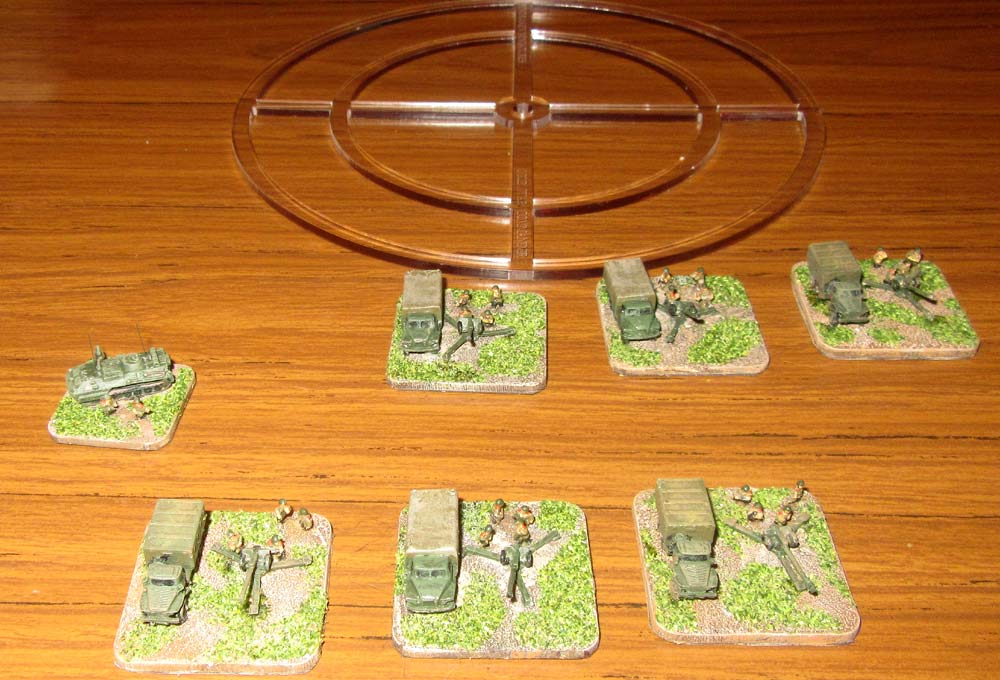 This by the way, is the off-table artillery – a battalion of towed 122mm D-30 howitzers. The Soviets had an artillery observer on the table, ensconced on the hill behind Sean’s axis of advance. The template behind the guns is the fire burst – a pretty hefty blast area!
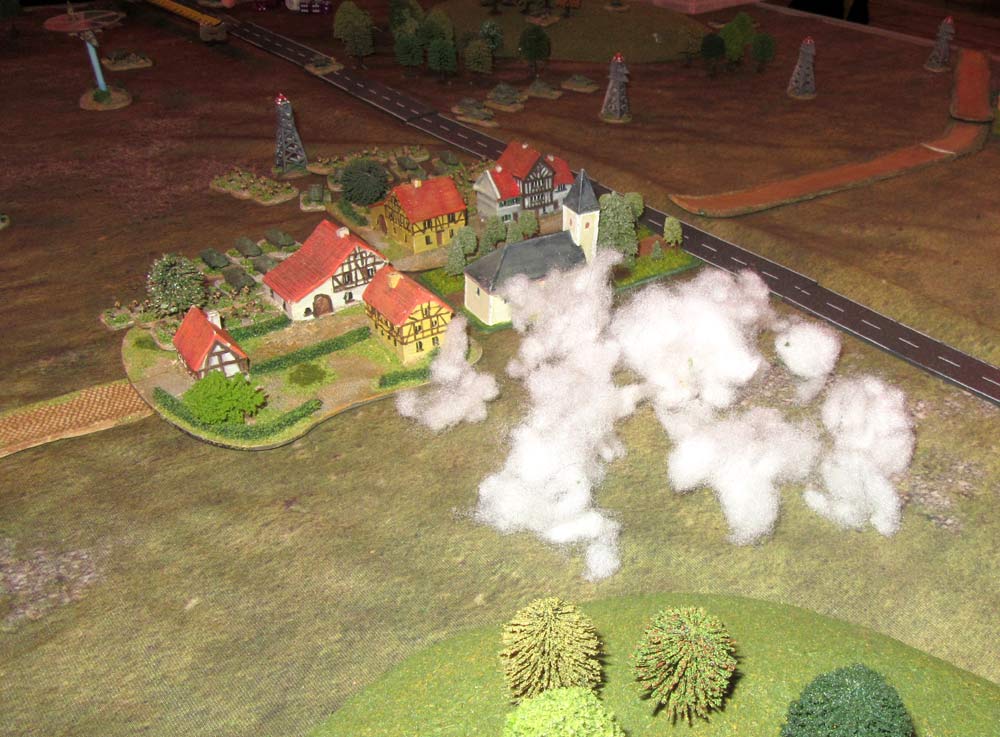 Once Dan got to Düchelsdorf he dismounted his motorised infantry, who came under fire from a hidden battery of German M-109 self-propelled guns. For the next few turns they pretty much destroyed a platoon-sized stand of Dan’s infantry every turn! Still, the smoke screened him from the Leopards, so he still managed to bring up his own armour, and the AT company, riding around in nippy but vulnerable little BRDM-2s armed with anti-tank missiles.
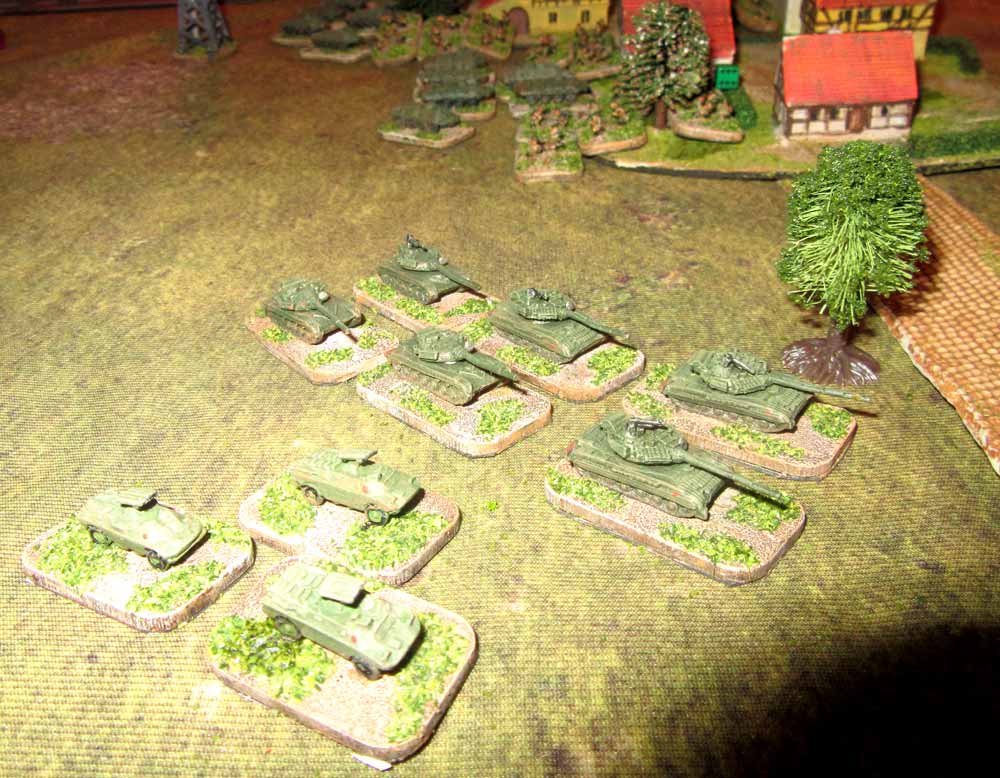 Over on the Soviet left the Recon company reached a large barn, and got no further. They were chewed up by a company of Marders who advanced from Sean’s lines to chew them out. The light Soviet kit never stood much of a chance. On Sean 1s flank that also stalled the advance of his motorised rifle battalion. Sean’s tanks though, kept on heading down the main road, screened by the smoke screen.
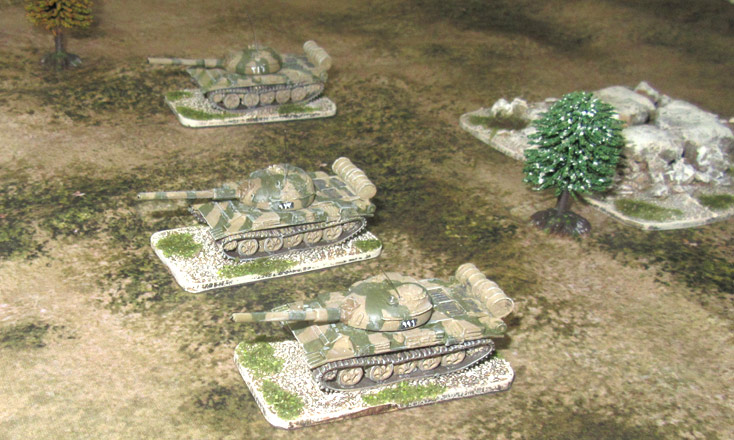
 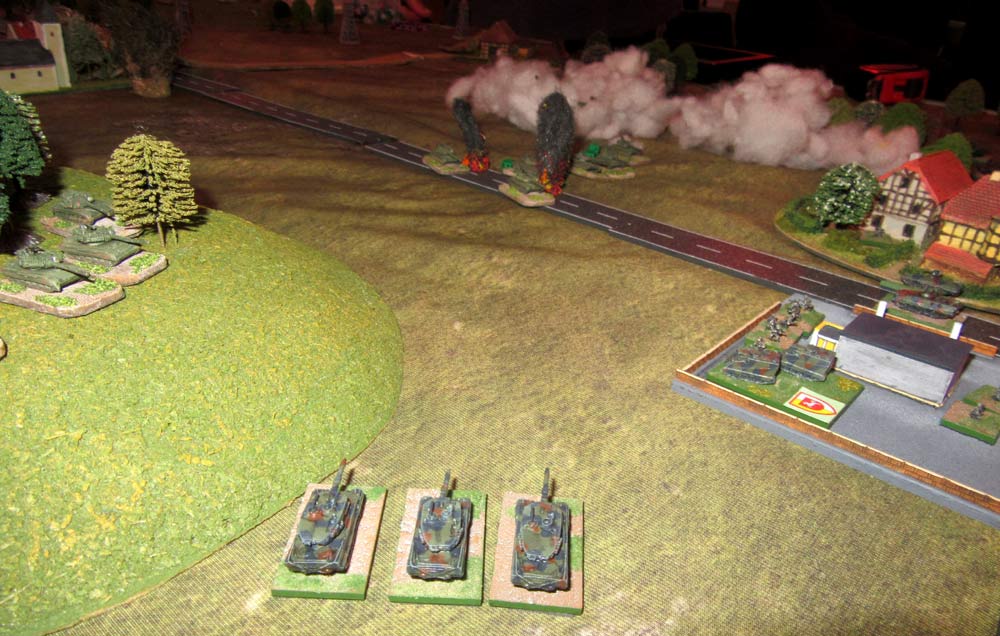 The trouble was, when it fell off-target, the company of Leopards to the north of the road had a clear shot. They opened up, and brewed up the best part of a Soviet tank company in a single turn. However, Dan’s own T-64s had worked their way forward, and suddenly appeared on the treeline to the east, at the top of a small hill. They had a great target, and it was at close range.
 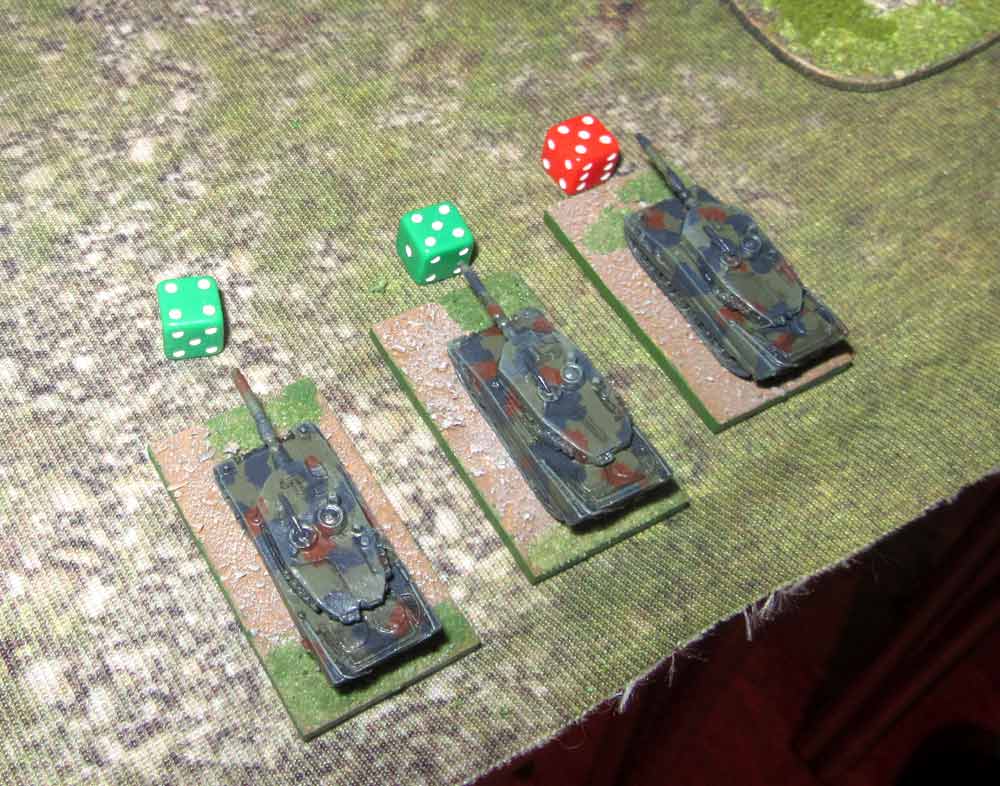 Still, a Leopard is a tough tank to kill. Each of the three tank stands was hit over a dozen times, but the Leopards save frontal hits on anything but a 1-2. You need six to kill one of these behemoths, and the best the Soviets could manage were four or five hits – the read die means that one is also “suppressed”. At the end of the turn these hits come off, and the Leopards are back in the game, as good as new.
 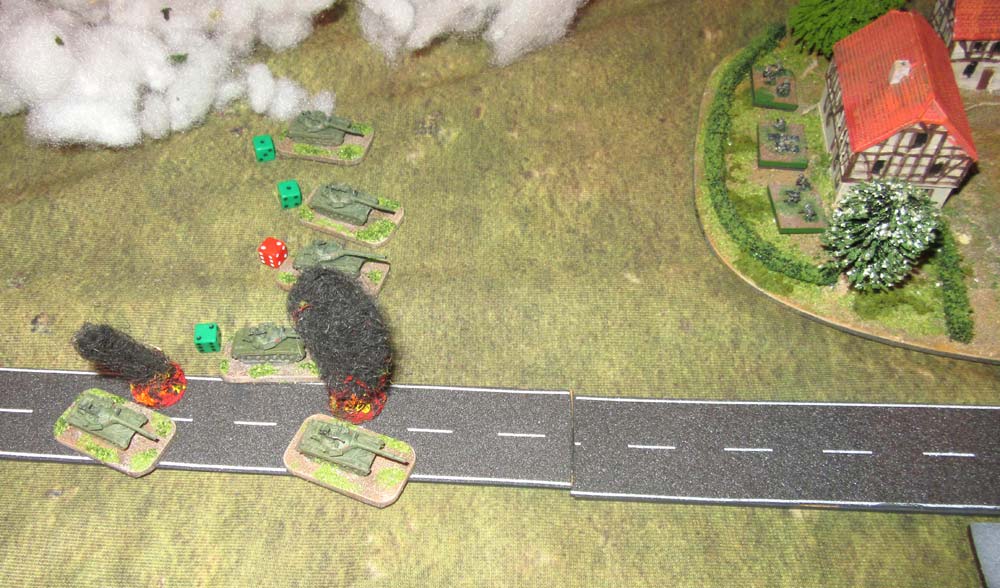 In the centre the mayhem caused by the Leopards before they got distracted pretty much ended the tank-led drive on Kastorf. As we were running out of time we called it a day, and the Soviet commanders pulled back to regroup, then try again. I actually think the Germans managed to avoid losing a single stand in the game, which was pretty impressive. Mind you, those Leopards are VERY hard to kill!
 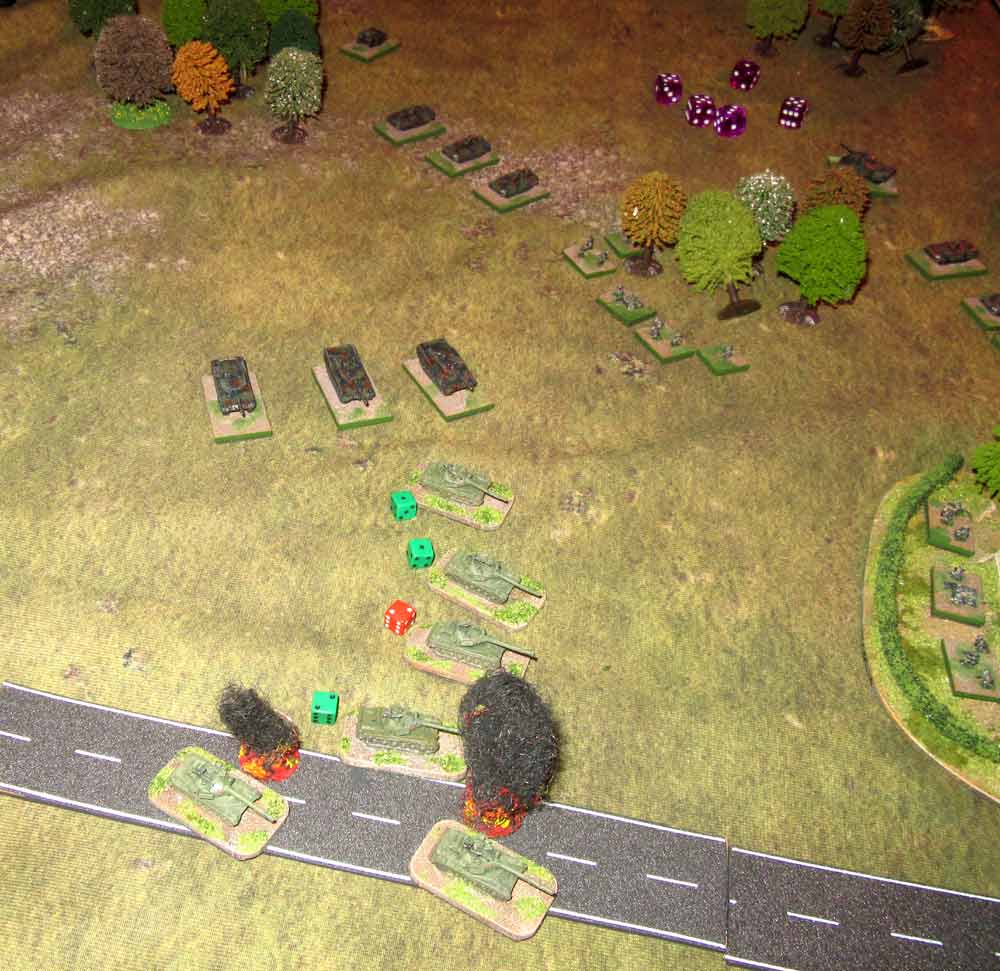 On the last turn Sean 1 even advanced this Leopards through the smoke screen, ready to hit Sean 2’s T-64s in the flank. Amazingly he missed though, and Sean’s tanks firing back didn’t even dent the Leopards’ armour. When the smoke came down to hide everything again the Soviet tanks withdrew, breaking off the action. As I said though, there were no winners and losers – this was a learning curve game, as we’d never played these rules before. As for Cold War Commander 2 the jury is out. They’re easy to pick up, but they’re not as fast as I’d have liked – at least for newbies. Before the next game we’ll also need to find an antidote to those pesky Leopards!
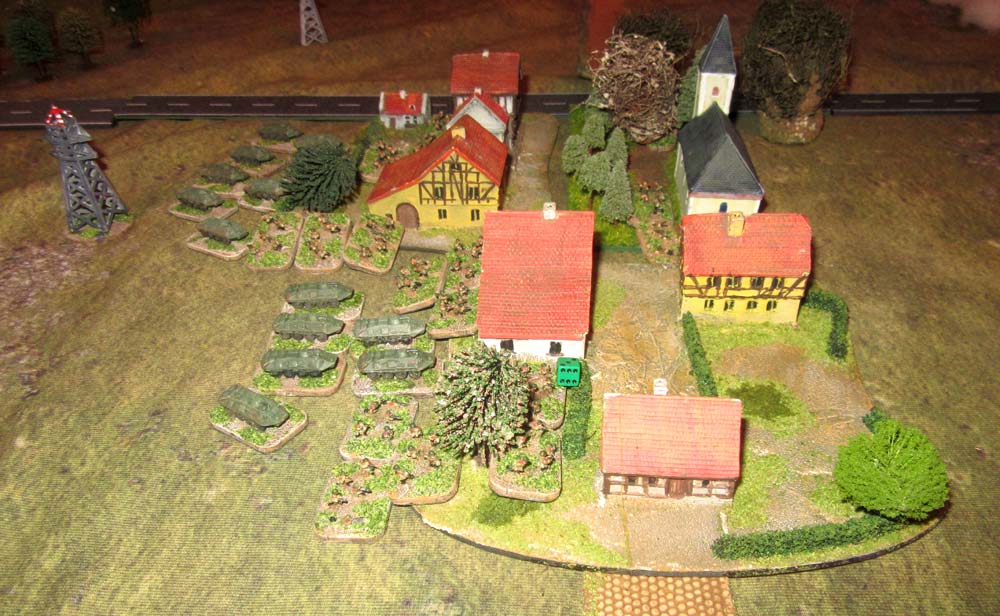

Try not removing the hits at the end of the turn.
That would certainly make a difference, David.
As it stands its high on impossible to destroy these big NATO tanks