
The Clash at Bethel Church, 1861
23rd September 2021, 2 Comments
The American Civil War – Rebels and Patriots – 28mm
We decided to change the pace this week, and stage a large skirmish game using Osprey’s Rebels and Patriots rules. I mainly use these for French & Indian War games, but during lockdown Lindsay talked everyone into building up small skirmish forces for the American Civil War. My contingent was 24 points of troops per side – three or four 12-figure infantry units, a 6-figure cavalry one, and a light gun. My Union troops had a fourth unit, as the Confederates were rated as “aggressive”, which used up 4 points. Lindsay provided the other 24 points per side, and this week we four of us played the game out on a 6×4 foot table. 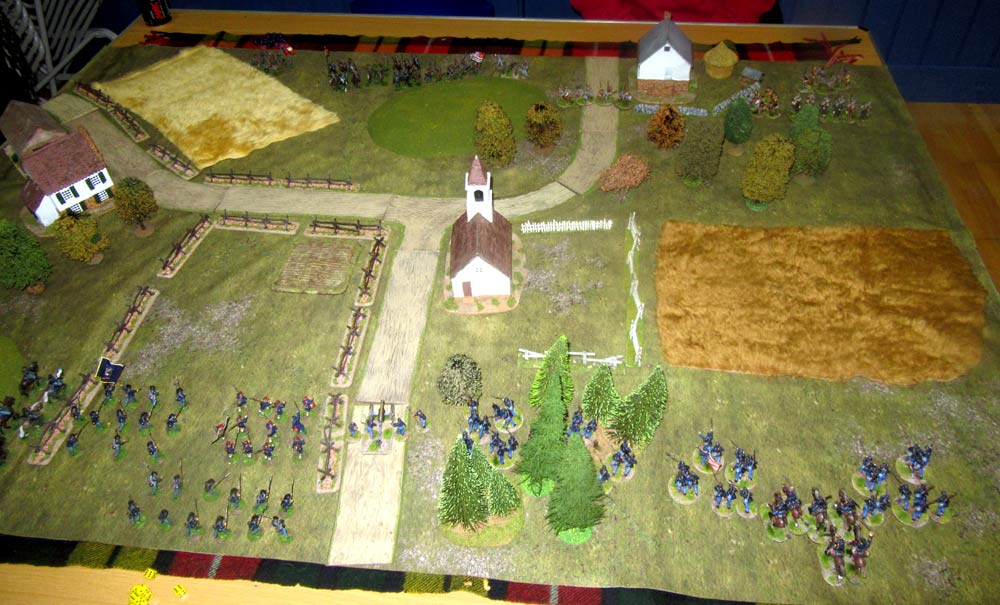 Gyles and I played the Yankees, with him taking the New York and Wisconsin forces to the left of the church while I had the Pennsylvania ones to the right. Facing us were Lindsay with her Louisianans facing Gyles, while on her left Mally’s North Carolinians faced me. Before anyone asks, the old tartan travel rug under the terrain mat is there to stop the mat from sliding on the shiny-topped hall tables.
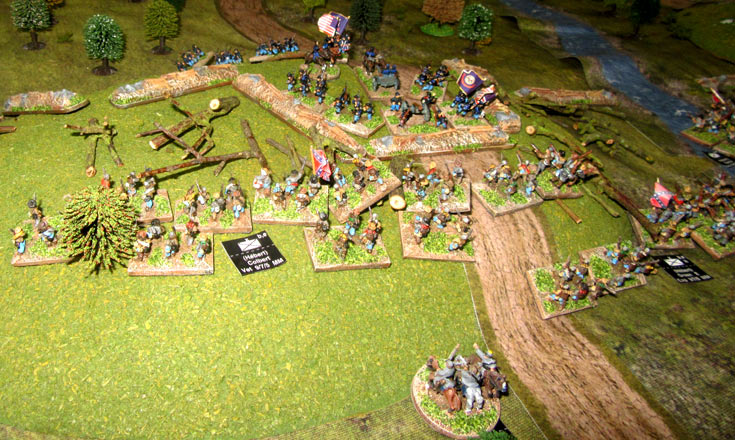
 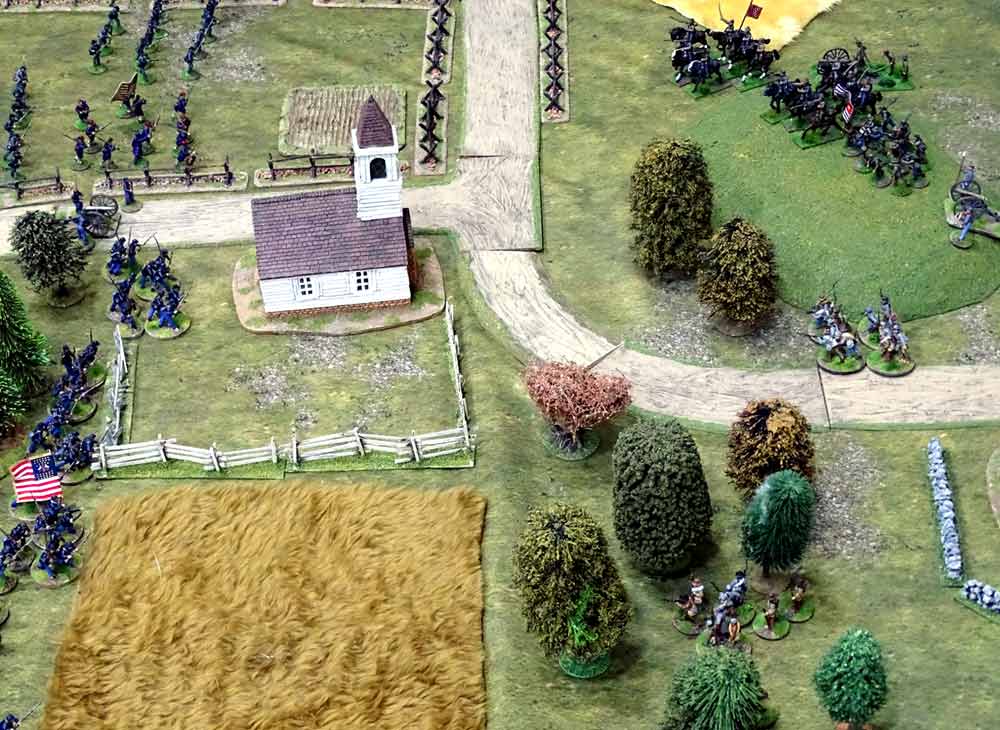 We both began by advancing cautiously towards each other. The objective for the game was control of the church and the “T-junction” in front of it, so I deployed my one gun to cover the road approaches to it, while my Pennsylvania infantry advanced towards it. I was a little worried about Mally’s “aggressive” Confederates as they had a real edge if they managed to charge home. So, I’d be relying on firepower to break up his attacks. Mally advanced slowly too, but eventually he came within rifled musket range, and I opened fire.
 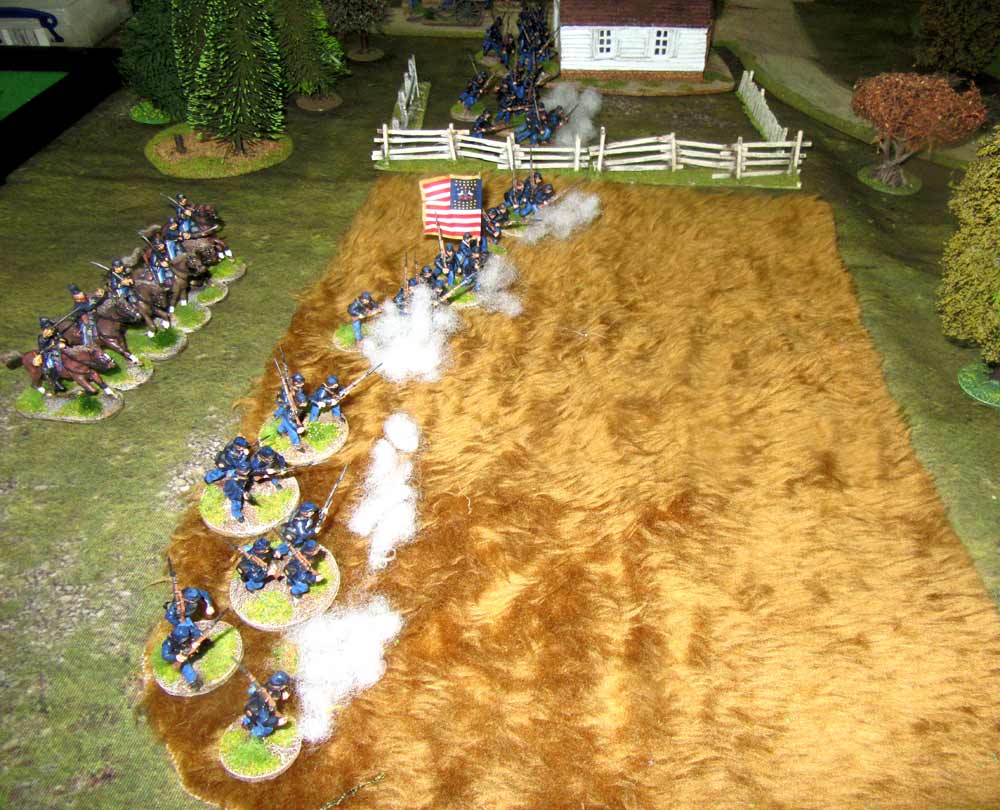 This was pretty successful. I caused casualties on three of his leading units, and all of them then failed their morale tests. For once, Mally’s usually impeccable dice-rolling had let him down. Two of them skedaddled back the way they had come, while the third, on the far end of a small wood, simply stopped in its tracks, disordered. When Mally tried to Rally them, the two retreating units actually routed off the table. So, the rebel threat on my side of the table had pretty much gone. It was now just a case of finishing Mally off.
 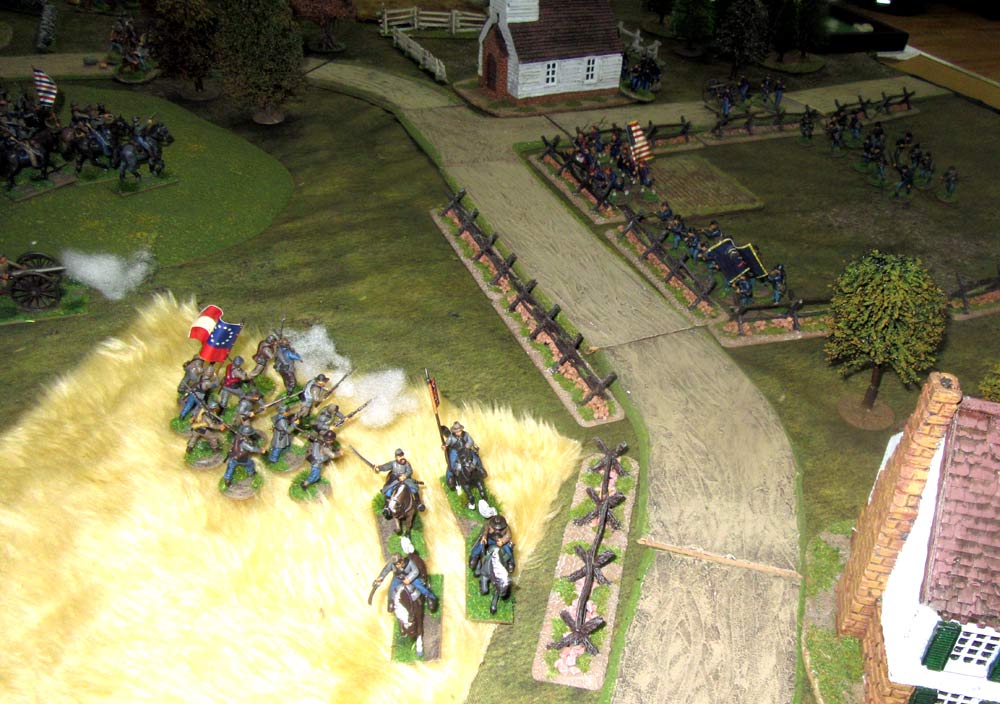 Over on the other side of the table Gyles’ New Yorkers had advanced up to the edge of cornfield, while Lindsay’s Confederates were manouvering forward to engage them. She’d opted for three units of “aggressive” cavalry in her force, which pretty clearly meant she planned to break the Union troops with a mass cavalry charge. In the end though, thanks to some good shooting, it never happened.
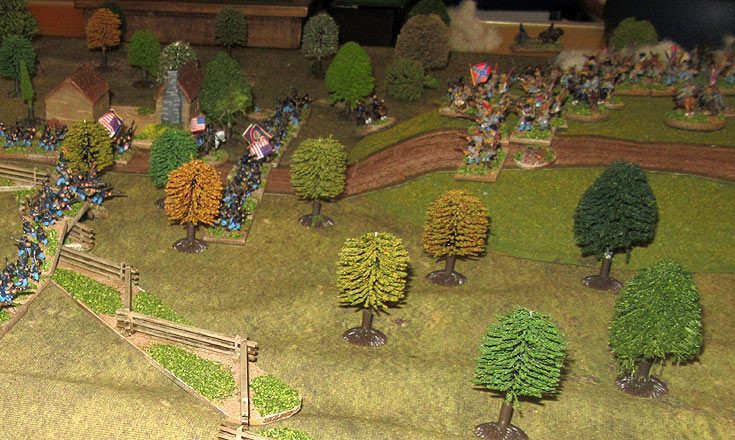
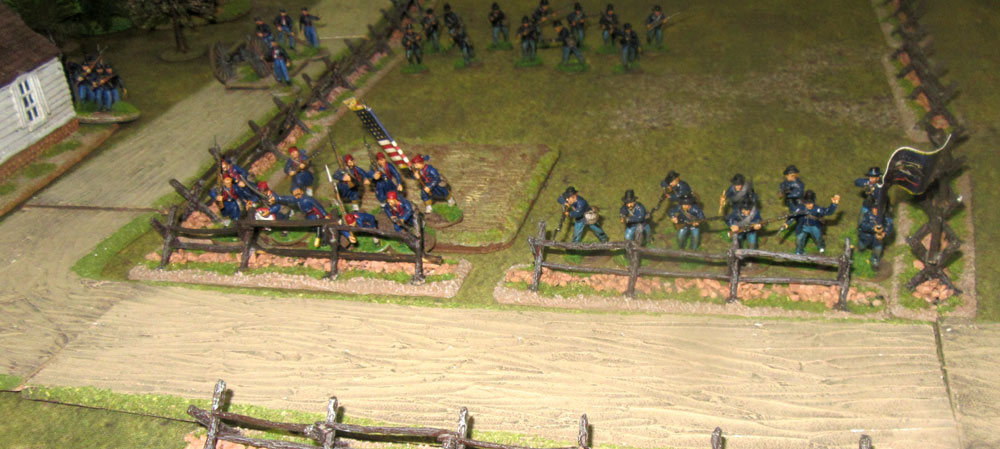 Gyles’ gun put paid to one unit, causing two casualties, and disordering it. Then a combo of his musketry plus my own gun did the same to a second unit. One more turn of firing as Lindsay failed to activate them left the second cavalry unit down to half strength, and a third with its first casualty. So, to avoid getting shot at, Lindsay sent her first cavalry unit round to her right, heading around the back of the Bell House. Gyles countered this by sending his own cavalry round there too, even though they were rated as “timid”.
 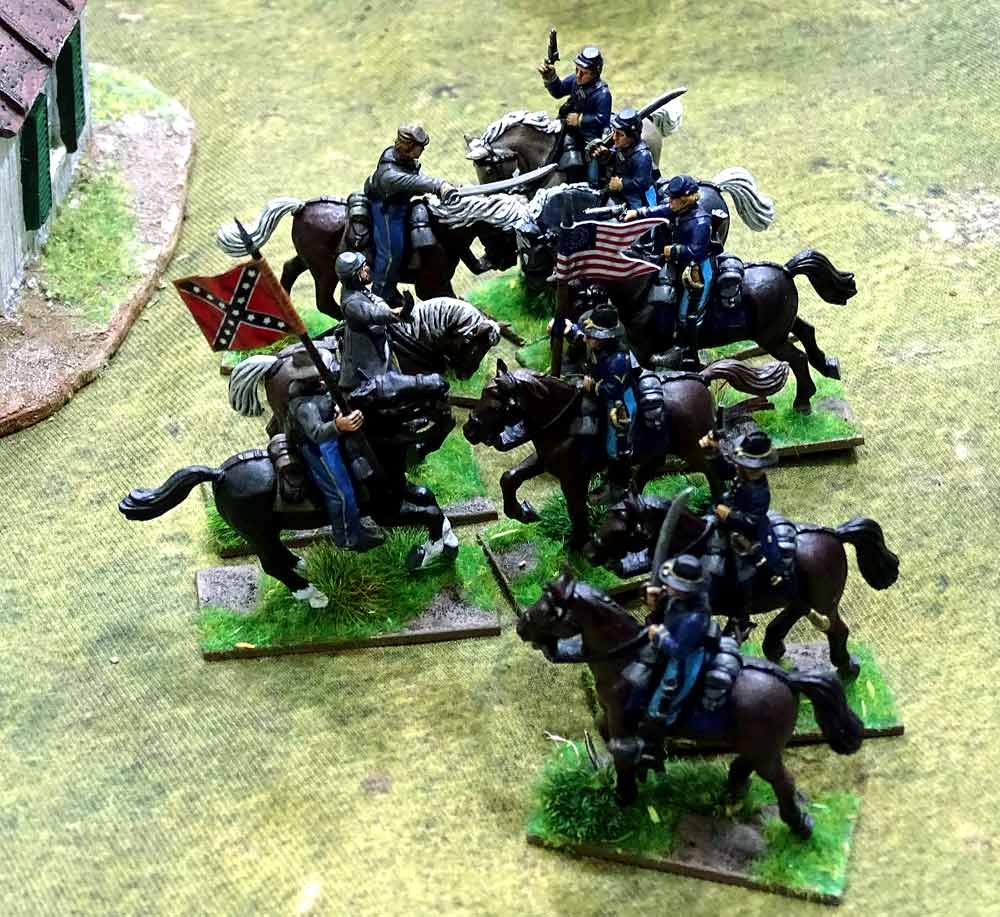 When it came the cavalry clash was impressive but ultimately indecisive. Lindsay lost one trooper, taking her to half strength, while Gyles lost two, and was forced to retire. Lindsay pursued, but this second round didn’t result in any casualties, so her trio of rebel horsemen pulled back to draw breath. That was when Gyles revealed why he’d rated his cavalry as “timid” He’d used the point he’d saved to make them “good shots”. So, in a single volley fired from horseback, he completely wiped out Lindsay’s unit.
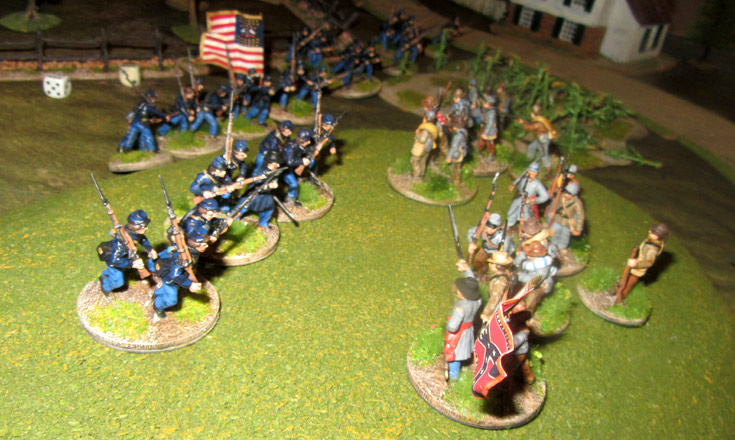
 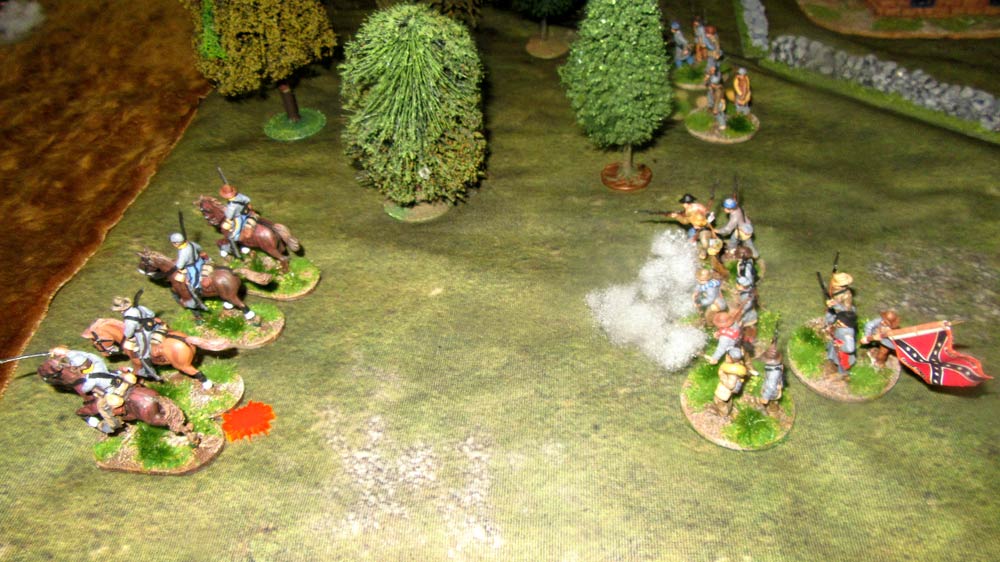 Over on my side of the table Mally’s bad day was getting worse. He rolled a “double 1” to activate his infantry, and when he rolled again he found this meant a friendly fire incident – they had to shoot at the closest friendly unit. This happened to be into the backs of his own cavalry. Two riders were killed, and the next turn my own infantry killed two more. Sensibly, the survivors pulled back.
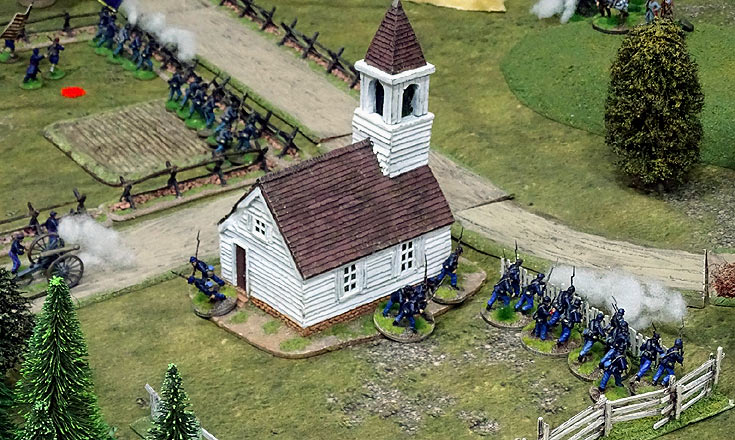
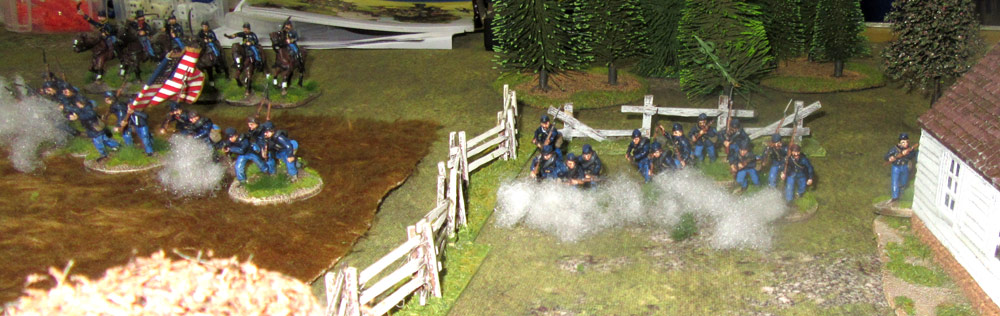 When Mally’s last infantry unit was reduced to half strength I was free to advance. I occupied the church – fulfilling our victory conditions – and advanced my own cavalry into the woods in front of my advancing infantry. It was just as well I did. as Lindsay still had some fight left in her. She threw her remaining fresh cavalry unit forward, and charged Gyles’ New York zouaves.
 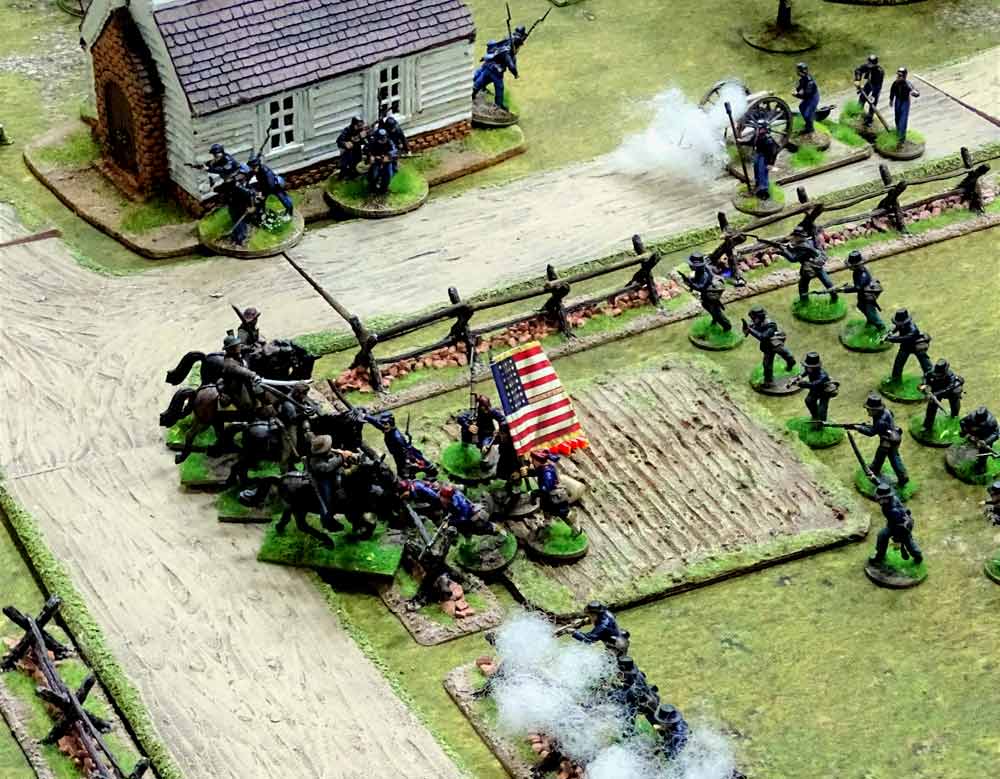 The trouble was, she didn’t inflict the casualties she needed. So, the cavalry stayed on the far side of the fence, when the zouaves, both Union field guns and my garrison in the church all opened up on them. The result was another cavalry unit was wiped out. Lindsay thought her luck had changed when a unit of infantry reinforcements appeared. Then though, Mally got another “friendly fire” roll, and his gun opened up on them, which caused three casualties and disordered them. This was pretty much it for the Rebs…
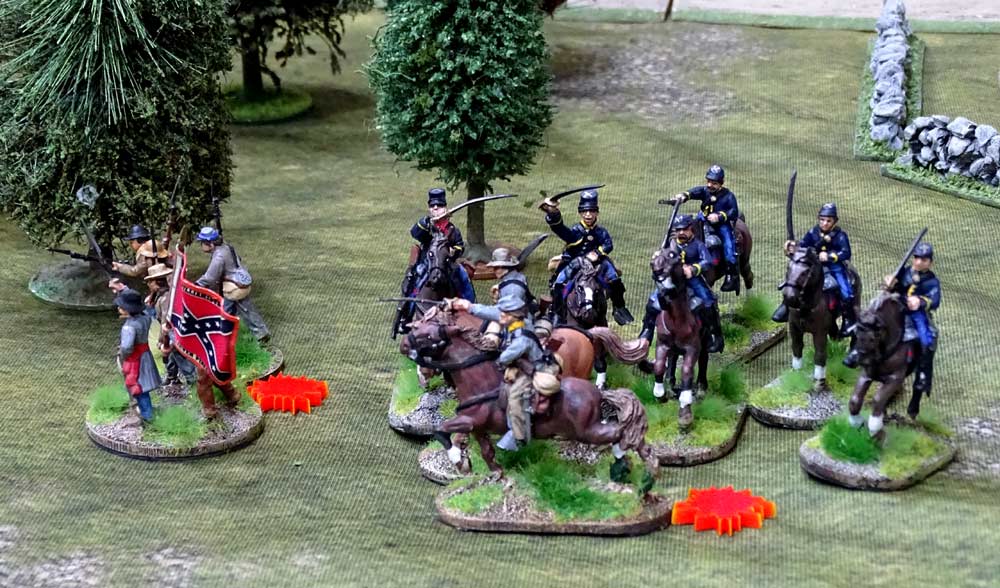 Actually, there was one more farce to go. Having worked their way through the wood, my cavalry fell on Mally’s surviving horsemen. While only one of the pair of them was killed, his leader skedaddled to the rear. Then my infantry picked off the crew of Mally’s gun, which left him with the half-strength infantry unit shown above. At that point Lindsay mercifully rolled the dice which ended the game – a clear-cut Union victory. It was fun though, and just as importantly Lindsay was able to get her new toys onto the table.
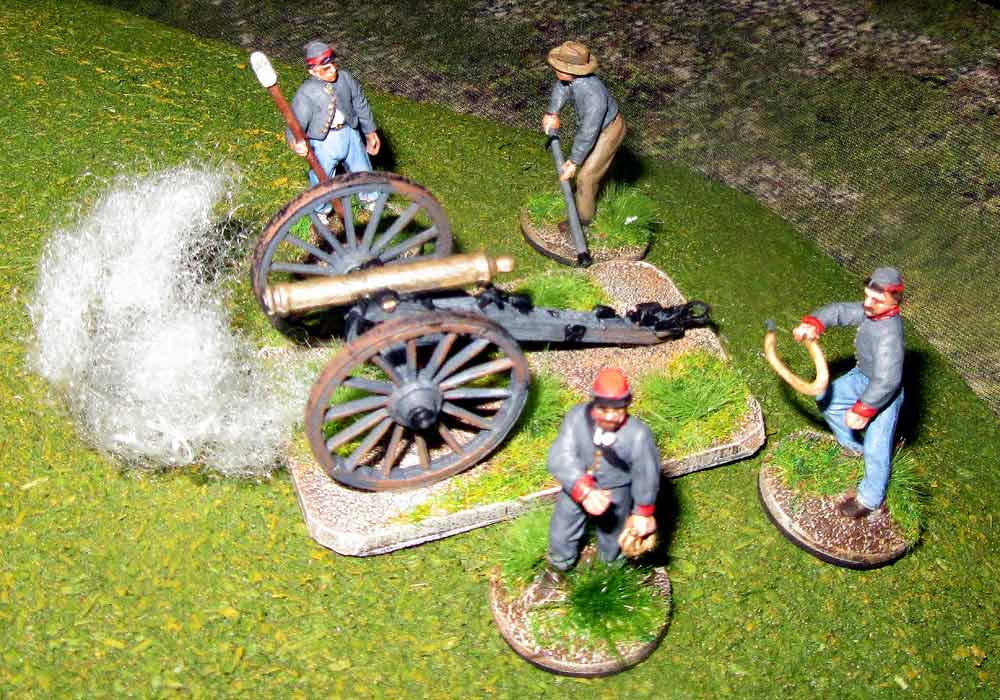
Brilliant looking game, makes me want to paint the few hundred ACW 30mm figures I have in the to do box.
Willz.
Good luck with that one, shippers!