The Battle of Trautenau, 1866
7th October 2022, 0 Comments
Bismarck’s Wars, Fire & Fury, 10mm
With my car in the garage I wasn’t able to get in to the wargame club. So instead, Sean 2 came round for a game – he lives a few miles away. As I couldn’t be bothered getting my full 6×4 foot table out, I set out the game on my dining table, which at 6×3 gives a narrower tabletop. So, I made the most of it by looking out my 10mm Bismarck’s Wars figures, and chose a suitably small scenario. In this one, I played the Austrians, while Sean 2 commanded the temporarily outnumbered Prussians- reinforcements were expected. 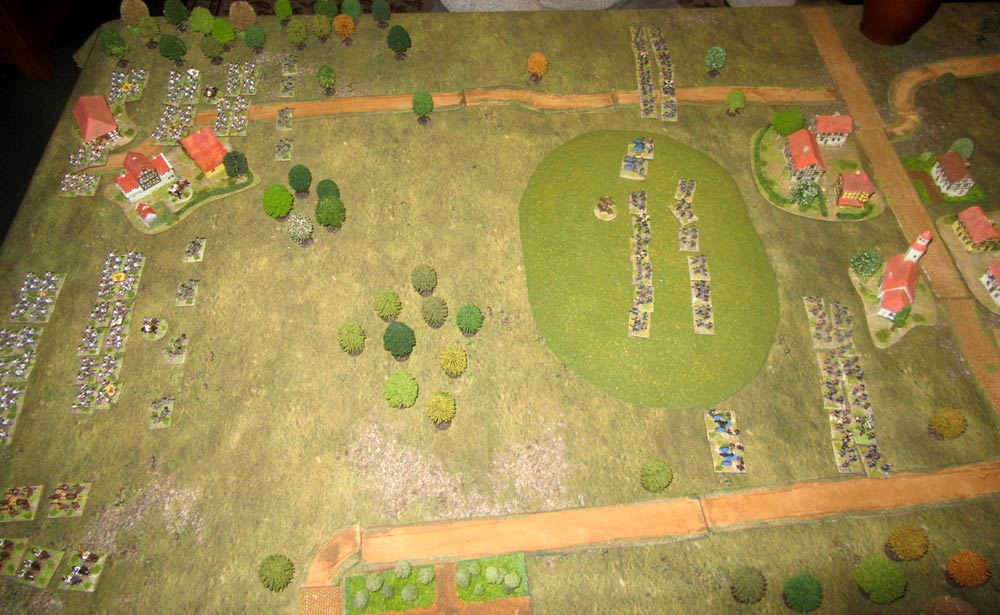 The game was loosely based on the Battle of Trautenau, one of the opening battles of the Austro-Prussian War of 1866. in our simplified version, the 1st Division of the Prussian 1st Corps was deployed around the village of Trautenau, with their position centred on the Johannisberg – a low hill immediately to the east of the village. This would also be the main target for the Austrian attack.
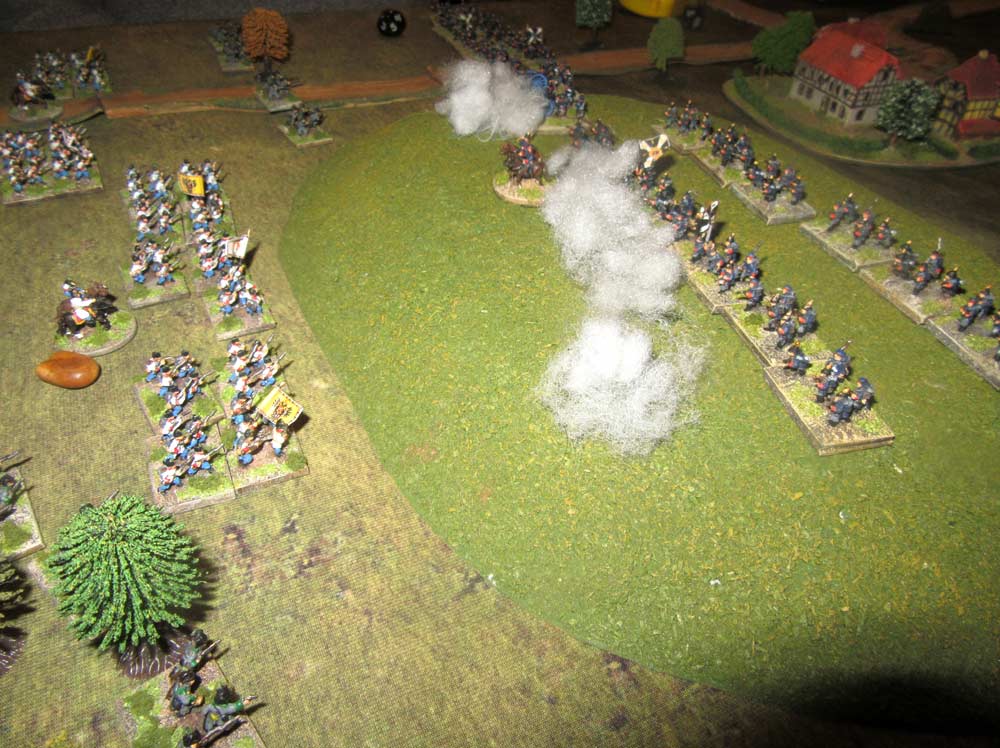 For their part the Austrians, drawn from the Xth Army Corps, would attack the heights with two brigades, those of Mondel and Grivicic. Each has two regiments of three battalions each, plus a gun battery and a jaeger battalion. First though, the Austrian attached cavalry brigade had a go – and paid dearly for their temerity.
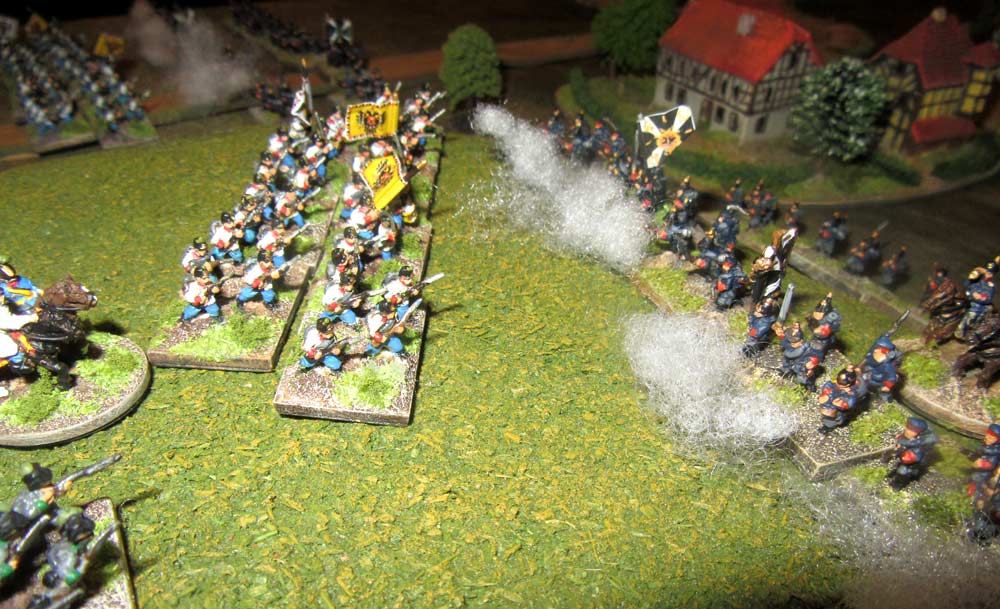
 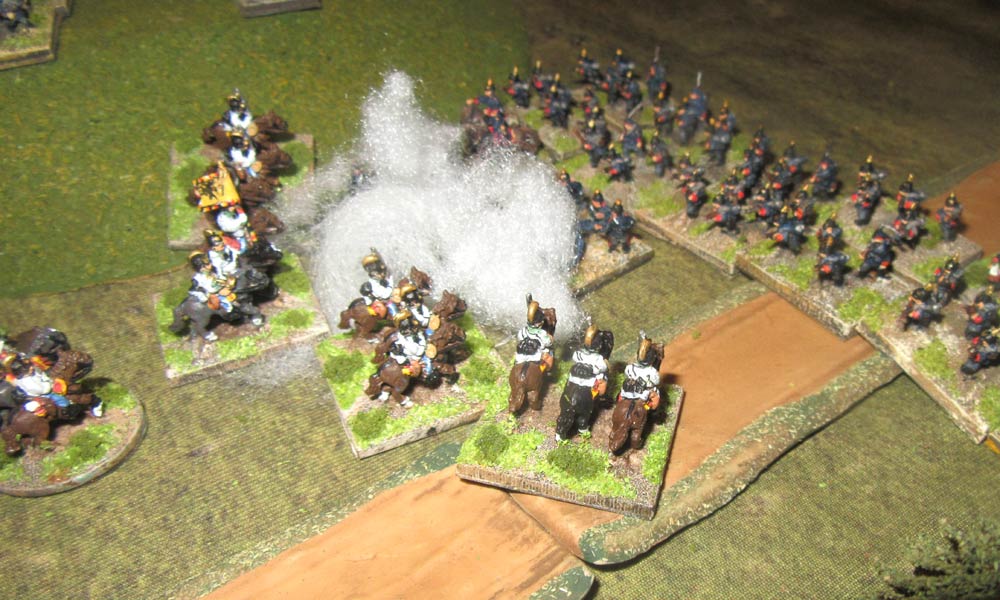 They had been advancing on the right flank of Grivicic’s brigade, and should have merely protected its right flank. Instead they launched an opportunistic charge on a Prussian gun battery, deployed on the north side of the hill, on the road from Trautenau to the hamlet of Alt Rognitz. The guns fired canister which stopped the Austrian 2nd Dragoons, and the supporting infantry did the rest.
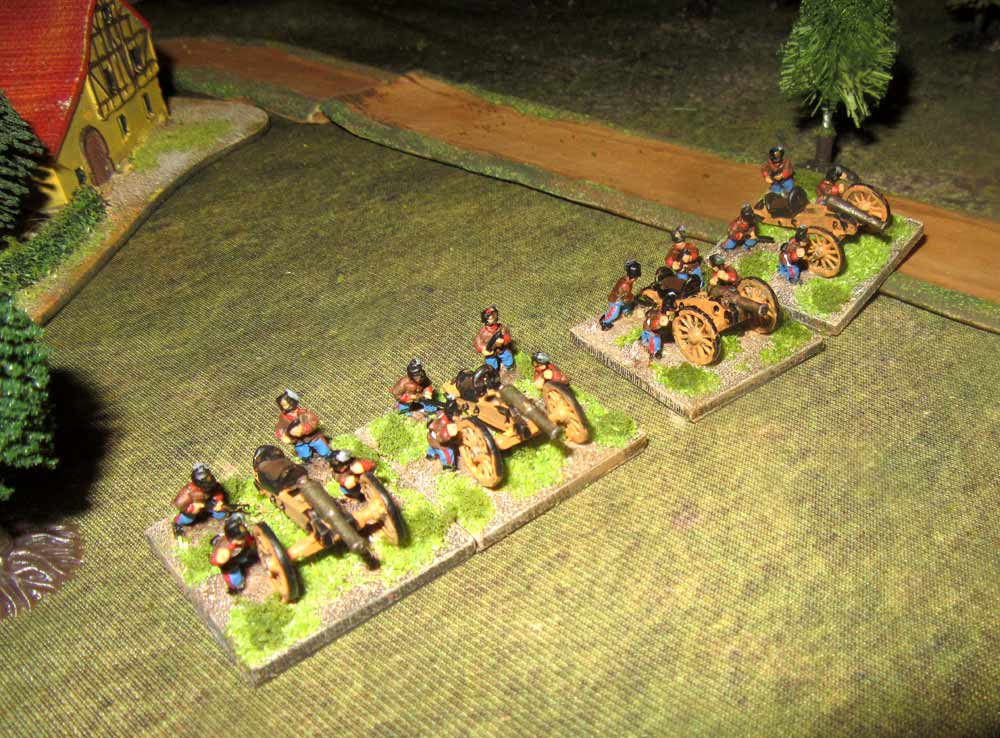 Meanwhile the main attack had been going in. A Prussian unit on the south side of the hill blocked the road from Neu Rognitz, where the Austrian guns were deploying. So, while part of Mondel’s brigade screened them, the rest charged the Johannisberg, supported by a regiment form Grivicic’s brigade. The brigade’s second regiment stayed in reserve, covering the shattered Austrian cavalry.
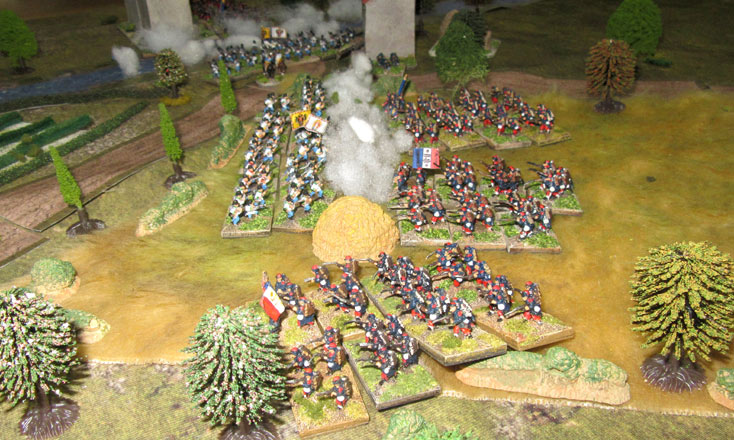
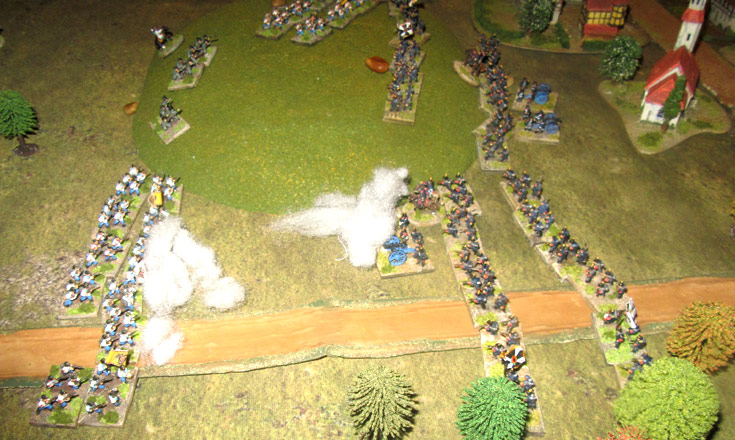
 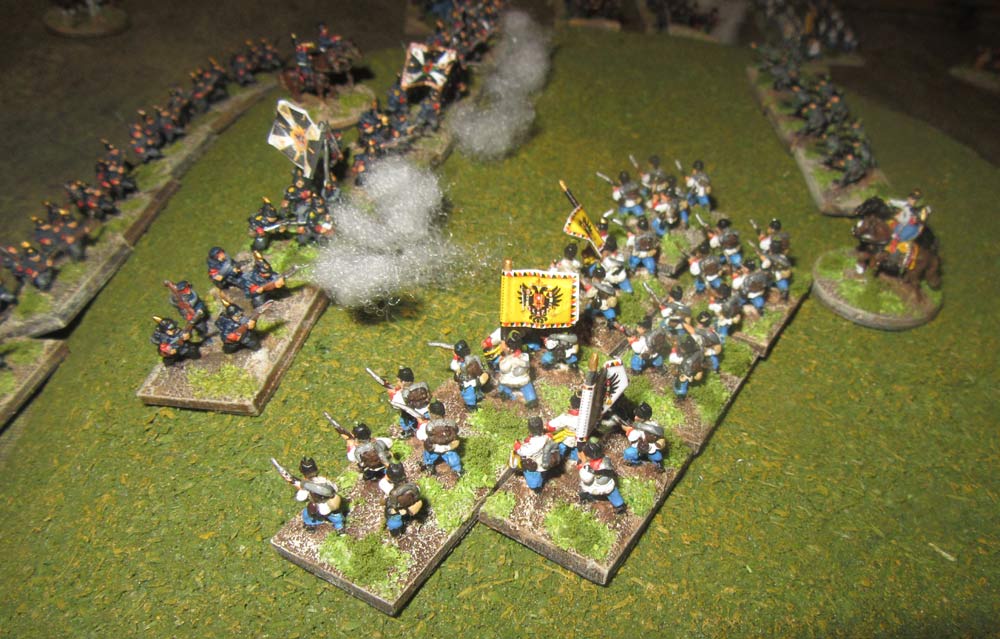 The assault went surprisingly well, all things considered. the 24th Infantry regiment advanced up the hill, taking heavy casualties from the Prussian 41st Infantry regiment on the crest, backed by a gun battery. On the 24th’s right, the 2nd Infantry Regiment advanced too, supported by fire from Grivicic’s jaegers. Amazingly, not only did the 24th capture the gun battery, but they reached the crest too.
 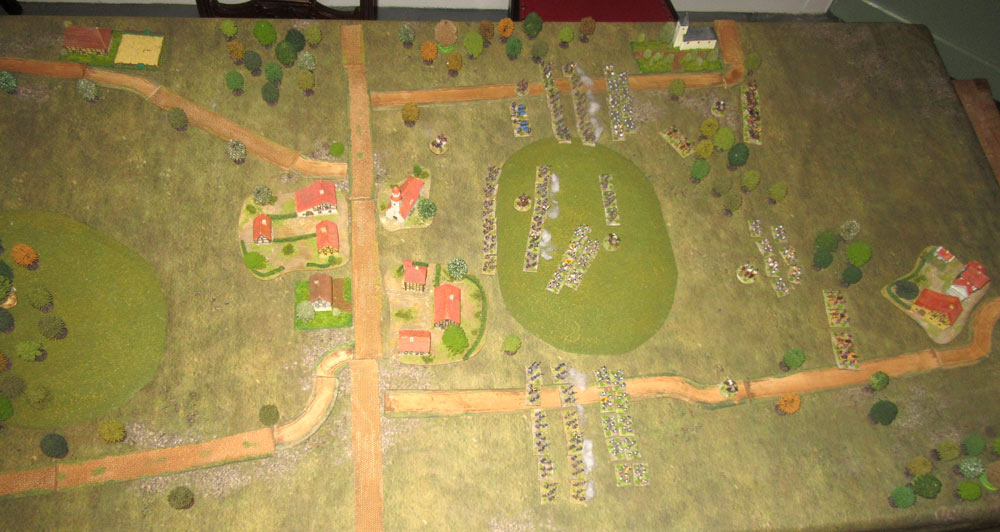 The Austrian 2nd Infantry though, suffered horrendous casualties, and were forced to retreat. The 16th Jaeger battlaion advanced into their place on the right of the 24th, who rallied were starting to suffer from Prussian fire. However, the 24th rallied sufficiently to charge again, and this time the Prussian 41st Infantry were swept from the field. The Austrians were now holding the Johannisberg!
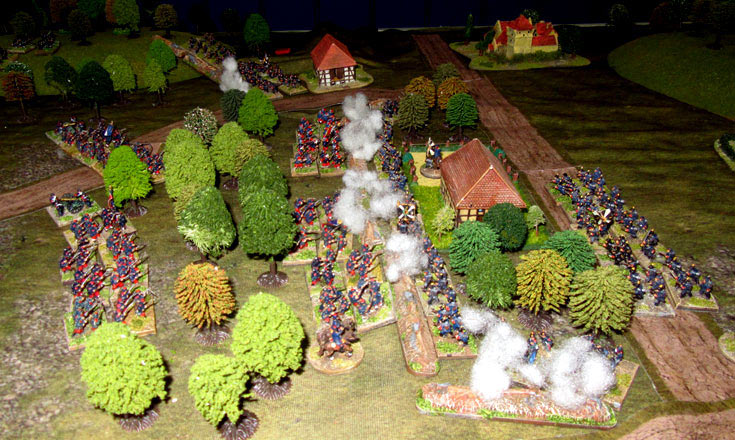
 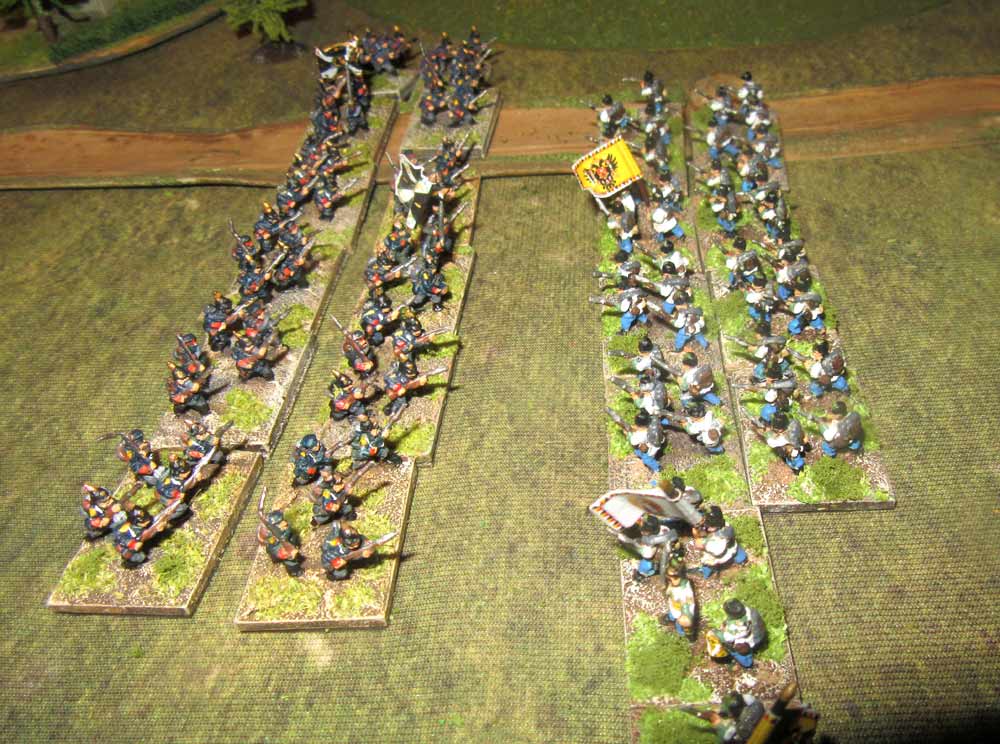 To the of the hill south though, the 10th Infantry Regiment of Mondel’s brigade charged the Prussian 1st Grenadier Regiment, who’s supported line was forced to fall back. the Austrians though, had become “worn” thanks to their heavy casualties going in, and so they had no choice but to pull back to the east. So, the Austrians weren’t going to break through on their left flank any time soon.
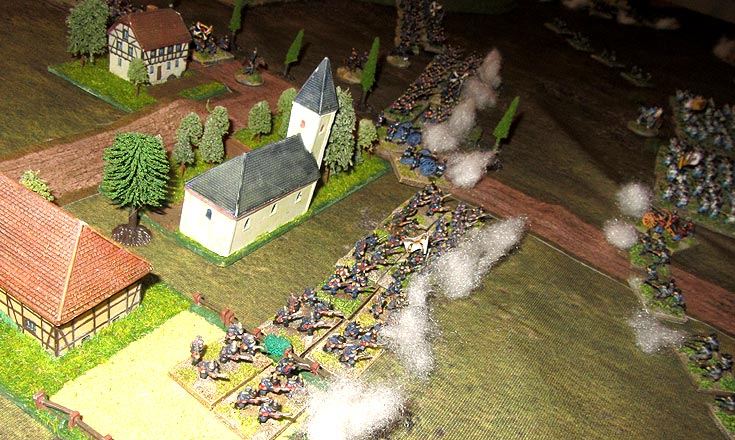
 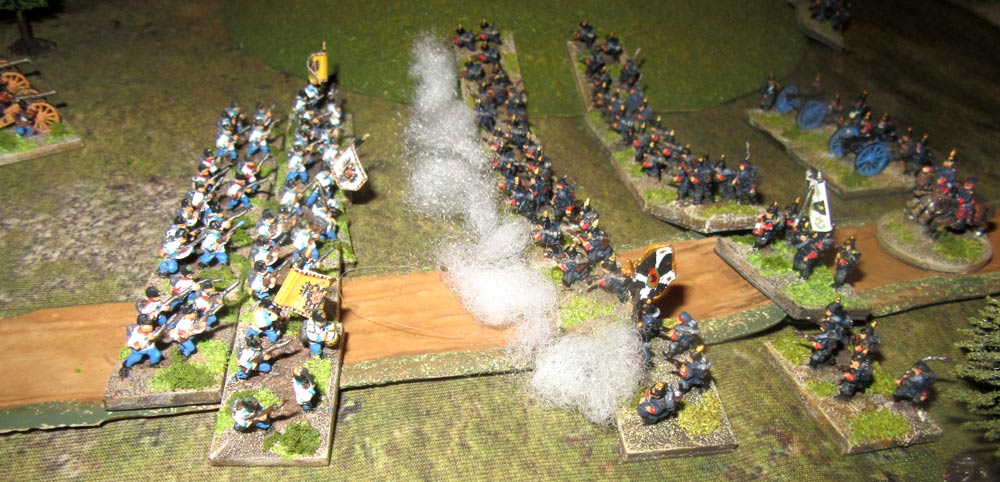 In the north, along the Alt Rognitz road, the 3rd Grenadier Rgt. of the 2nd Brigade blocked the road, and had no trouble repulsing a charge by the Austrian 23rd Infantry regiment – part of Grivicic’s Brigade. So, that meant the Austrians now held the hill in the centre of the table, while the two flanks were still holding firm. The Austrians also hadn’t got any reserves – and neither did the Prussians.
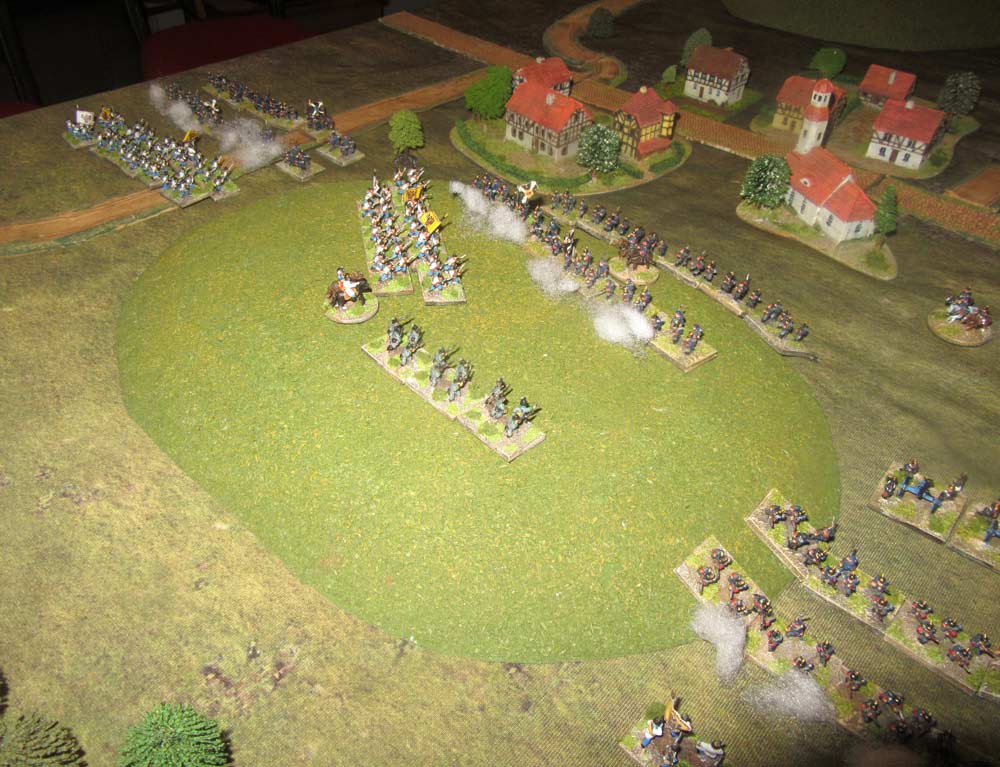 The game was reaching a stalemate though. Sean couldn’t dislodge me from the Johannisberg, and I couldn’t turn his flanks. He had another regiment due to arrive to the north of Trautenau on the next turn, but it would take time to get into action. The Austrian reserve guns hadn’t fired a shot in anger either, as their line of sight was blocked by their own troops. So, after one last attempt to charge the Prussian 3rd Grenadier Regt., which ended in the Austrians being forced to fall back, we decided to call it a night.
 More than anything this was a small tester game, as amazingly Sean hadn’t played Fire & Fury before. He enjoyed it immensely, especially as, being a lapsed wargamer, he found that rules were generally slicker than they had been in years gone by, and he liked F&F a lot. Incidentally, I’ve “upped” the size of my units, fielding 12 stand infantry regiments for this war. So, each stand represents about 250 men. Cavalry and jaeger units are 4 stands apiece, and gun batteries have two gun models. to me it looks about right.