
The Battle of Mehr, 1758
29th December 2022, 3 Comments
The Seven Years War, Post of Honour, 28mm
With the club closed for Christmas and New Year, I staged a small game at home, with the two Seans. I loosely based it on the Battle of Mehr, fought on 5 August 1758 between a small French army and an even smaller Western allied force. In the real battle the Allies led by General von Imhoff formed a blocking force, protecting a vital bridge over the Rhine. The French, under Marshal Chevert had to defeat Imhoff, and so capture the bridge. I scaled the battle down a little though, and fought it as a small action on a 6×4 foot table.
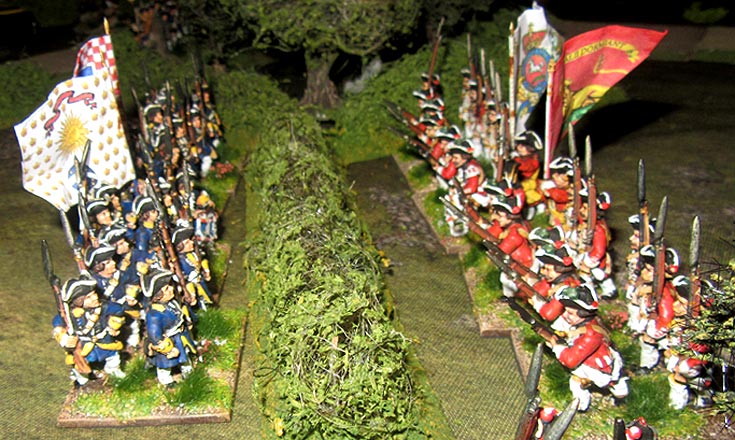
 In this one the French had six infantry battalions – two each from the Lyonnois, Touraine and La Marck regiments, plus a unit of light infantry and the dragoons of the La Reine regiment. Facing them, the Allies had five battalions – three Hanovarian (Scheither, Wangenheim and Diebenbroik) and two Hessian (Leib and von Toll). The also had the Briedenbach dragoons and their own jaegers.
 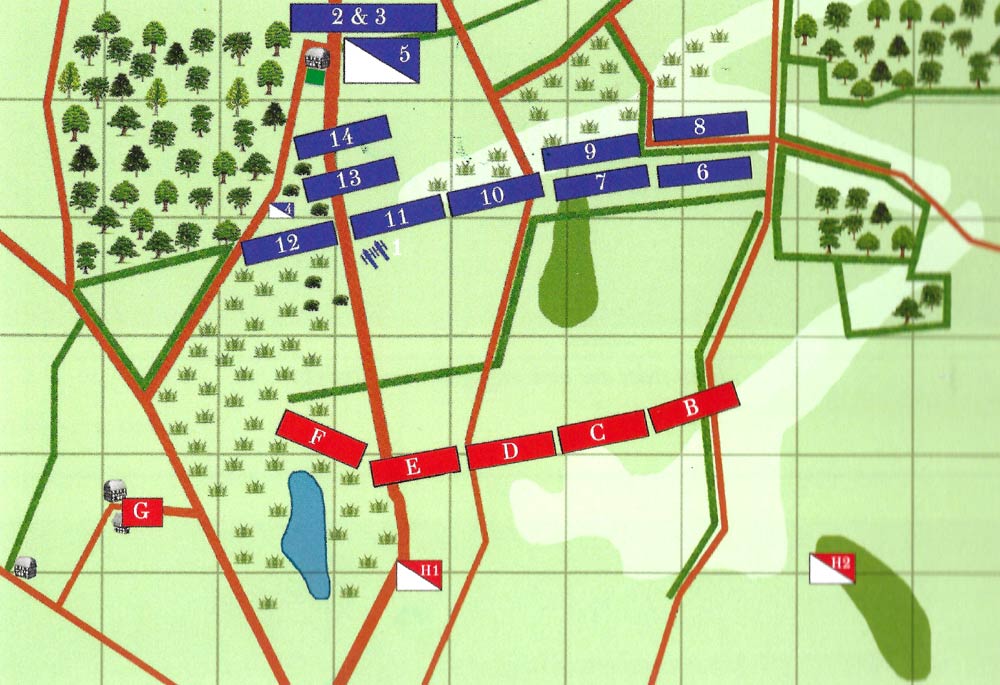 The two Seans planned to pin the Allies frontally with four of the battalions, while the La Marck regiment and a battalion of the Touraine regiment made a left hook, emerging behind the small hedged cops on the southern side of the battlefield. You can see it more clearly on Charles Grant’s superb map of the real battlefield shown above. The French dragoons and the jaegers set off to pin the battalion in the hamlet on the Allied left flank.
  For their part the Allies advanced up to the hedgeline to face the French centre, while the jaegers and a Hanovarian battalion covered the left flank. On the right the Hanovarian dragoons and a single Hanovarian battalion marched off to hold the La Marck regiment which was advancing to threaten the Allied right flank. So far so good for the French. This though, was where things got messy.
 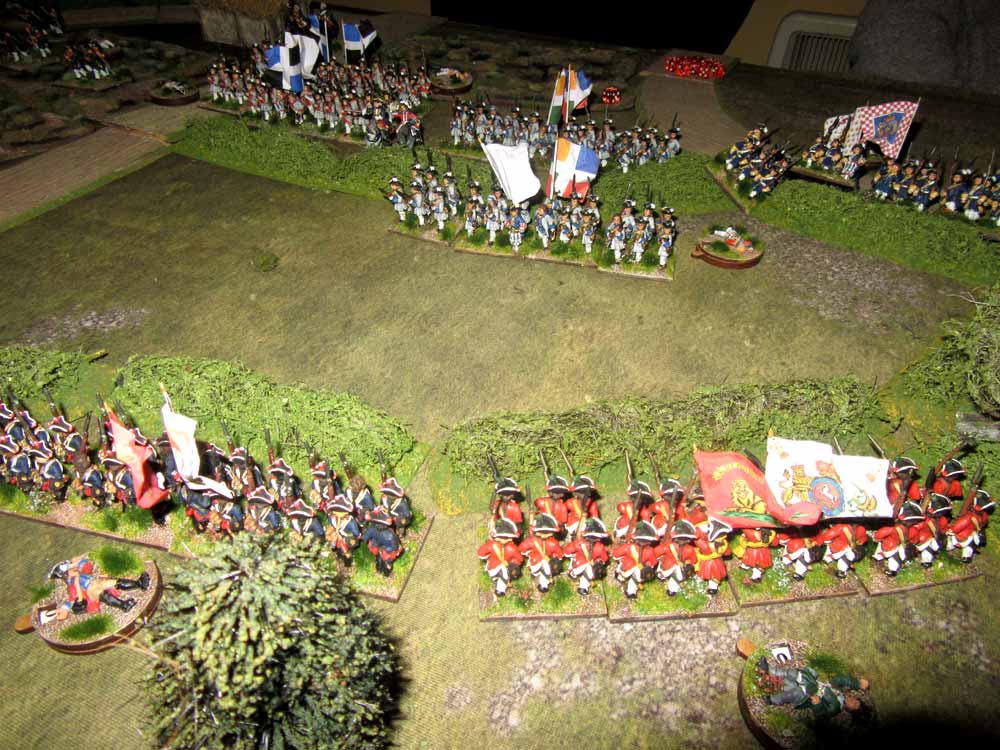 In the centre the French came into musket range when they entered the field in front of the Allied line, they were met by musket volleys, and soon the leading battalion of the Tournaisis regiment was shot up so badly it became worn, which blunted their attack.
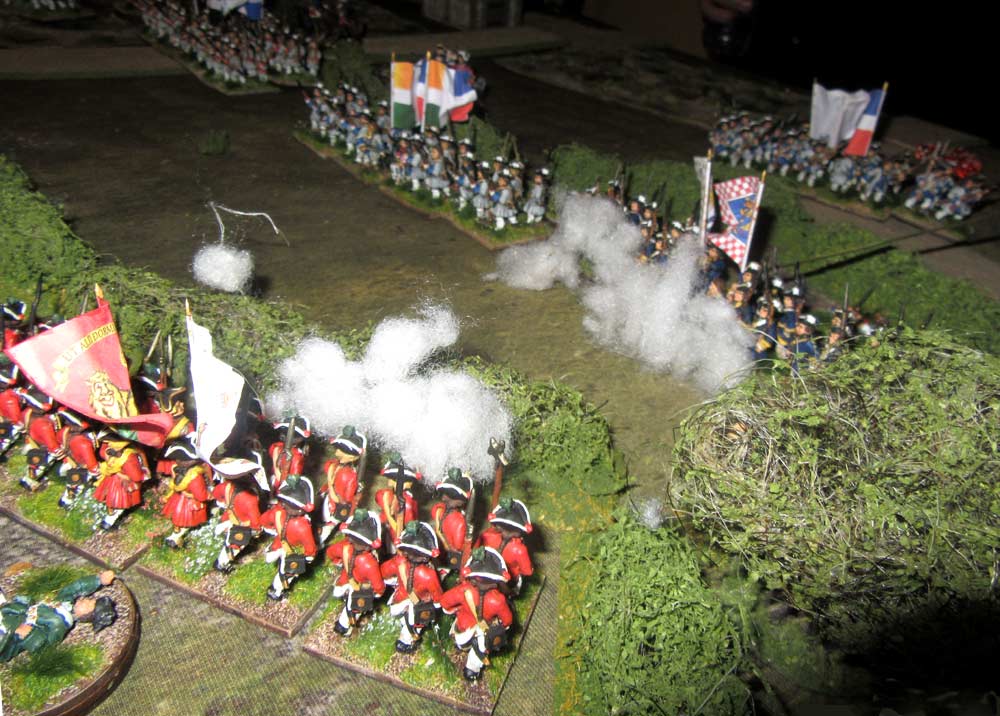 Still, Sean 2 performed a neat passage of lines to pull it back, and advance the regiment’s second battalion to the front. This though, stripped it from the flanking force, which had come up against the Hanovarians just past the hedged orchard. Over on the left the Fisher light infantry sniped away at the end of the Allied line, but otherwise that flank remained inactive. In the centre though, the firefight was heating up, as the second battalion of the Tournaisis regiment shrugged off the incoming fire, and charged the right-hand unit in the Allied line.
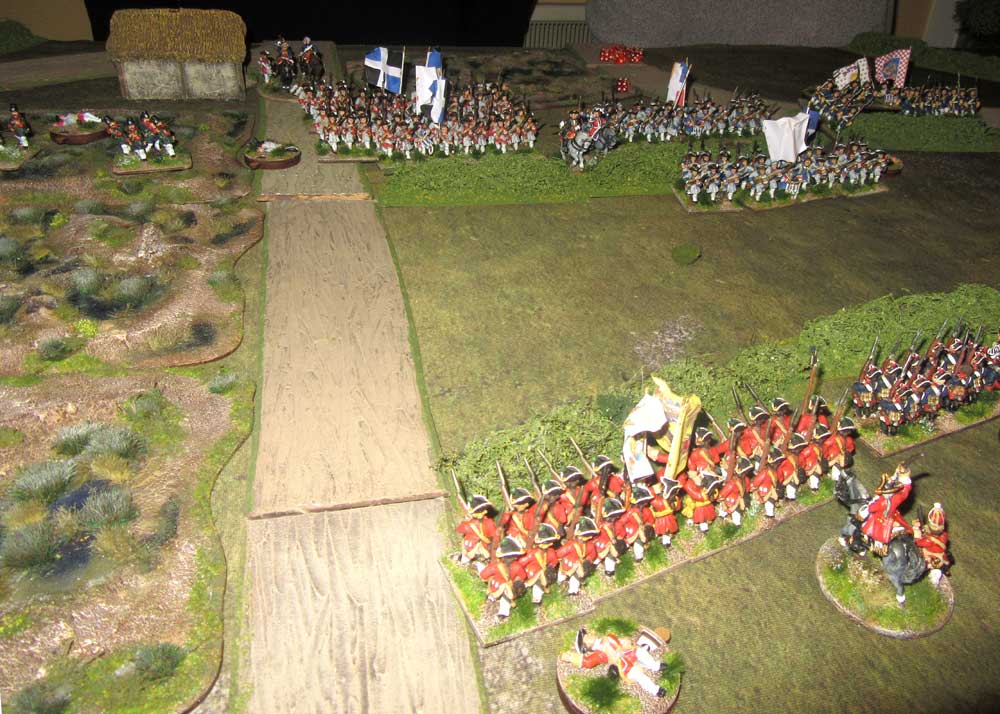 The von Diebenbroik regiment fired as the French came in, but amazingly they scored no hits. They landed up being pushed back, and then they broke and ran. This would have left a big hole in the Allied line, if the French attack hadn’t suddenly … er …self-imploded.
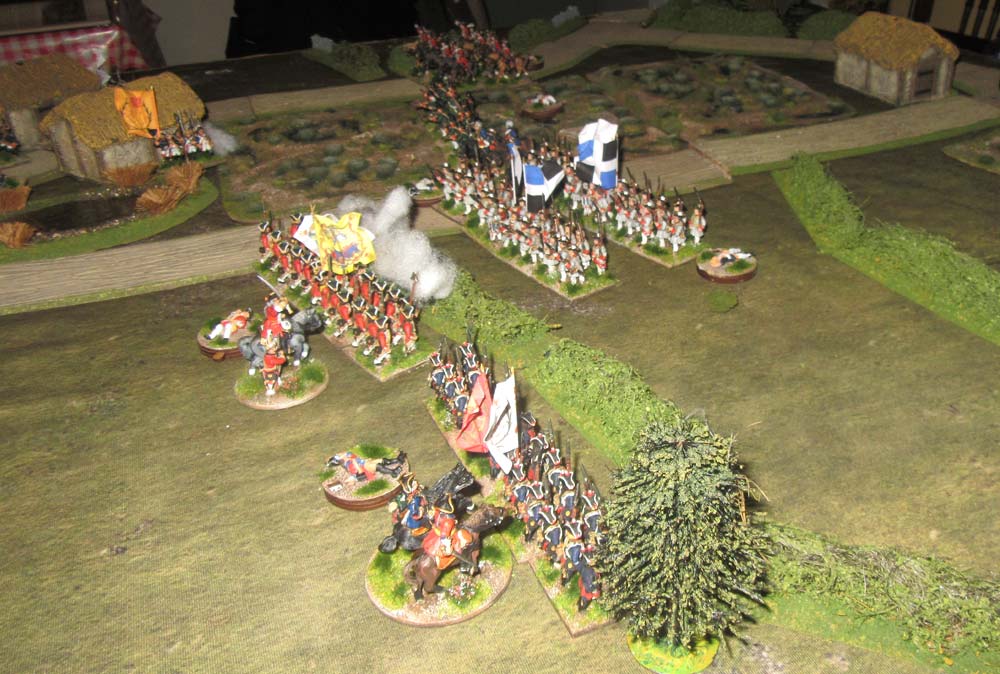 On the right of the Tournaisis regiment were the two battalions of the Lyonnois regiment, advancing down the road and into the killing zone. It looked impressive, but it meant the second battalion couldn’t fire. It was all down to getting within charge reach of the enemy.
 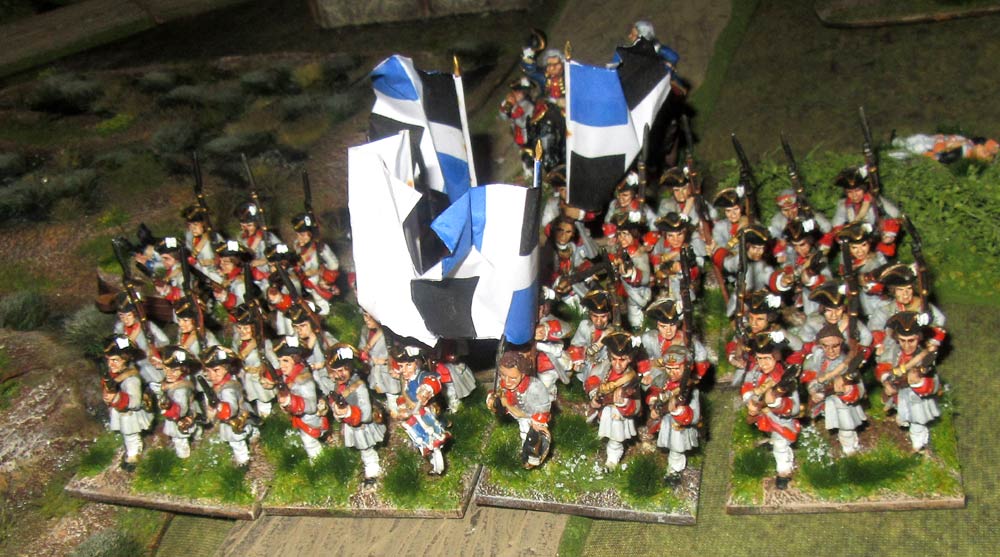 The leading battalion was hit by Hanovarian and Hessian musketry, and in two turns it went from a fresh unit to a routing one. This came at a bad time for the two Seans, as the two battered units of the Tournaisis regiment were close by, and both were now “worn”. They had to take a “hit” apiece, and this drove them over the edge. They both routed from the field. the French centre had vanished!
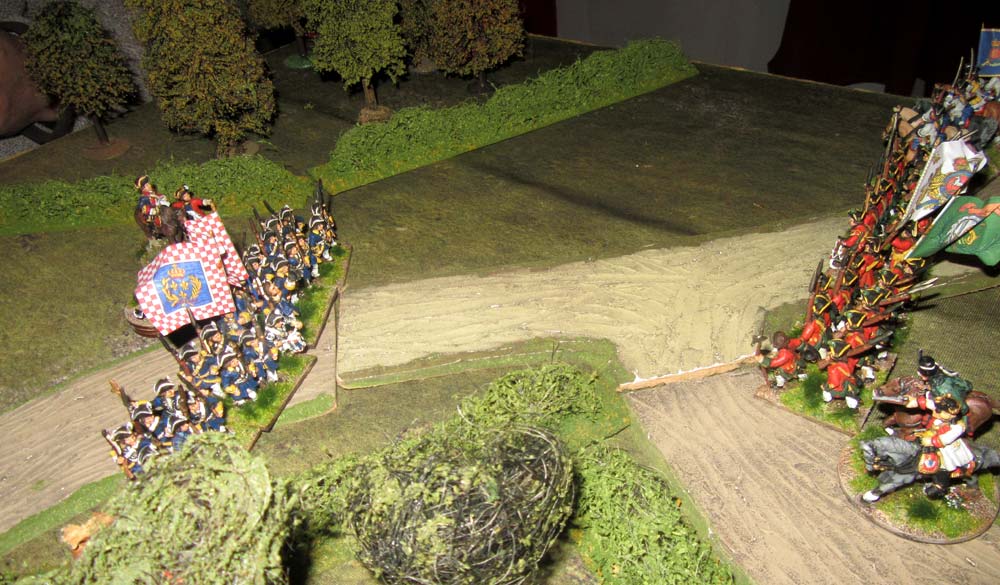 Over to the south the La Marck regiment was still being held yup by the Hanovarian infantry and dragoons, and so their great flanking move was making no progress. The French though, were now down to three battalions, and their two blue-coated German ones – like the dragoons on the other flank – were effectively pinned down.
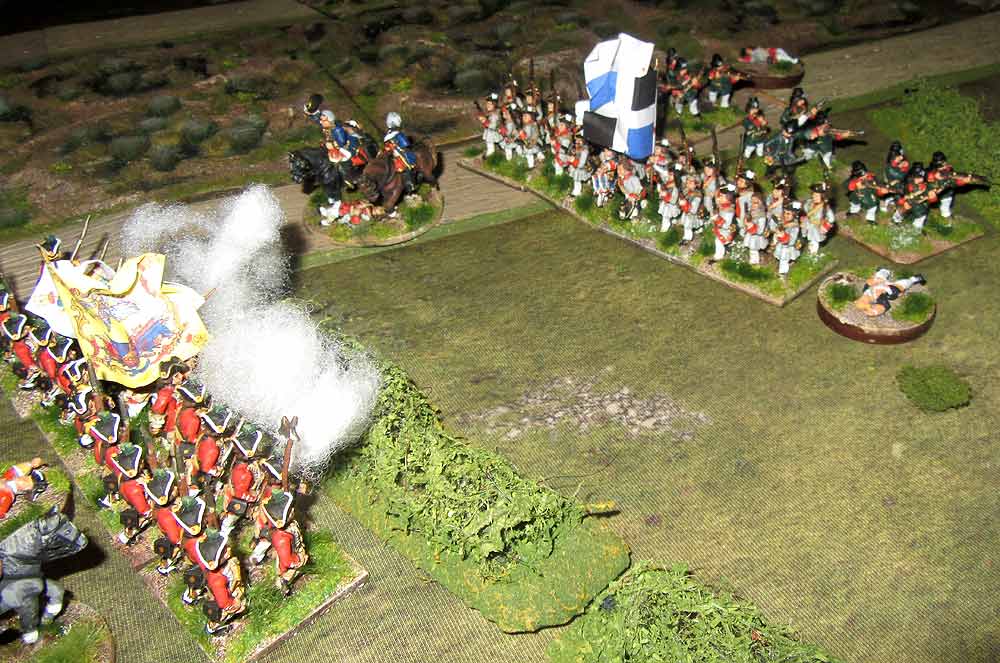 There was still a gap in the Allied line, but the jaegers were moving up to fill it. The bigger hole in the Frnech line was also being plugged by their French counterpart, the Chasseurs de Fisher. At that point though, the Seans sensibly decided to withdraw from the field. It was an interesting little scrap, and surprisingly it ended pretty similarly to the real Battle of Mehr, with the French shot up so badly they couldn’t continue the attack. I refought it a few years ago, and the result was very similar to this smaller version of the battle. The main thing though, is that all three of us enjoyed the nicely-balanced and fast-flowing game, and the spectacle.
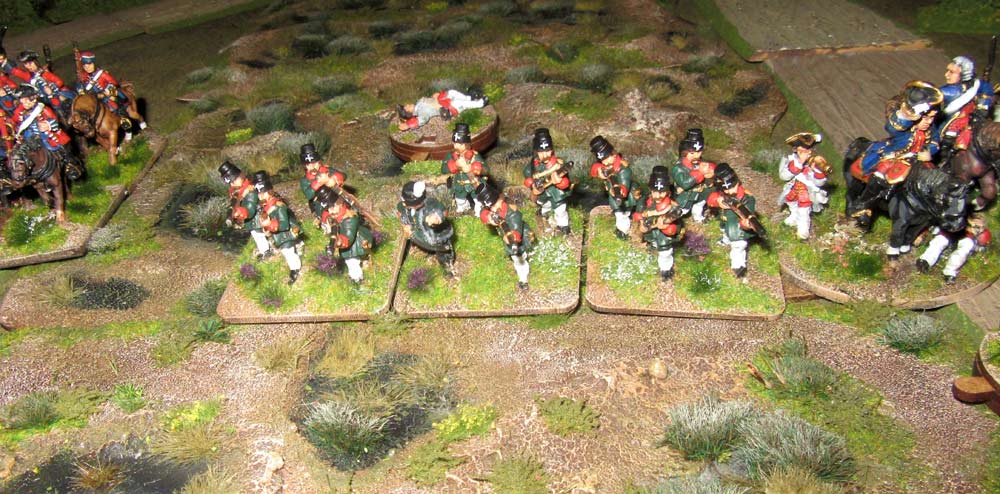
Good game…pity our centre collapsed…but it was a spectacular fail! In hindsight, a flank attack by my troops would have been a better tactic rather than a hell for leather frontal assault. But hey ho, next time.
You’re naturally an “up an’ at em” commander, while Sean 2 is usually much more cautious and positional. In this case I think you had the winning notion – a hard punch somewhere would probably have worked.
We played the battle ourselves using some hints by Dindin in the HoW-forum. Very nice small engagement. Great photos here too.