
The Battle of Krefeld 1758
8th April 2023, 8 Comments
The Seven Years War, Honours of War, 28mm
This week we did something a little different. As an Easter treat the wargame club hired the hall for all of Saturday. So, this gave us the chance to play a larger game than on a normal club night, where you only have about three hours of gaming time. For this we headed off to High Germany, and a refight of the Battle of Krefeld, fought in 1758 between the French and the Western Allies. 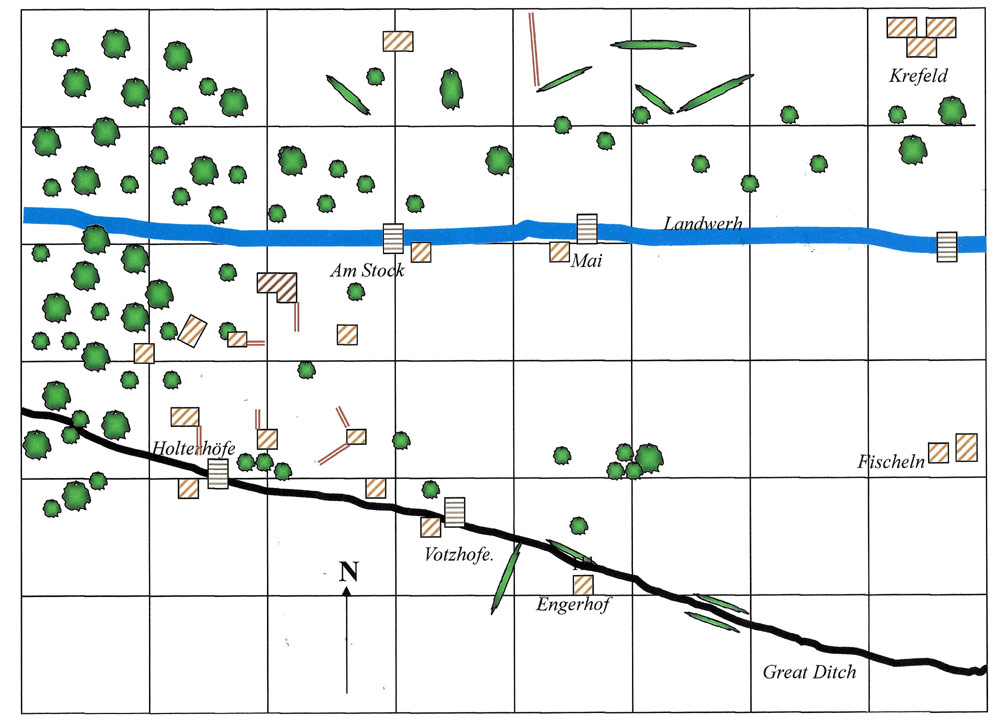 We used this map of Charles Grant’s Wargames in History Vol I to provide the layout, and we also scaled down the real battle following his guidelines. The only real difference was that Charles uses 48 figure units, so they’re twice as big as ours! Still, it worked well for our 24 man battalions, and using a different set of rules. The map squares are all a foot across, giving an 8×6 foot table.
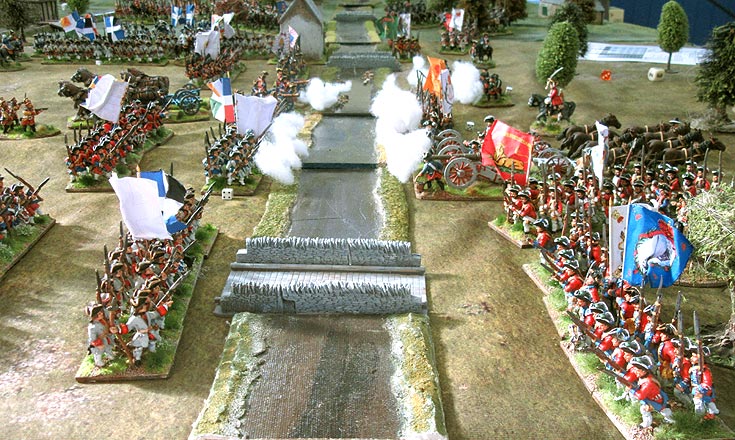
 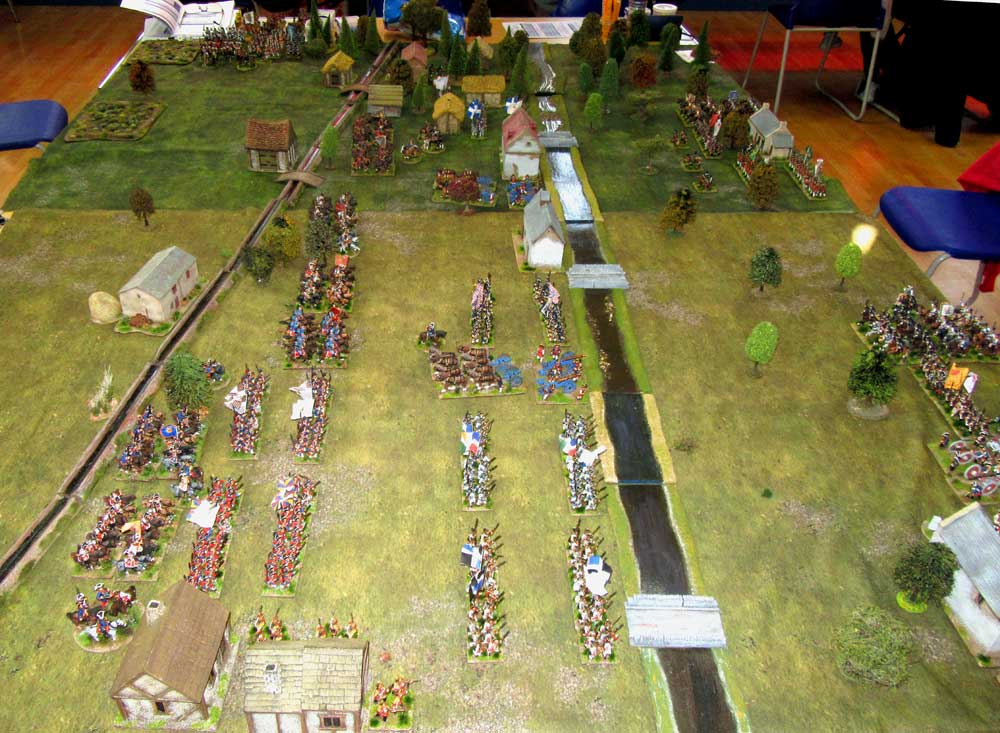 The battle began at about 1.20pm, when a large flanking force appeared at the bottom left of the map, behind the French front line. For their part the French – all 13 battalions of infantry and 7 cavalry regiments – were facing north, towards the Allied troops arrayed to the west of Krefeldt. That’s the Prince of Brunswick’s flanking force appearing in the top left of the photo. The Count of Clermont, who commanded the French was adamant that they were just a little diversionary force, and not worth bothering about.
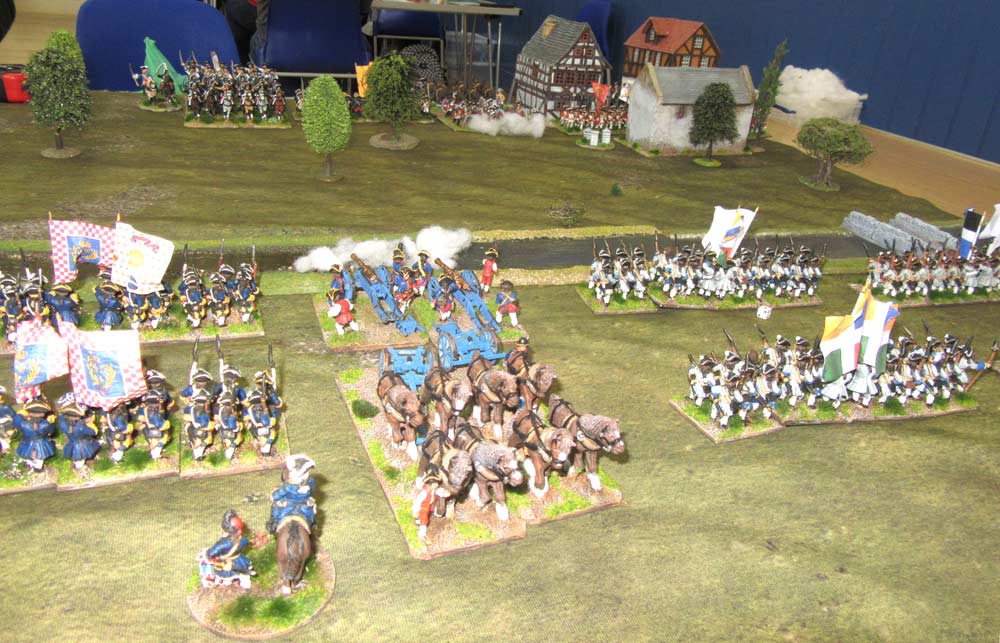 The battlefield itself was divided by two impassable obstacles – the Landwehr canal to the north and the Great Ditch – an irrigation channel – to the south. Three bridges crossed the canal, and two more spanned the ditch, giving the Allies a way in. In our game the Allies were commanded by Sean 1 (the Duke of Brunswick) in Krefeld, while the flanking force was led by Sean 2 (The Elector Prince of Brunswick). I took command of the French as the Count de Clermont.
 According to the scenario’s special rules, my main aim was to – not react to the Allies attack until it became blindingly clear what was happening. Only the Count de Saint-Germaine, over on the left flank was able to do something to stem the Allied tide. While the Allies had less troops (10 battalions and 6 cavalry regiments), and they were divided into two forces, they had the initiative.
 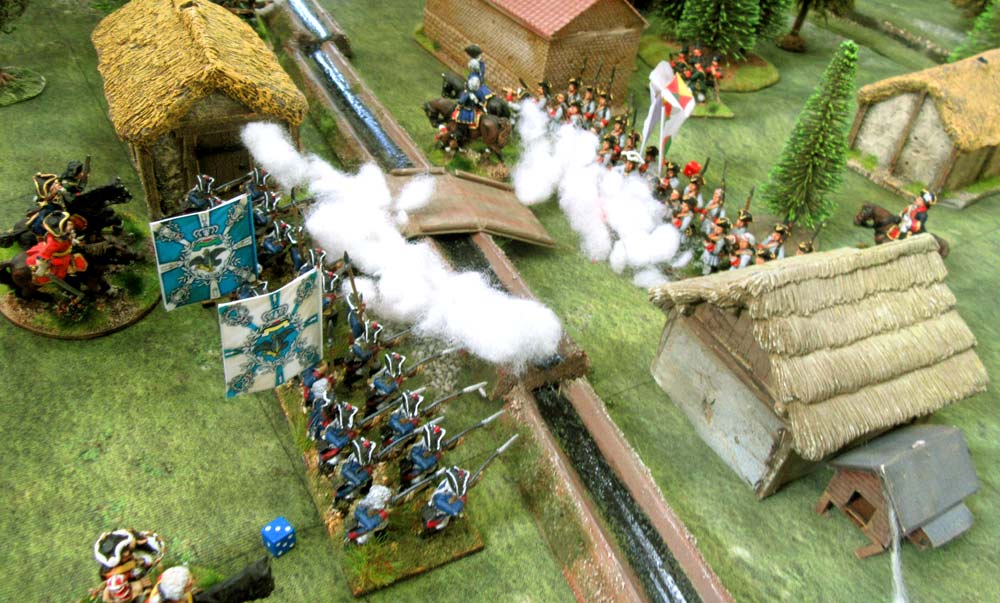 Still, things started badly for the Allies. The leading unit of the flanking force was a Prussian battalion, newly-painted by Sean 2. He’d spent weeks on it, and it looked great. Inevitably, the French one-battalion Cambresis regiment took it out in two turns of firing. Still, Sean wasn’t going to let a little thing like his pet unit routing spoil his day. Instead he pressed on, and used his Hessian grenadiers to force the ditch crossing at Holtenhof while his Hessian cavalry headed for the second crossing at Voltzhofe.
 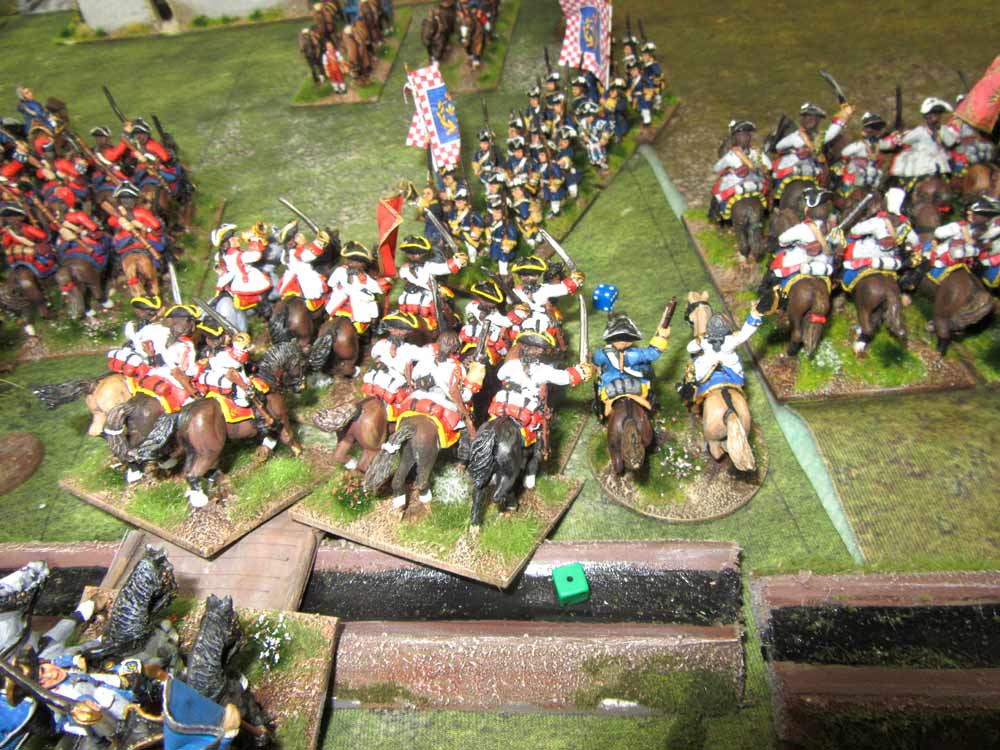 By now things were getting dicey for the French. To the north of the canal the Allies around Krefeld were pressuring the French on the far side of the line, probing for weakness. To the south, along the ditch, the Hessian cavalry led by General von Urff had reached the unguarded Voltzhofe in the nick of time. A lucky double move gave Sean his chance. The Hessian horse crossed the ditch, reformed into line, then charged and routed a battalion of the La Marck regiment, which was still in march column. It was chopped to pieces.
 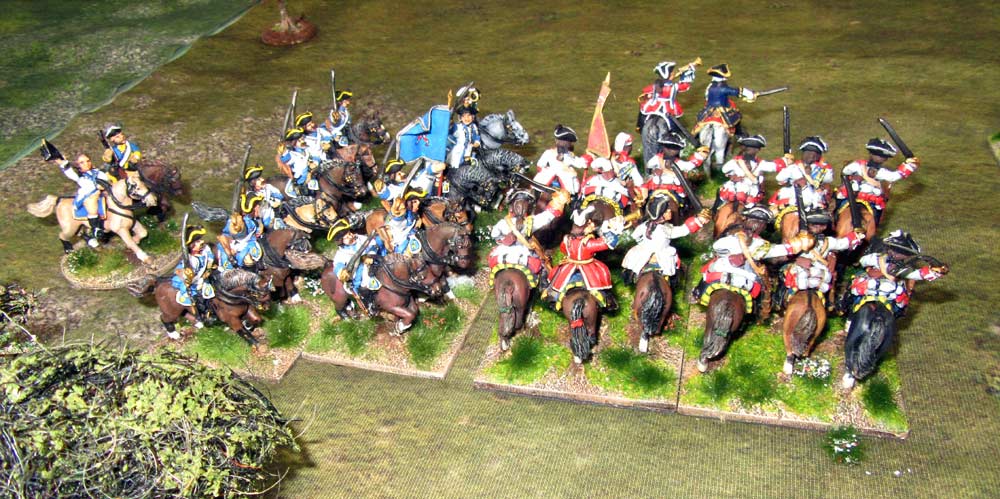 That was the start of a dreadful few turns for my French. The Hessian Leibregiment launched a second charge which rode over a French gun battery, and then turned to reform. Meanwhile the Hessian Prushenck regiment crossed the ditch, reformed and slammed into the flank of the French Chabrillant regiment. That’s the Hessians up above, in the blue facings. After failing to react, the French regiment was swept away. Once again they exploited, and took out the stationary Bercheny hussars, on the right flank of Chabrillant.
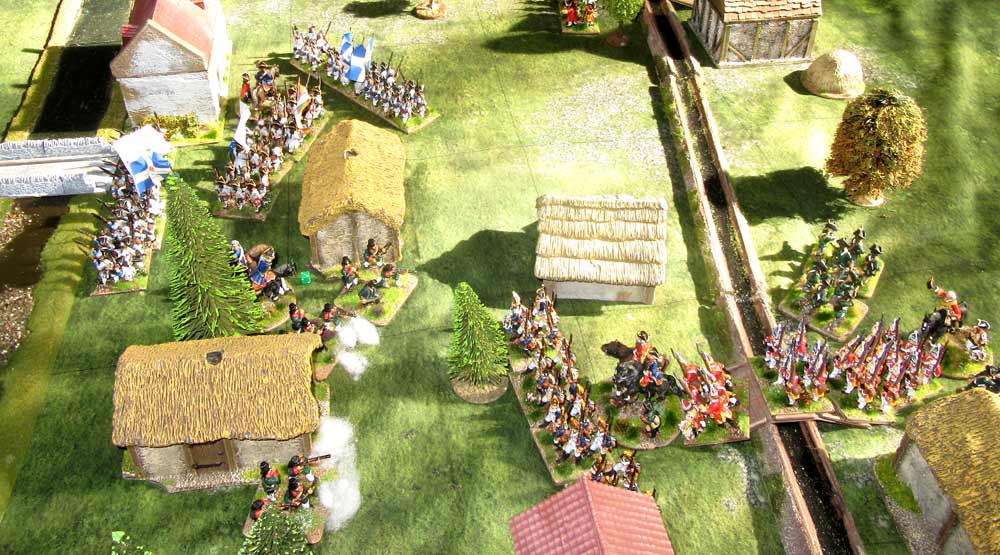 Sacre bleu! Quel désastre horrible! That though, wasn’t the end of it. On the next turn the Leibregiment then turned about, charged and routed half of the French La Reine dragoons. The other half of the dragoon regiment was destroyed by musketry and artillery fire from the south side of the ditch, before it could even get into action. I kept on rolling badly for the Count of Clermont’s reaction to all this! n a couple of turns the Allied cavalry had cut the French army in half. Fortunately for me, things settled down a little. The Hessian Lebregiment was destroyed by musket fire from a battalion of La Couronne regiment, which created a gap allowing most of Saint Germaine’s remaining troops to escape.
 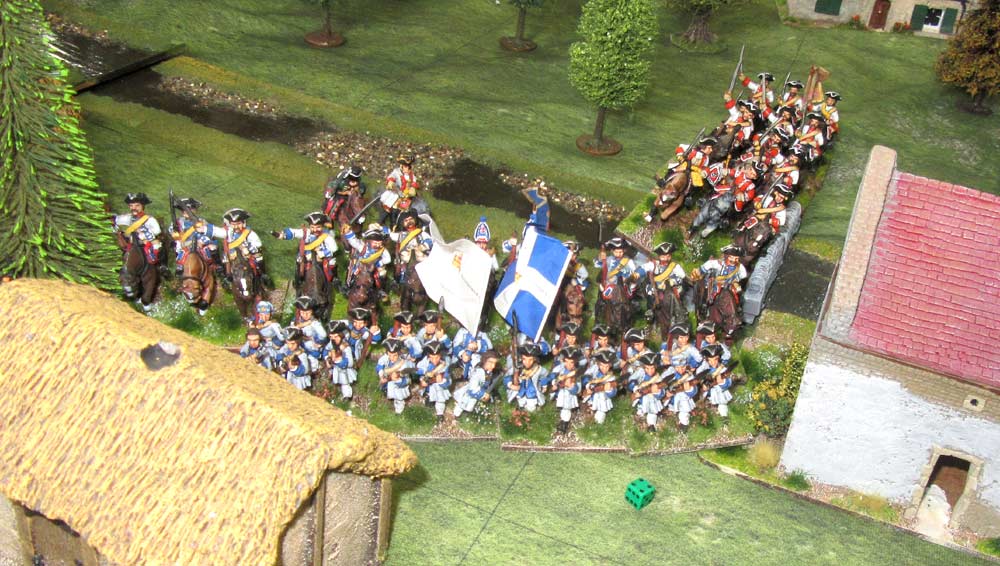 IThe sacrifice though, was the other battalion of La Couronne, which was ridden down in another dashing charge over the bridge, this time by Hanovarian cavalry commanded by Sean 1. Their sacrifice though, gave the French a respite, and they used it to consolidate their battered line between the river and the ditch, between Mai and Engerhof. By now Clermont had finally got his act together, and with the help of Saint Germaine they formed a defensive box which was near-on impregnable. Every attempt to cross the canal was thwarted by French fire, and the line to the east, between the canal and the ditch was now too strong for the Allies to breach. So, the French had rallied and held, in the nick of time.
 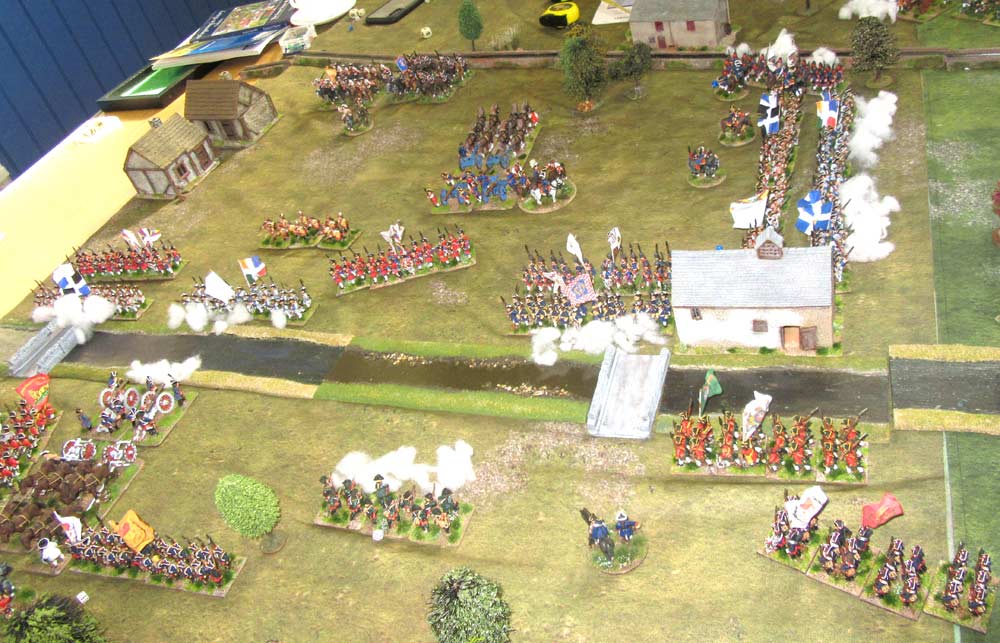 This though, was far from a French victory. The Count of Clermont had lost nine units during the game, out of 24. Effectively his army was badly battered, and would retreat under cover of darkness. However, the last few turns ensured this wouldn’t be a rout. For their part the Allies lost four units, which meant our Krefeld refight pretty much mirrored the historical result – a French defeat, which the Allies were unable to exploit. I’m delighted to say too, that one of their casualties was that darned Hessian Leibregiment (below). Despite being wiped out, they still deserved the “man of the match” award for their spectacular successes on the field of battle. More importantly we also had a great time playing this refight, and with luck it’ll be the first of many.
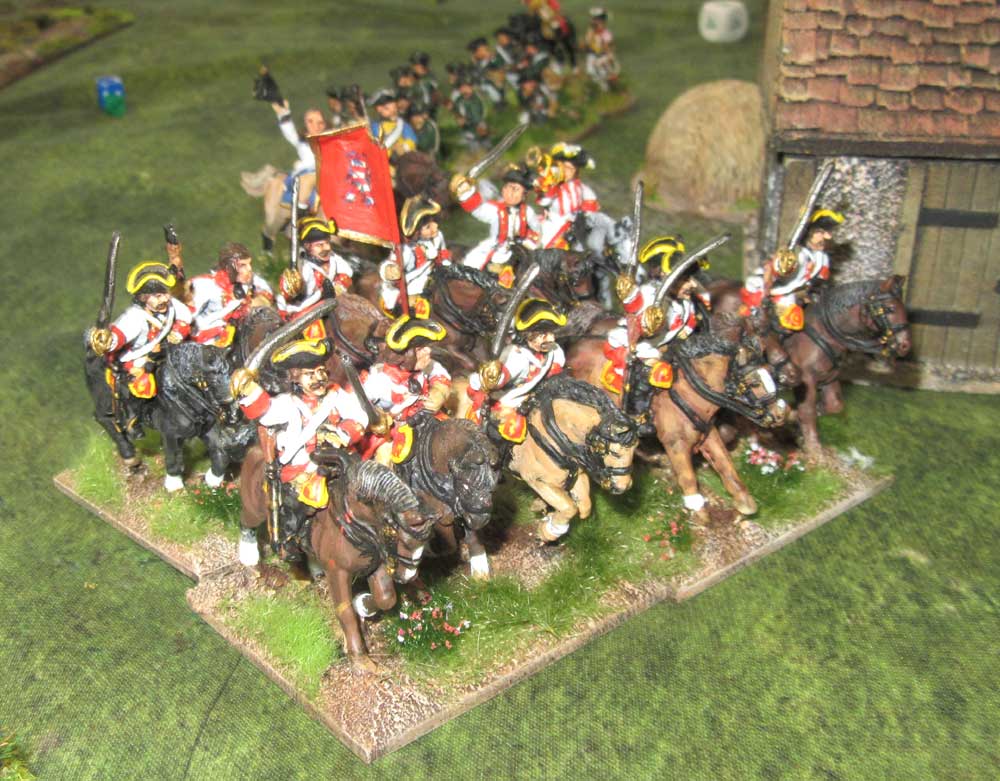
Good stuff, Angus. Quite partial to Honours of War myself for playing the SYW. Although my own SYW collection is in 10mm, my units are as wide as 15mm scale units so I use the 15mm scale QRS from the HoW rule book. As these are half the width of the recommended 28mm scale units, this means that I could replay Krefeld on a 4ft by 3ft table. In other words, Krefeld looks very do-able, thanks.
p.s. Have you tried the Lobositz scenario from the rule book? Although recommending an 8′ x 6′ table, you could easily play that on a slightly smaller table by scaling down your standard units to 3 bases per unit for that game only and using the 20mm scale QRS from the Rule book.
Hi David. Good idea. Lobositz might be fun, and a challenge for both sides. Following Charles’ book though, and having games Mehr, the next refight might be Sandershausen, if we’re going to stick with the 1758 campaign in the West.
Excellent game, Angus. You were at a massive disadvantage, not being able to react for all those moves……Allowing my cavalry to scythe through your flanks. However you trapped them in the end forcing them to charge into a hail of lead. As you predicted my newly painted regiment were shot to bits in a couple of moves…. next time eh? Great fun.
Yes, it was a fun game. The only way it works as a delight tough, is to reflect the paralysis of the French thanks to the Compte de Clermont’s dithering. Little wonder he was sacked after the battle! It was nice that we got a historical result.Above all though, it looked magnificent!
That’s a really impressive battle. Chapeau for your work to create a interesting game from the historical event!
Thank you – it was fun! We might follow the campaign and game Sandershausen next.
what a nice presentation.
Thanks Kenneth.