The Ambush at Balbeggie, 1567
6th July 2023, 0 Comments
Mary Queen of Scots’ Wars, The Pikeman’s Lament, 28mm
It’s been a while since we’ve gamed this period. So, we returned to the Marian Civil War in 16th century Scotland, and a skirmish between forces loyal to the Queen let by the Earl of Rothes (Sean 2) and forces in rebellion against her, under the command of the Earl of Moray (Sean 1). Ally turned up to help the Royalist cause, while I should have helped the Rebels, but ended up running the game instead. 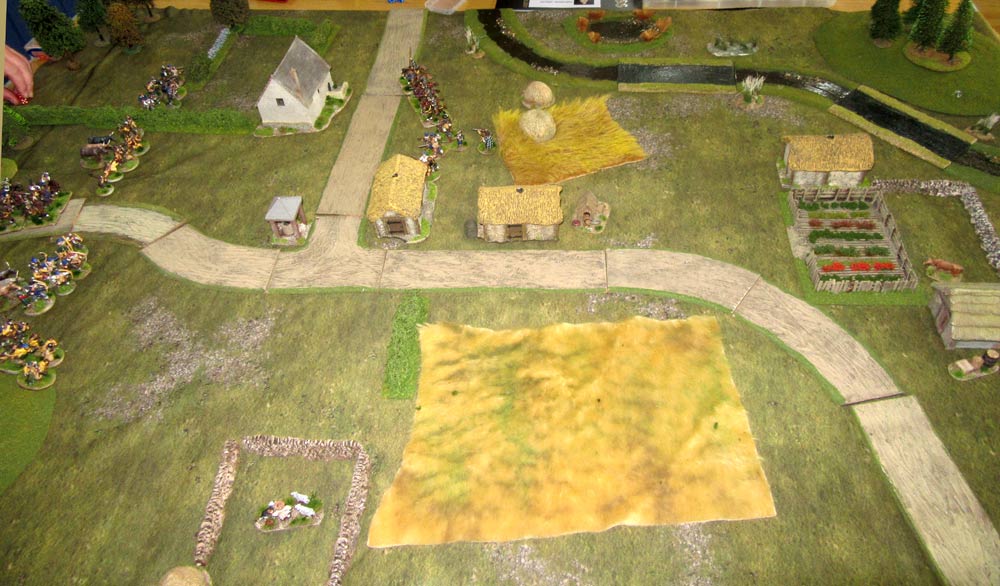 This game was a scenario entitled “Steak on the Hoof”. The Rebels had to exit the opposite short table edge with their three stands of cattle, each escorted by a unit. That’s them on the left in the photo above. A small Royalist patrol was blocking their way the hamlet of Balbeggie, north of Perth, while the rest of the Royalists would appear on either of the two long edges from Turn 2 on.
 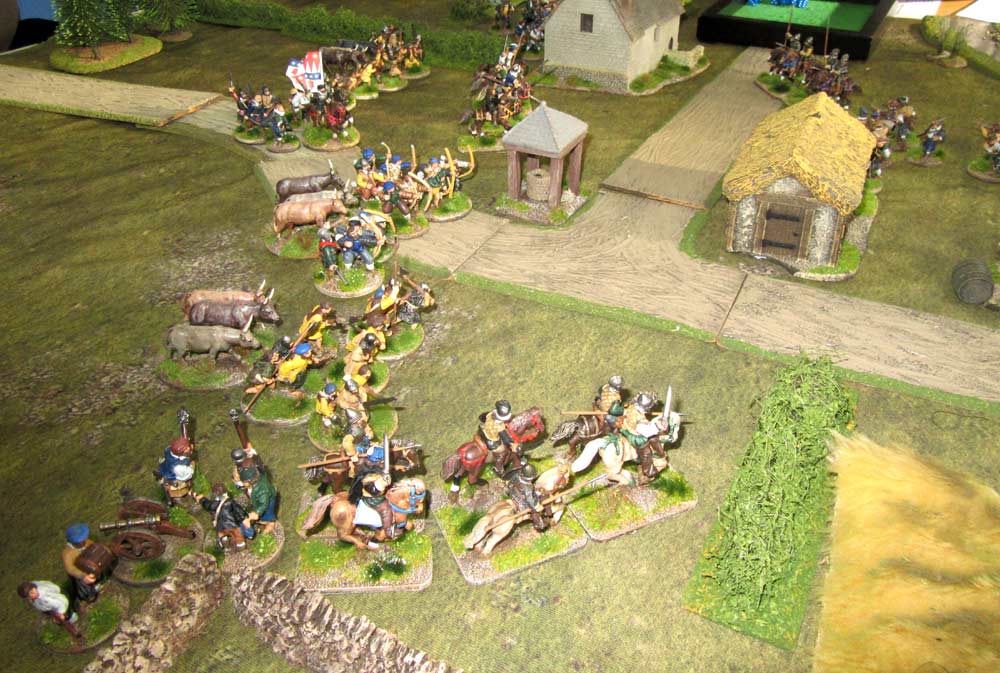 The game was played on a 6×4 foot table. The table was fairly open apart from the hamlet, with a small chapel, a small river, the Water of Allen, and of course a road or two – the one from Coupar Angus to Perth, and a side road leading to the port of Dundee. Things began well for the Rebels, with them advancing up to Balbeggie. There though, they ran into the Royalist patrol.
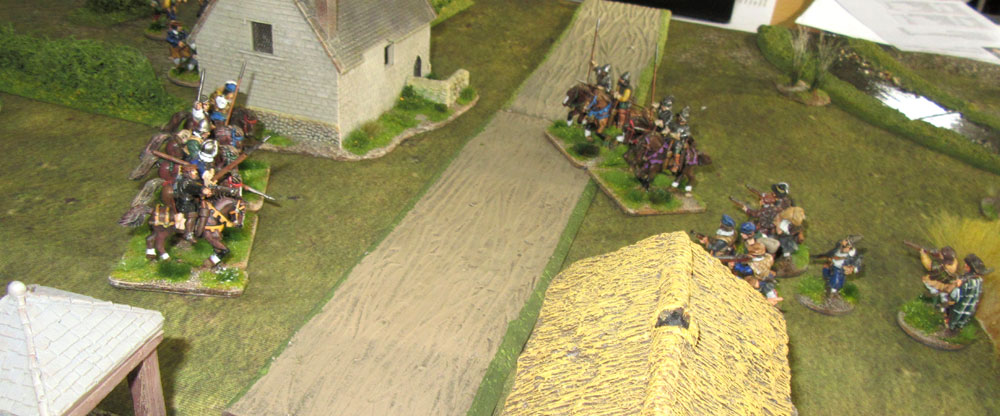 The Royalists – a unit of mounted retainers and a unit of shot – were a little to the east of the main road, and Sean 1 peeled off a unit of Border Horse to screen them. In the end though, the two bodies of cavalry landed up charging each other, then bouncing back to lick their wounds. The shot troops didn’t manage to do very much of anything.
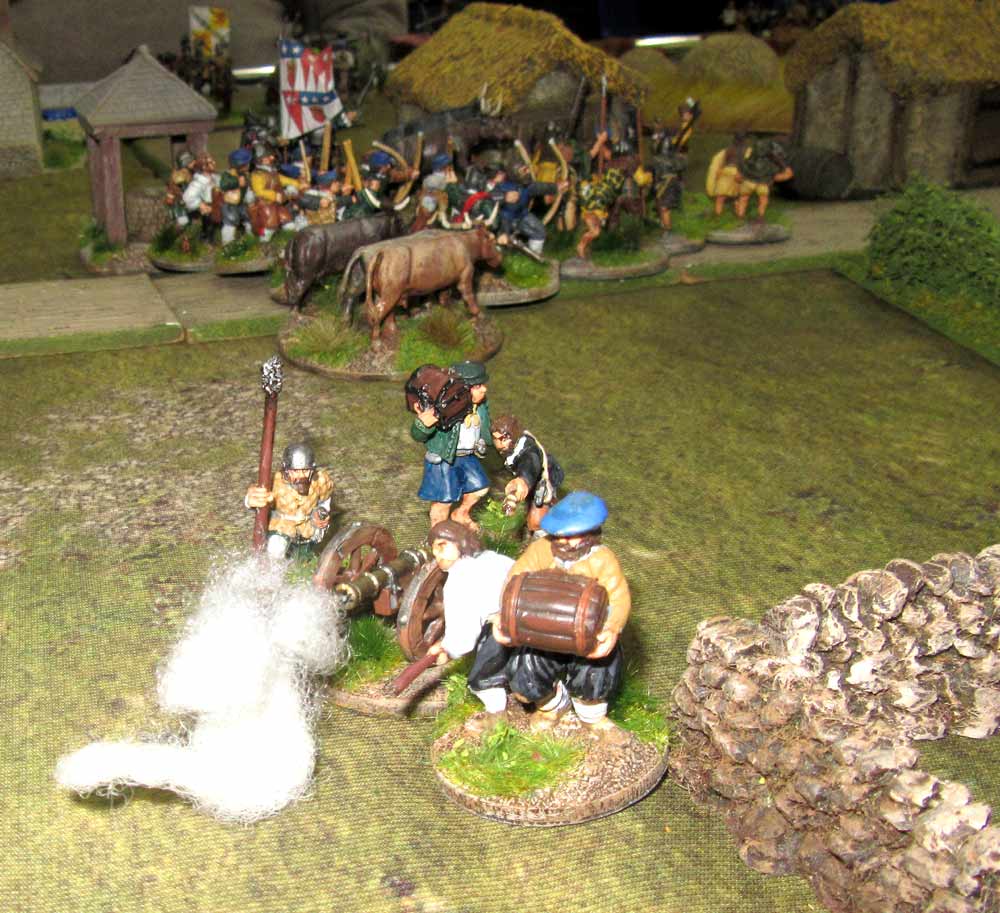
 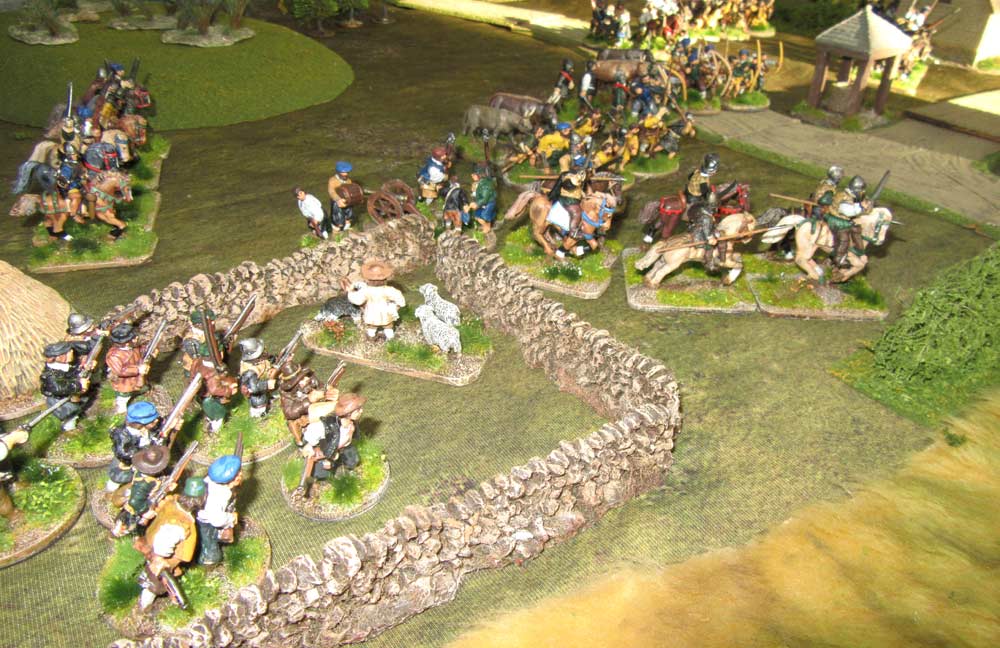 By now though, the rest of the Royalists were coming onto the table. Another unit of Royalist Border horse charged the Rebel gun, but were forced to retire due to an appalling dice roll. Ally, who commanded the Royalists on that west side of the table moved his own shot into the walled enclosure nearby, while the rest of his troops – a unit of levy pikemen and a second unit of mounted retainers headed for the main Perth road.
 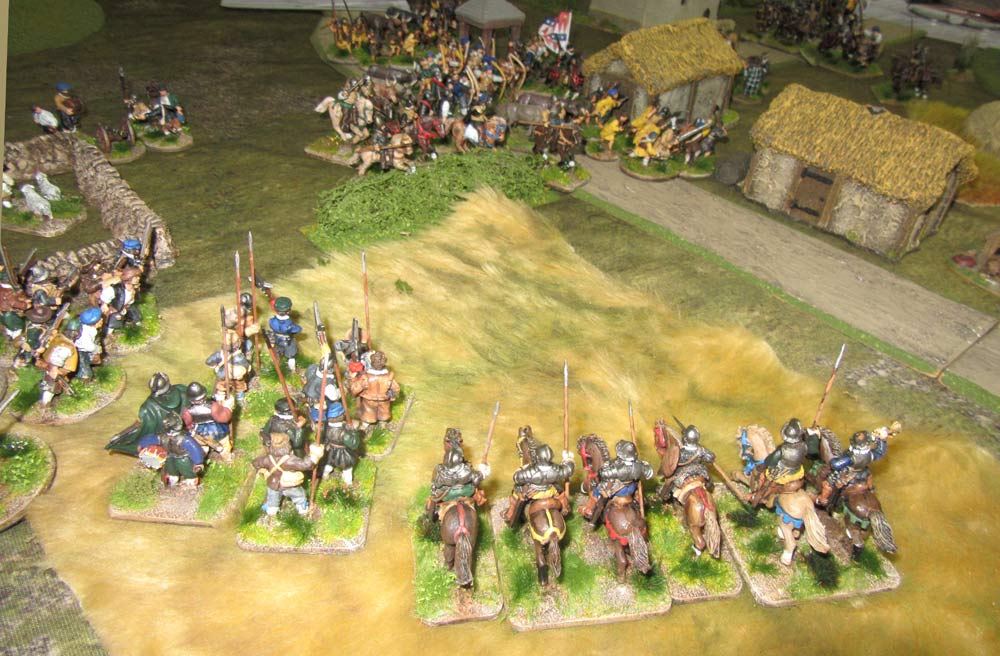 By now things were getting messy. With the Royalists moving up the Dundee road the Rebels were being hemmed in along the main road. As a lot of them were herding cattle, they couldn’t do much but plod on down the road, It was up to the others to prevent the enemy trap from closing.
 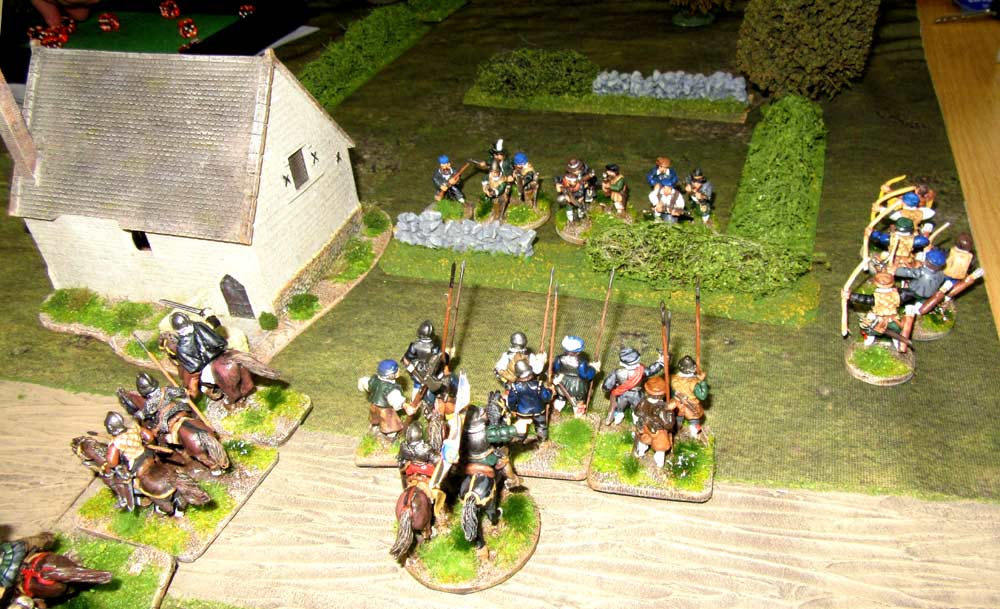 Actually, the jaws of the trap weren’t that strong. A unit of Royalist Levy pike tried to cross a hedge to get at some Rebel shot to the east of the chapel, only to be routed after a brief melee. The unit of skirmish archers supporting the pikemen also never managed to hit anything. So, on Sean 2’s side of the table, things weren’t going to plan.
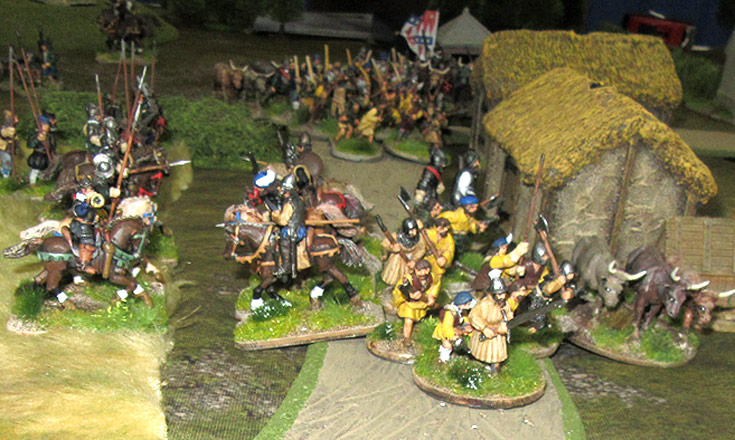
 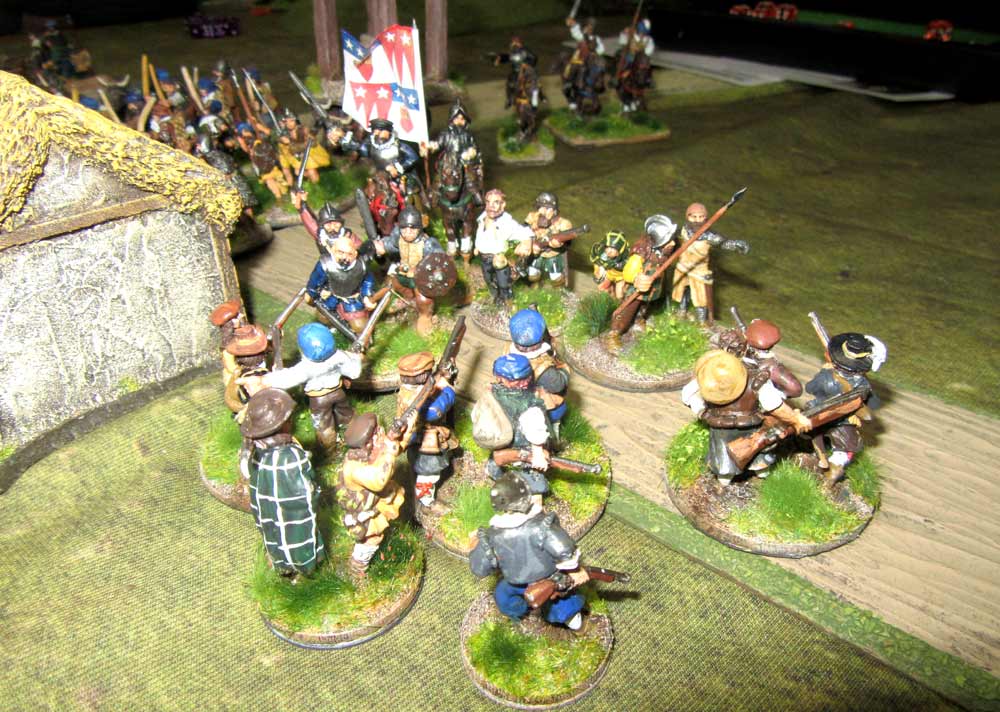 Back on the Perth road another running battle was developing among the cottages of Balbeggie, with the Earl of Moray’s dismounted retainers pushing back the Royalist shot, which made room for the cattle drovers to continue on down the road.
 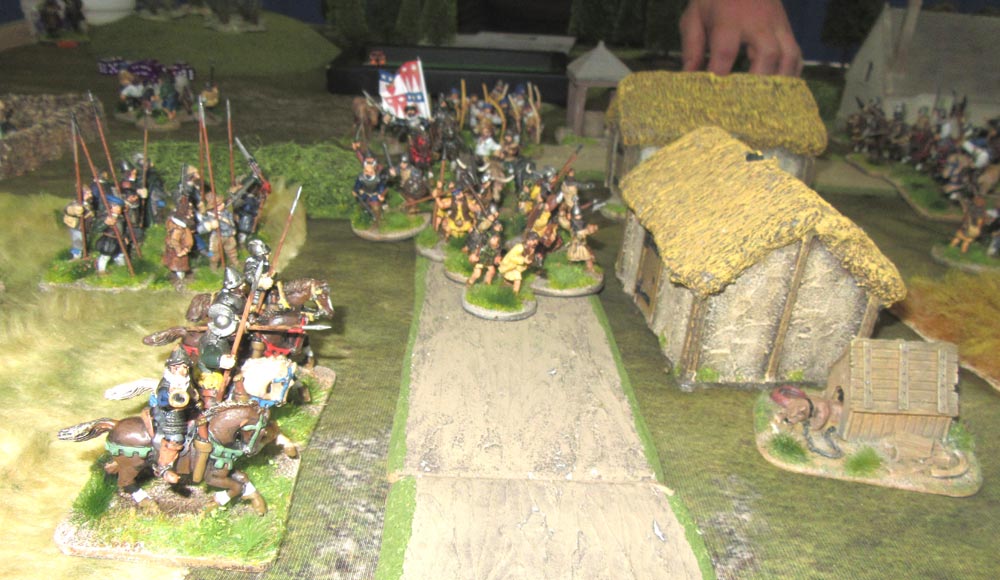 On the western side of the road Ally’s Border Reivers were being kept at bay by the small Royalist gun, although the rest of Ally’s troops were now threatening to block the road on the southern side of the hamlet. Still, Sean 1 was able to push one unit of cattle through, with its highlander escort, while his Border Reivers charged Ally’s mounted retainers, in a failed attempt to clear the road. At that critical moment Sean 1 rolled a double 1, and his rearguard – the unit of shot by the chapel marched off the table!
 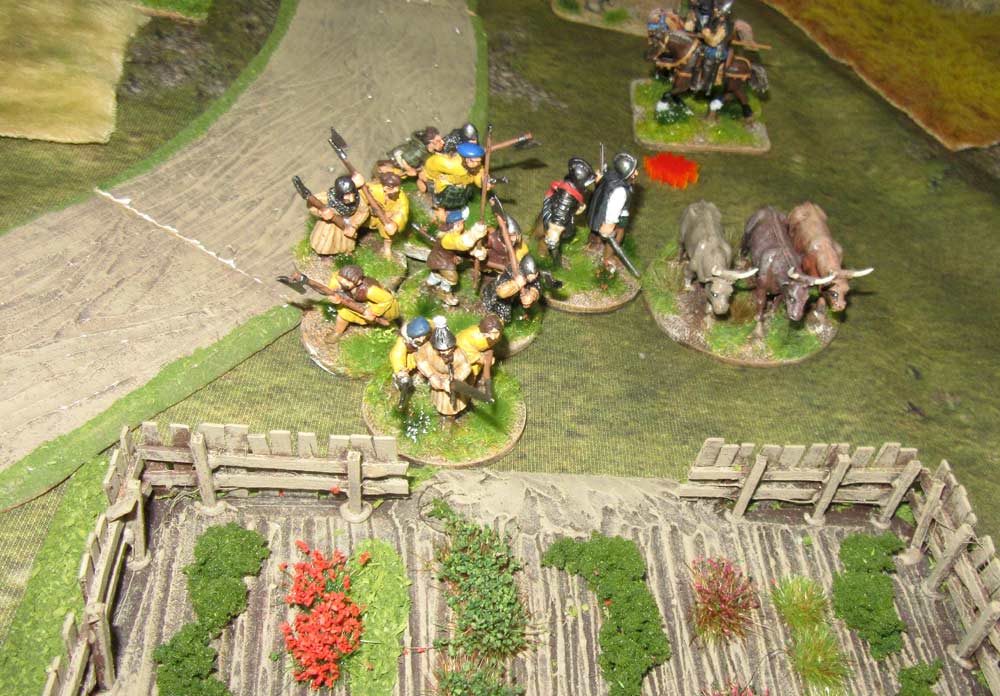 It was all getting a little hectic along the road, but at least the Rebels had got their first unit through the roadblock, and they were heading towards the southern table edge. With it off, that left two cattle markers still on the table. Most units were starting to look a little battered by now, as casualties had been mounting. A charge by the Earl of Rothes and his retainers routed Ally’s Border Horse though, and gained the Royalists the second cattle marker, which they spirited off the table to safety.
 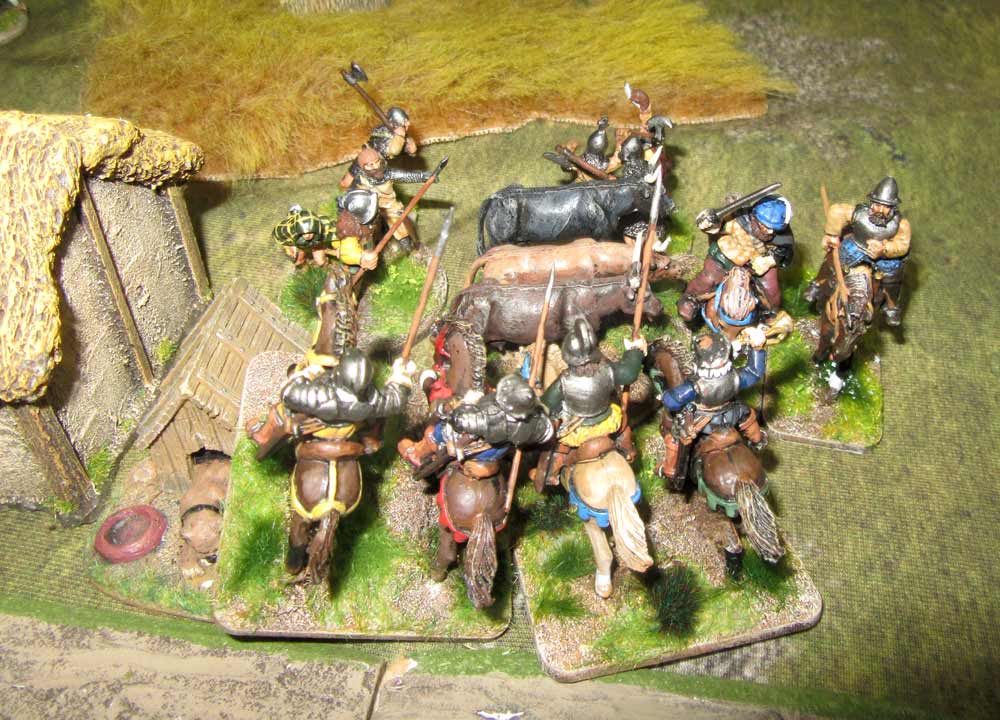 The fight was now in its end game. Ally’s mounted retainers charged the highlanders escorting the last cattle stand, and forced them to retreat. Then, fire from Sean 1’s arquebusiers routed them. This done, Sean 1 sent a Border Horse unit with just two men to capture the cattle. That pretty much ended the game. Officially it a draw, as both sides had a cattle marker off the table, but actually the Royalists won the skirmish, as they’d got possession of two of the three cattle markers. It was a very enjoyable game though, and dit was fairly well-balanced too. We’ll certainly play this colourful wee period again.