
Reyhanli, Antioch, 1098
18th November 2013, 0 Comments
The Age of Chivalry, Saga, 28mm
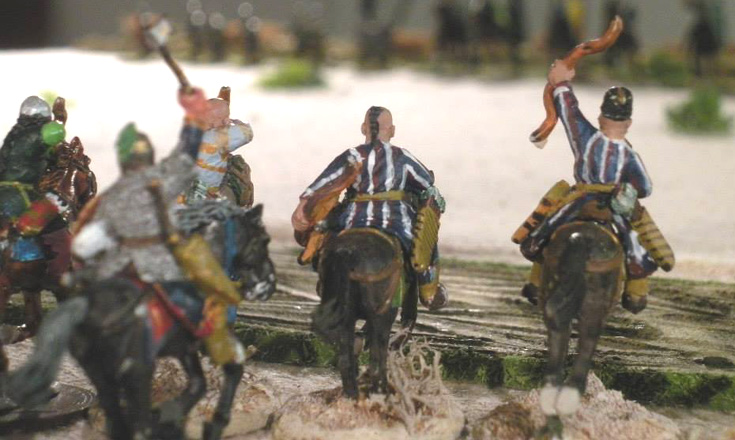
Having safely returned to Orkney after my travels, I arranged a game with Alan Bruce, who brought along his Crusading skirmish figures and his Saga rules. We played two short games, switching sides in between. In the first, my Saracens were defending a village, while Bohemond of Taranto’s crusaders were charged with capturing it. The game could also be won by killing off the enemy leader. I had four units – two of Arab spearmen who deployed in the buildings, and two units of cavalry – one being a horse archer unit, the other a smaller group of veteran Mamelukes. Alan deployed his spearmen and crossbowmen facing the village, while his cavalry headed around the side, to take on my horsemen. His first unit of knights charged the horse archers, having already taken one casualty from their arrows. The melee was a bloody one, ending with the three remaining knights killed, and six of the Turkish horse archers. My remaining two figures withdrew, leaving Bohemond (who charged with his knights) standing all alone in the middle of the table. Seizing the change I charged him with my Mamelukes, accompanied by my own leader Kerbogha. I also “revved up” my Mamelukes with extra charge dice, and so Bohemond went down amid a hail of sword blows and lance thrusts. That effectively gave me the game.
 Having set up the terrain on a 7x 5 foot table, we then moved to its other side, as these skirmish games are designed to be fought out in a 3×4 foot space. Our table was still too big, but it sort of worked this way, and gave us the other half of the table to put our battleboards and beers on. Anyway, this was a straight encounter game, with me taking the Crusaders, and Alan the Saracens. A gully ran across the table behind the Crusader’s starting point – something that didn’t really have an impact on the game, but which might cause me problems if things went wrong. Alan began by advancing with his horse archers on his right, and everyone else on his left. The two groups were separated by “The Imam’s Tomb”. As the Saracens crossed the lateral road the leader – Kerbogha again – switched flanks, and joined his elite Muslim cavalry on the Saracen left.
 The horse archers rode forward and began peppering my spearmen, who were lurking at the edge of the gully. I had a unit of knights on their left, who rode forward into the round end of the gully, ready to charge out when the moment came. Instead the horse archers switched their fire to them, causing a casualty. My second unit of knights charged them, but all but wiped itself out, leaving one fogure on the table – the loss of three knights for three horse archers being a particularly poor exchange. At least the horse archers withdrew at that point, and moved across the table to harry my crossbowmen. I had effectively lost one of my best units, and was unsure what to do next. Seizing the moment, Kerbogha placed himself at the head of the Mamelukes and charged into the Frankish spearmen.
 The infantry took five casualties, and the other three ran back towards the gully. However, they took two riders with them, and once again a leader was exposed within charge reach of the enemy. My own leader hHugh, Count of Vermandois placed himself at the head of his three knights, and charged Kerbogha and what remained of his Mameluke escort. Once again I had “battle dice” to stack the odds in my favour, and the Saracen commander and his men were duly slaughtered. That ended the game – one win for the Saracens, and one for the Crusaders. It was also a salutary lesson – in Saga games – don’t risk your leader!