
Probe into Fontenay, 1944
14th April 2022, 2 Comments
The Second World War, Chain of Command, 28mm
A few weeks ago, Sean and I agreed to embark on a “pint-sized campaign” for Chain of Command. We settled on Operation Martlet, set in Normandy, and this was the first scenario. On the day though, as there were just three of us, Nick took charge of the British, Sean the Germans, and I sort of kept things running along smoothly. This scenario sees the Royal Scots Fusiliers, part of the 49th Infantry Division, launching a probe into the north-west corner of the German-held village of Fontenay-le-Pesnel, west of Caen. 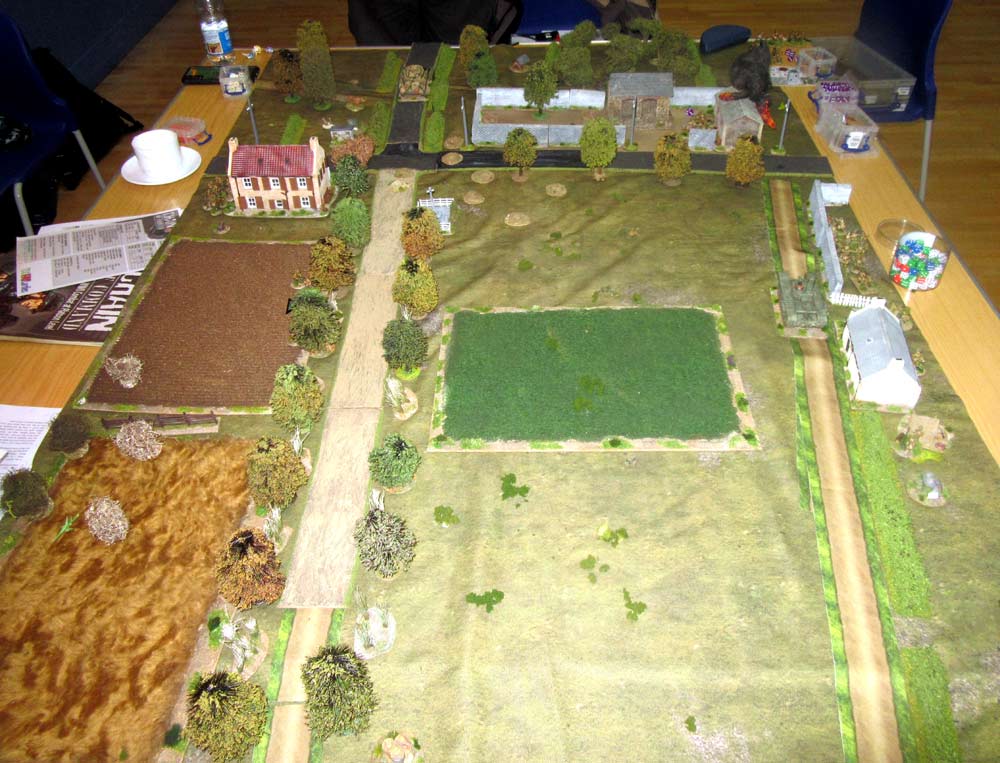 Sean’s defenders were the fanatic young panzer grenadiers of the 12th SS “Hitlerjugend” Panzer Division, whose platoon was slightly understrength, but had a PzIVH at its disposal. Nick had a standard British platoon, but he also had 13 support points, which he spent on a Churchill AVRE, a forward observer linked to a mortar battery, and an extra PIAT team. Sean had 6 points, which he used to get two extra panzer grenadier squads. He also got to turn one tabletop building into a bunker. We played the game on a 6×4 foot table.
 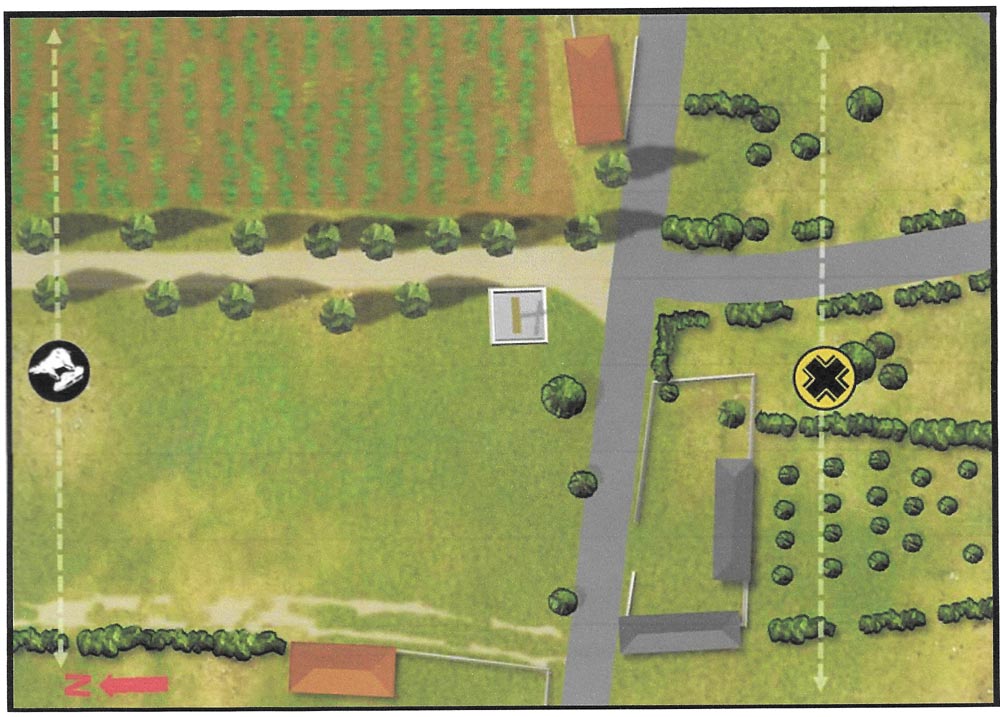 Before we kicked off, I told Nick about his big problem. Morning mist covered the battlefield, and there was a 50/50 his units wouldn’t make it onto the table. He could try again on the second turn, but if they failed again then they were lost to him for the game. That certainly made things interesting! We ran through the patrol phase, which ended with Sean’s SS ensconced in the walled farm and the red-roofed building on the eastern side of the table. Nick either started on the northern table edge, or around the cottage to the west.
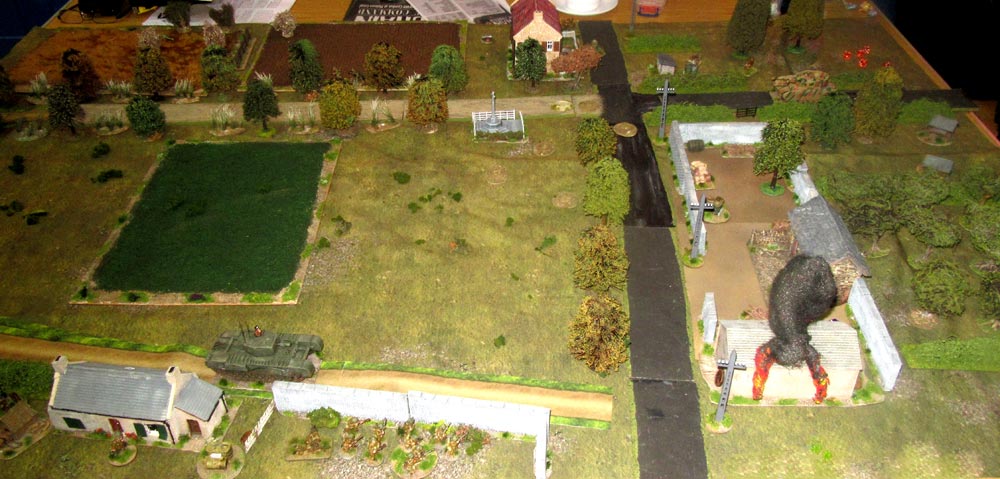 Given the mist, it was with some trepidation that Nick rolled for his first units. He was lucky though, – his AVRE arrived and trundled up the western farm track, and a rifle section deployed near the cottage, supported by his forward artillery observer. Sean had his deployment problems too – a British pre-game bombardment meant that for the first turn his units also had a 50/60 chance of deploying onto the table. For him though, there wouldn’t be any risk of them getting lost in the mist.
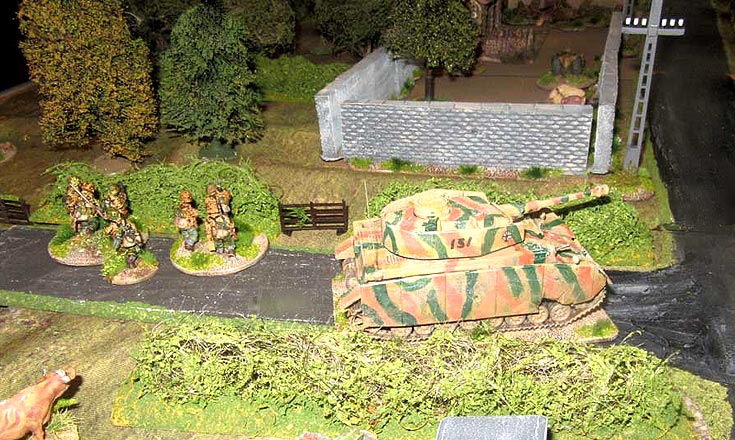
 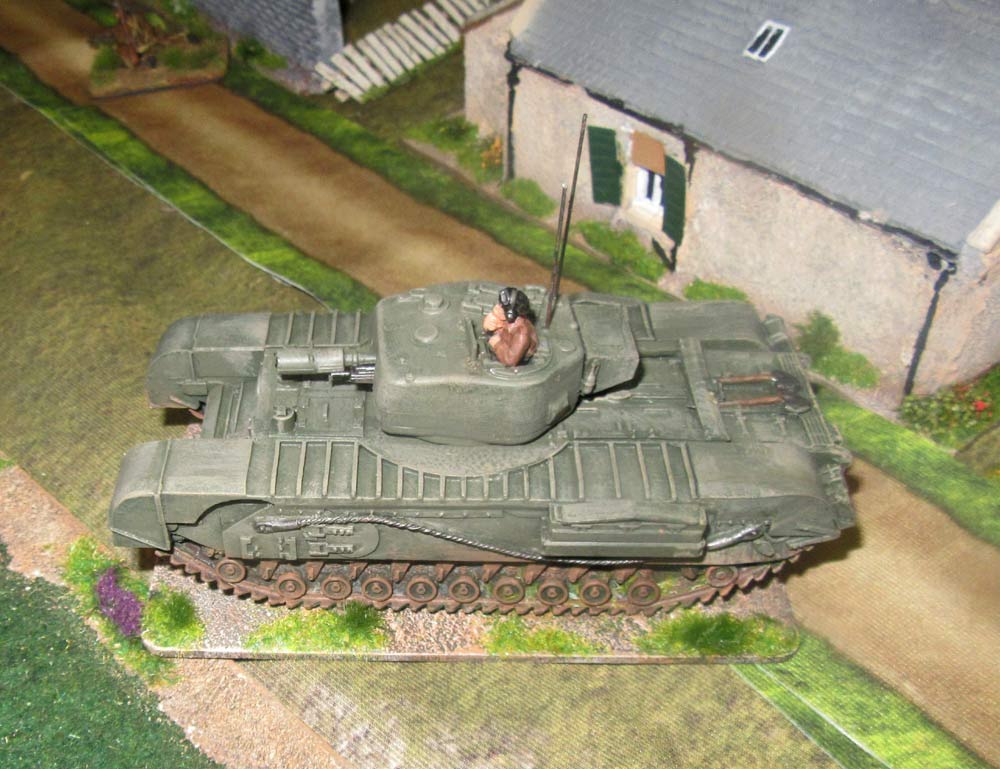 The game proper got underway with Nick advancing his Churchill AVRE and opening up on the barn at the southern side of the main road. This was a lucky choice of target – it was the building Sean had turned into his makeshift “bunker”. The Churchill’s Petard charge smacked into the barn doors and demolished the place with a single shot! The German defenders piled out into the farmyard as the blazing building collapsed around their ears. Sean was lucky to only lose two men in the blast.
 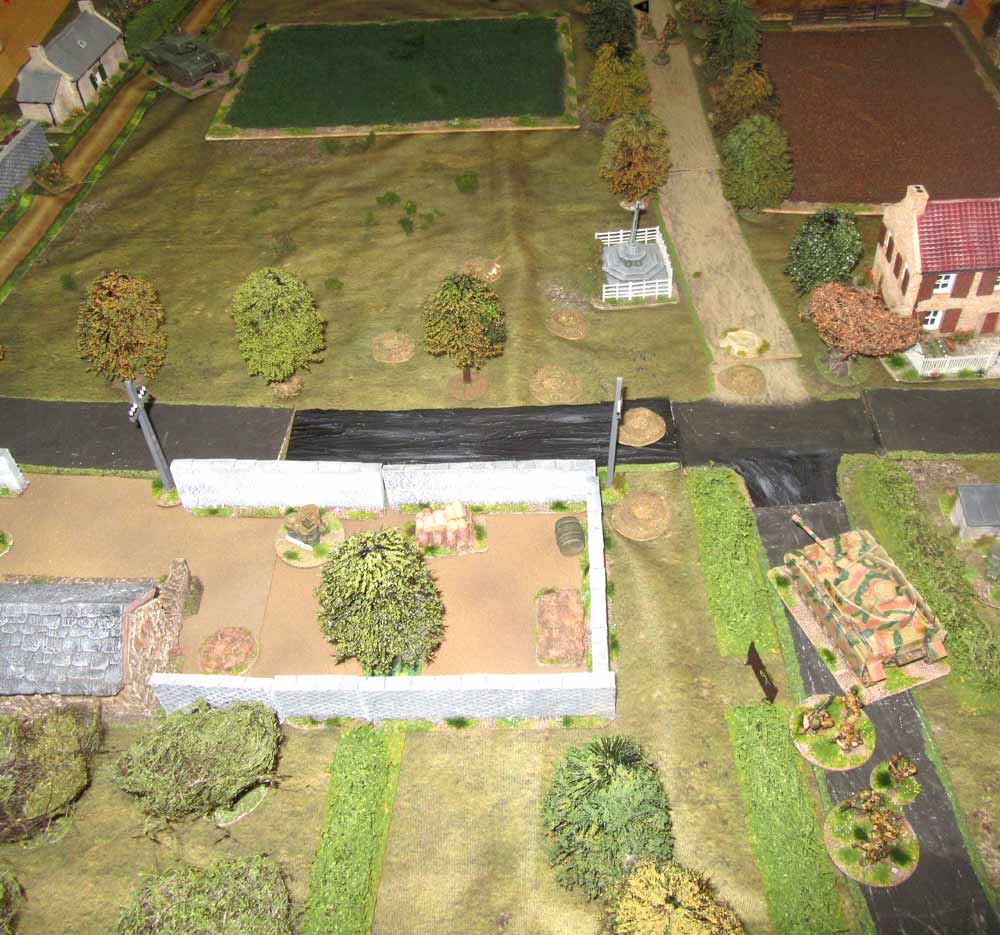 That was when Sean brought up his reserves. He was also pretty lucky – his Panzer IVH trundled up the road from the southern table edge, and once it reached the crossroads near the calvary it started firing at the Churchill. The duel continued for two phases, with both tanks being hit. It ended though, with the Panzer reversing a little down the road, in search of a little more cover.
 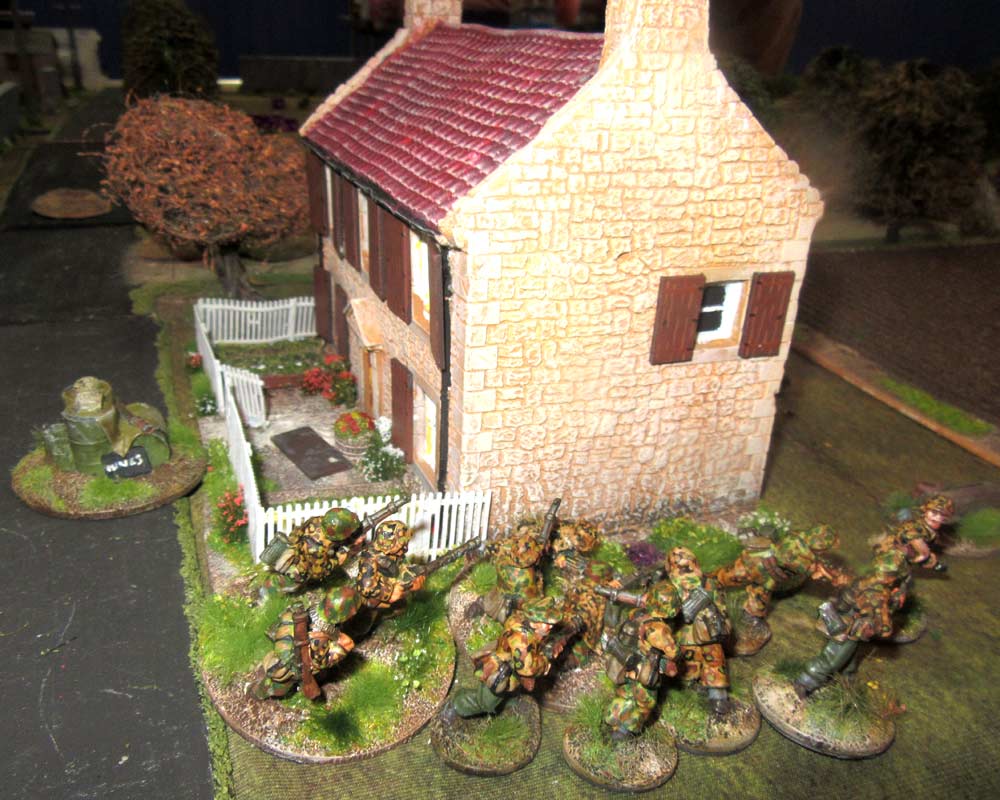 Meanwhile Sean deployed more infantry beside the “jump-off point” near the red-roofed house, and on the road behind his tank. The plan was to advance to the north, across the ploughed field, to take up a flanking position facing the cottage to the west. It was a good idea, but it also made Nick wary of exposing his infantry to their fire.
 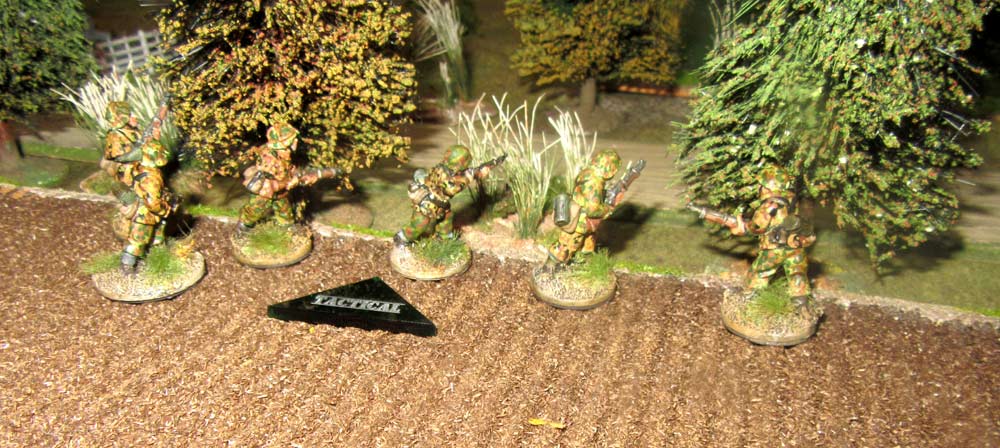 Instead, he used his observer to call down a mortar “stonk”. It deviated badly to the north-east, and he was still walking it back towards the Germans in the treeline when the turn ended. Nick played a CoC die though, which kept the barrage active. That lasted all of one phase, when Sean ended the turn a second time, and so cancelled out the barrage before it was able to do any damage.
 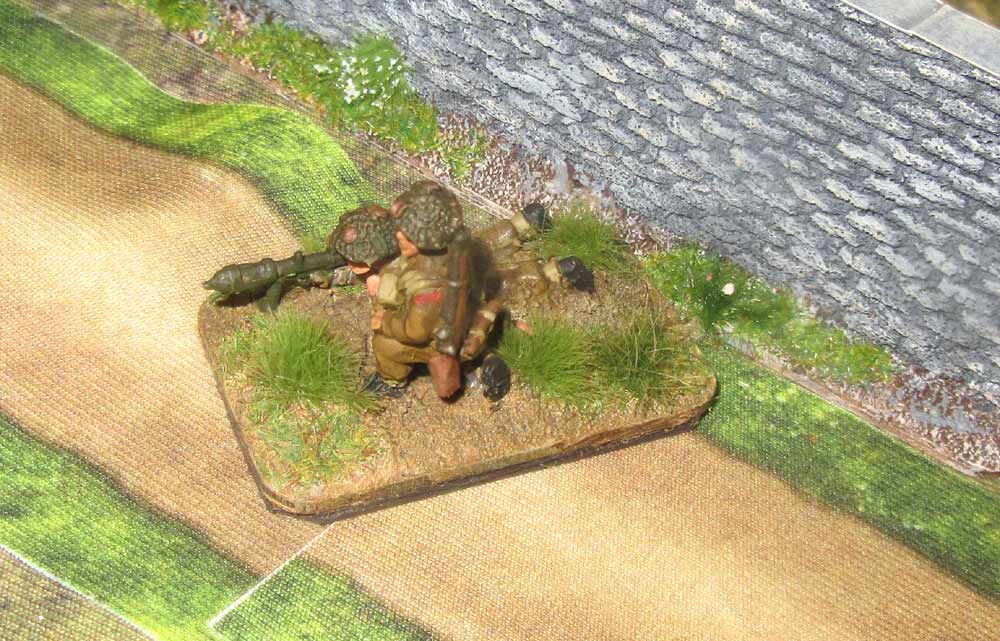 Meanwhile, across the open fields to the south, Nick’s PIAT team had joined in the duel with the Panzer, while a second rifle section and his lieutenant had deployed near the cottage. However, his platoon sergeant, his 2-inch mortar and second PIAT team, and a third rifle section had got lost in the mist. That meant he’d have to win the game with the handful of British troops he had on the table.
 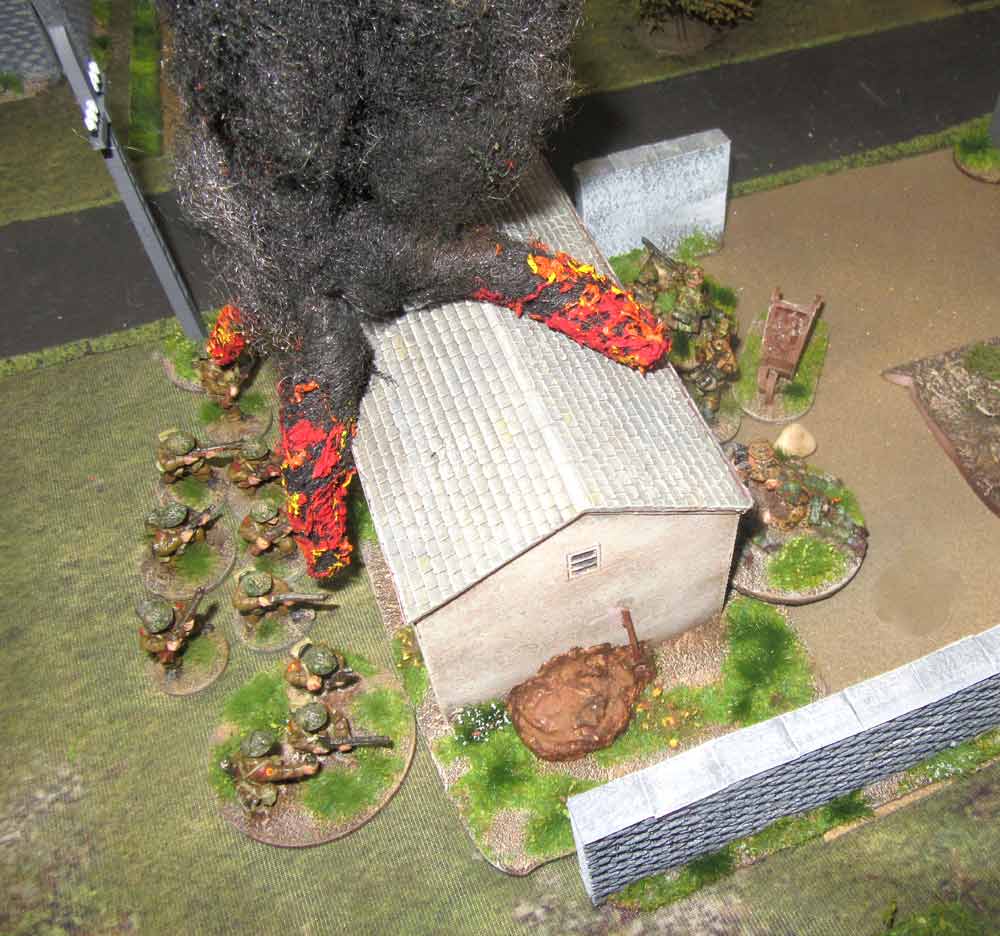 Actually, he played things perfectly. His first section scrambled over the high wall near the cottage, and ran across the road to take shelter behind the burning barn. This meant the Germans were on one side of the building, and the British were on the other! Fortunately for Nick, Sean rolled pretty useless “command dice” in the next phase, and so couldn’t do much to react. That left Nick free to sprint past the end of the farm, and using the cover of the farm orchard he raced off towards the southern table edge.
 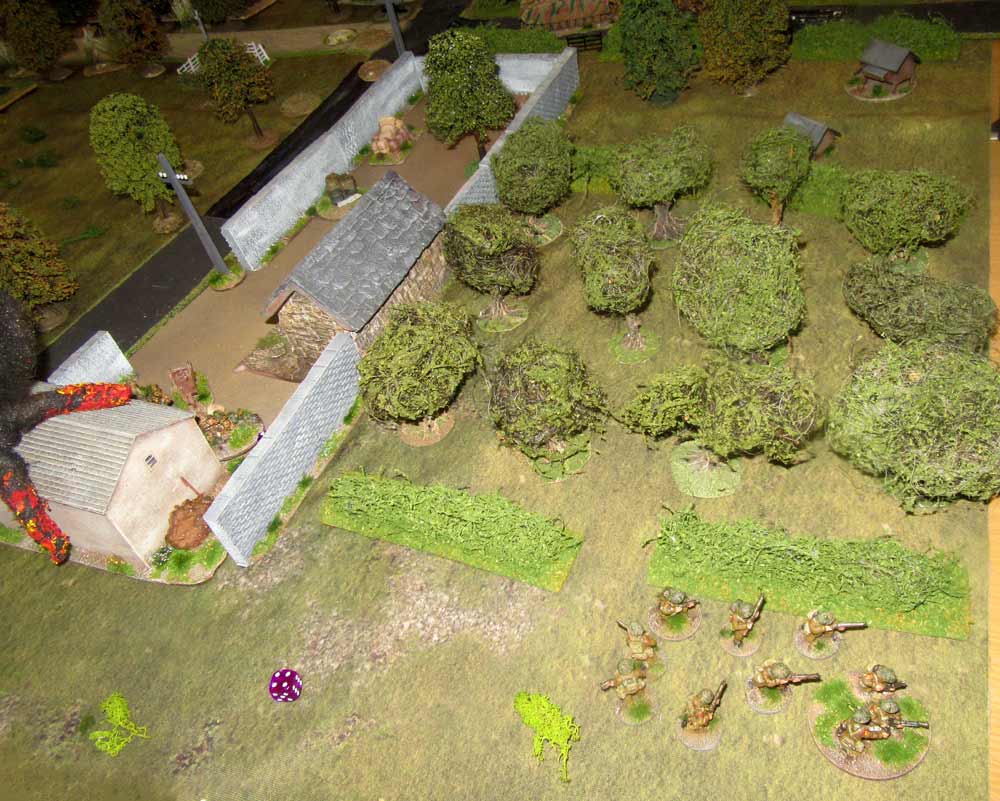 Sean didn’t have any troops on the table which could stop him. The panzer grenadier squad on the road by the tank couldn’t see the British through the orchard, while those in the walled farm didn’t have the dice they needed to give chase. Nick did though, and on the next turn his section exited the table and so won the game. This being a probe scenario, that’s all he needed to do to win – exit a unit off the German table edge. With that, the Germans would pull their outposts back and take up new positions a little way down the road. So, it was a largely bloodless game – just three German casualties, and no British ones. We’ll play the next scenario in a few weeks, set a few hundred yards further to the east, deeper into the little battle-scarred Normandy village of Fontenay-le-Pesnil.
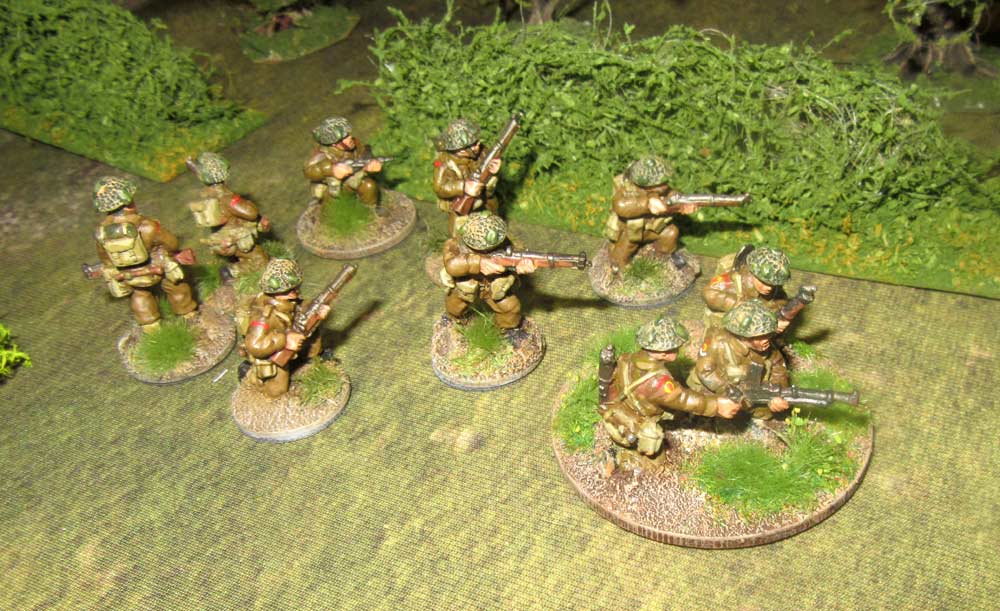
I’m always leery of scenarios that heavily randomise how much of your army is available – you’re one or two bad dice throws away from an extremely lopsided battle (in points).
Seems like it wasn’t an issue this time round? Obviously CoC is always a little prone to this dynamic with it’s unit activation system but the mist was another factor again.
Well Joshua, that’s certainly true, but these “mid-sized campaigns” are worth these quirks, as they give a very good flavour of the conditions influencing the string of battles. The aim I suppose, if you roll badly, is to make do with the forces you do gather, and press on with the task. Thank f@@k The Churchill commander didn’t lose his way though – that WOULD have been a game-changer!