
Jutland, 1916 – The Run to the South
16th November 2017, 6 Comments
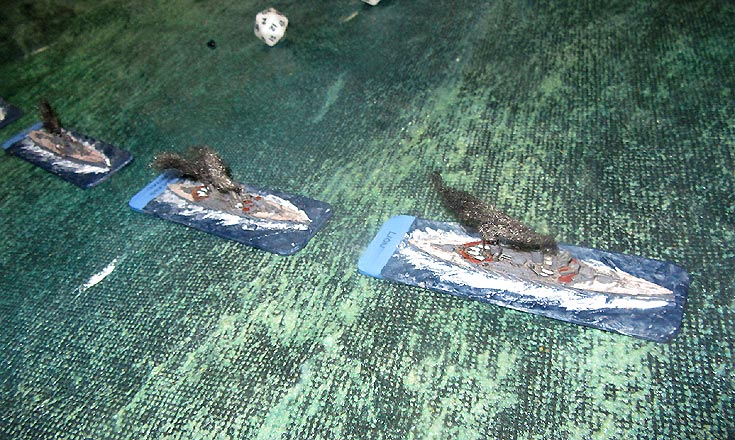
The Great War at Sea, Fleet Action Imminent, 1/2400 scale
Earlier this week, when I asked people what kind of ships they wanted to play with, some said big ones, and other small ones. So, I laid on a game that had both. We’ve wargamed this before – it’s something of a classic action – the opening shots of the Battle of Jutland, when the two battlecruiser fleets opened fire at each other. In the history books – including my own Jutland 1916 – this part of the battle is known as “The Run to the South”. the German battlecruisers were trying to lure their British counterparts onto the guns of the approaching German High Seas Fleet. Meanwhile, behind them the 5th Battle Squadron – four powerful fast battleships – were playing catch-up, trying to join in the action. We started the game shortly before 4pm, on 31st May 1916.  We played the game on an 8 x 6 foot table, reserving the right to move everything if we started sailing off the edge. Both battlecruiser squadrons were about 7 miles apart, in parallel lines. The British battlecruisers – Princess Royal, Tiger, Queen Mary, New Zealand and Indomitable were led by a sixth one – Vice-Admiral Beatty’s flagship Lion. Vice-Admiral Hipper also led the German line, in his flagship Lutzow, followed by Derfflinger, Seydlits, Moltke and Von der Tann. Tucked away behind each line of battlecruisers was a four ship light cruiser squadron, and a destroyer flotilla. For now though, they stayed clear of the action as the big ships began lobbing huge shells at each other.
  When the firing began the two British players – Peter playing Beatty and “German Michael” playing Rear Admiral Pakenham fired first, and while everything else missed, a 12-inch shell from New Zealand struck Moltke, and knocked out her Bertha turret. The Germans – Bart playing Hipper and “MDF Michael” playing Capt. von Egidy – also began scoring hits from the very start. Princess Royal had “Q” turret knocked out, while Lion lost “B” turret. That of course was just the start – soon both sides were blazing away, and the Germans especially began scoring some telling hits.
 By now the two British players realised they were labouring under a major disadvantage. At that range – about 14,000 yards (or 140 cm. on the tabletop) most ships needed to score a “1” or a “10” to score a hit. Even then, the British 12-inch guns were unlikely to penetrate their opponent’s armour. The trouble was, the Germans were rolling D12s, but the British were using D20s. This was to reflect the lousy gunnery of Beatty’s battlecruiser fleet, but it didn’t make the two British players feel very confident in their chances!The two lines were gradually edging closer – by Turn 4 the range between the two flagships had dropped to 12,000 yards (120 cm.) – or 6 sea miles. That was when things really started happening. The Germans now got to hit the enemy on a “1,2,3 or 10”, with “2” or “3” causing multiple hits. First, Lion lost “A” turret, then “Q” turret. Princess Royal lost two turrets as well, leaving her with just “Y” turret still in the game. Tiger remained largely unscathed, but behind her the Queen Mary lost a turret, while Indefatigable at the end lost two. Princess Royal also had her steering gear hit, and she started pulling out of the line, heading in a curve to port – and so closer to the German battlecruisers.
  In two of these cases where turrets were knocked out the British actually suffered critical hits, which turned into “Ammunition” events. this meant they had to flood a magazine or blow up. Both times they made the saving roll, and the ship was spared – at the expense of a gun turret, and the men in the magazine. The best shooting came from Derfflinger, which prompted Bart to launch into song, singing the theme from the first Bond film, only substituting the name of the ship instead. Very irritating – and geekily catchy…
 The Germans weren’t having it all their own way though. Derfflinger lost two turrets – which finally shut Bart up – and Moltke had her director tower wrecked, forcing Michael to revert to less effective “local fire control”. Still, it was pretty much a one-way exchange. Things were starting to look up for the British though. First a zeppelin appeared, radioing to the Germans that more enemy ships were coming. Then, the next turn, the 5th Battle Squadron appeared on the northern table edge.
 These British reinforcements – Barham, Valiant, Malaya and Warspite – were deployed in line of bearing (or in echelon if you prefer), their powerful 15-inch guns ranging in on the Von der Tann – the rearmost German ship. Barham scored a telling hit on the first turn, knocking out the German ship’s Caesar turret. timing was everything. If these fast battleships had appeared a couple of turns earlier, they would have made all the difference. By now though, Beatty’s battlecruisers were in deep doo-doo.
  After another couple of salvos both Beatty’s flagship Lion at the front of the line and Indefatigable at the back had all their turrets knocked out. Peter had to do yet another flood magazine test, and he passed again, sparing Beatty the ignominy of being blown to atoms. Both ships now pulled out of the line, turning towards the west and heading for home. As Princess Royal was still turning to port, that left Tiger, Queen Mary and New Zealand still in the battle line. Tiger and New Zealand was still OK, but Queen Mary was down to just two turrets. then there was poor Princess Royal, which by now had sorted out her rudder, but was heading due north, on a reciprocal course to the enemy, and just 6,000 yards away from the German battle line.
 She had one turret left at the back, and her speed was reduced after multiple hull hits. Still, she was still in the fight. Then, Derfflinger struck again. One of her shells struck the Princess Royal, scoring a direct hit to “X” turret’s magazine. the battlecruiser’s stern blew apart, followed a split-second later by the rest of her, as her other magazines erupted.She sank within minutes. Meanwhile, the GErman destroyers had steamed in and launched a close-range torpedo attack. How can you miss with 30 torpedoes, in two massive spreads? Somehow, I managed it. Not a single darned hit!
  Meanwhile, Rear-Admiral Boedicker’s light cruisers found themselves between the German battlecruisers and the approaching British fast battleships. Showing suitable initiative, Boedicker laid smoke, which screened Hipper’s ships from the enemy behind them. This stoped their shooting, and by now the remaining British battlecruisers had decided to call it a day, and break off the engagement. As they pulled off to the west they covered their move by their own massed destroyer attack.
  this though, never came to pass. As the 9th & 10th Flotilla’s boats headed towards the Germans, they met the 4th Half Flotilla of their GErman counterparts, who promptly charged into the middle of the British formation. Everyone was shooting at point-blank range, and the upshot was the destroyers never got to launch their torpedoes. Instead the free-for-all melee swirled about for a few minutes, then two sides drew apart, battered and bloody. The only casualty was one German destroyer, the V-69, blown out of the water by the British guns. So, what proved a particularly vicious little battle came to an end. The British had lost a battlecruiser, and the Germans a destroyer. However, most of the British battlecruiser fleet was unable to fight, and the Germans still remained in charge of the table. So, the game was rightly declared a minor German victory.All in all it was a great little game, and as fast-paced as it was entertaining – apart from Bart’s singing of course, which was truly dreadful!
Sounds wild. Maybe next time supply Bart with a gag??????
An excellent idea .. except when he isn’t singing he’s quite entertaining…
No way, I do not agree 😉
Sounds like a great game: I wonder how you allowed for the British fleet being commanded by an idiot with such few brains as he possessed being stored about three inches south of his belt buckle! I can remember my music teacher (ex-RM) who fought at Jutland telling me about it and seeing the two halves of HMS Invincible sticking up from the water. I lost a great-great uncle in her, a reservist and Ashanti War veteran.
Splendid report.
Which rules did you use?
We use Fleet Action Imminent, which is the World War 1 version of General Quarters 3.
I find them excellent.