
Crossing the Berezina, 1812
27th November 2020, 2 Comments
The Napoleonic Wars, Black Powder, 28mm
I got the chance to stage a game at very short notice, thanks to a small window in the lockdown restrictions. My friend Gyles fancied a Napoleonic game, and wanted to field his new Saxons. Lindsay wanted to play, but had to do so virtually thanks to Covid restrictions. So, I came up with this wee scenario, based on the crossing of the River Berezina during the Retreat from Moscow, in November 1812. The scenario was lifted directly from the Black Powder supplement A Clash of Eagles, and was played out on a 6×4 foot table. I was meant to be neutral, but I landed up siding with Lindsay, who was trying to give her orders using a video call. 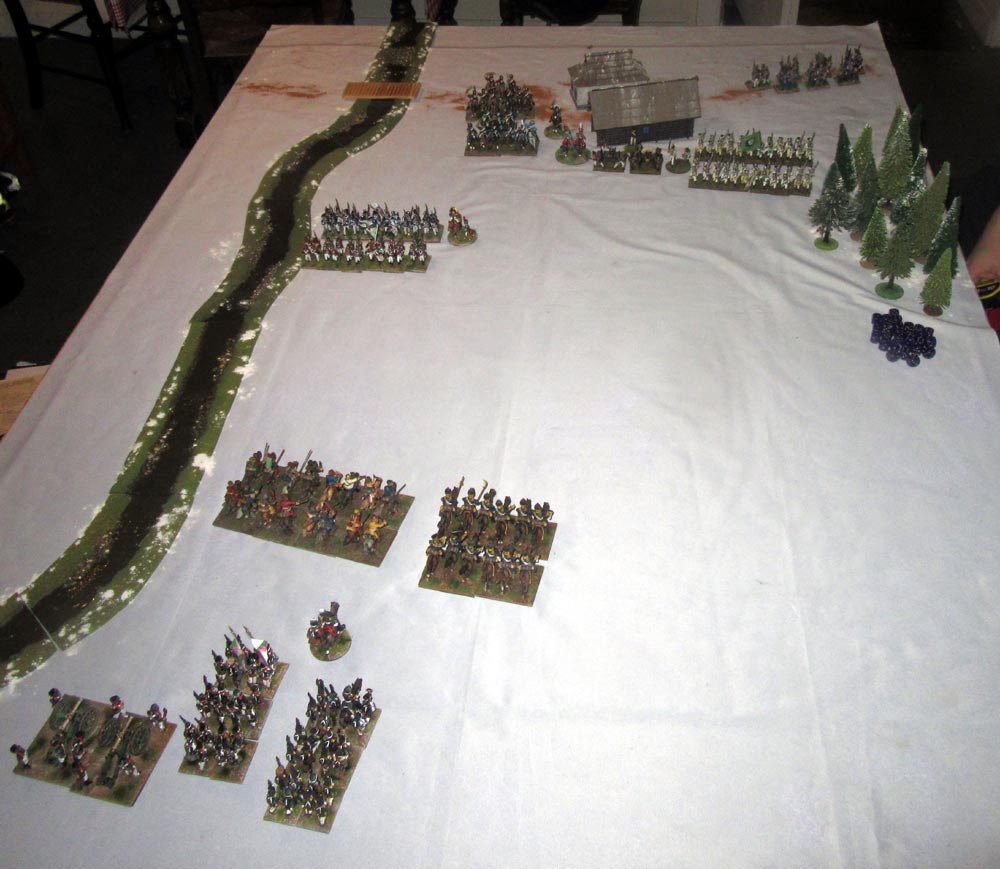 Actually, the scenario called for more troops than we thought we could cope with in a laid-back evening, so we scaled everything down by half. The aim for Gyles and his French Allies was to protect the retreat of the French army past the small village of Studienka, and across the pontoon bridge spanning the river. A number of French straggler units spent the game heading south to safety along this route, while their German allies tried their best to keep the Russians at bay.
 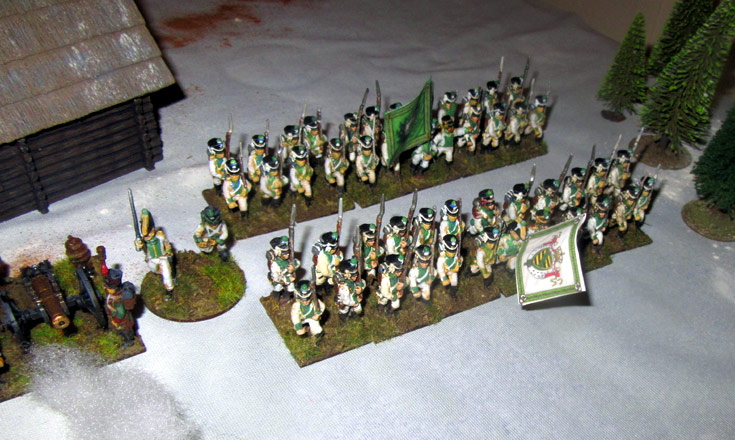 The Allies had two brigades, each of two infantry battalions, backed up by a gun battery and a brigade of Allied light cavalry. Attacking them was a mixed force of Russians – five battalions of infantry, backed up by three regiments of cavalry and two gun batteries. Gyles deployed his Saxon brigade on the right, in front of the village, along with his guns, while the mixed Baden and Hessian brigade held the right flank. His cavalry brigade with understrength Saxon and Hessian light cavalry was held back in reserve.
  Lindsay rolled well to start, and her Advanced Guard of two infantry battalions (one jaeger, one musketeer) deployed on the Russian left, and headed straight for the Hessians. Supporting them was a gun battery and a mixed light cavalry brigade of hussars and Cossacks. Things didn’t pan out so well on the right, as for the first two turns the rest of the army failed its command rolls and refused to march onto the table. By the time they did, the battle was already well under way.
 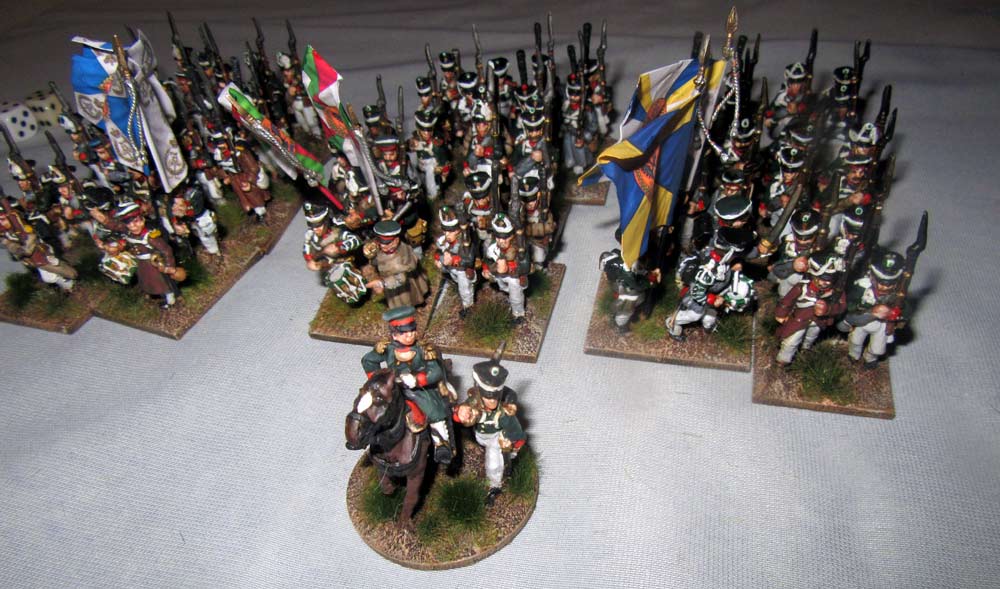 Over on the left the Hessians stood firm as the Russians deployed their guns at close range. Ignoring the casualties from musketry the Russian 6-pounders blazed away, and disordered and hit the enemy. This strange duel continued for two turns, by which time the supporting Russian cavalry had raced past the Allies, into the gap between the two wings of the Allied line.
 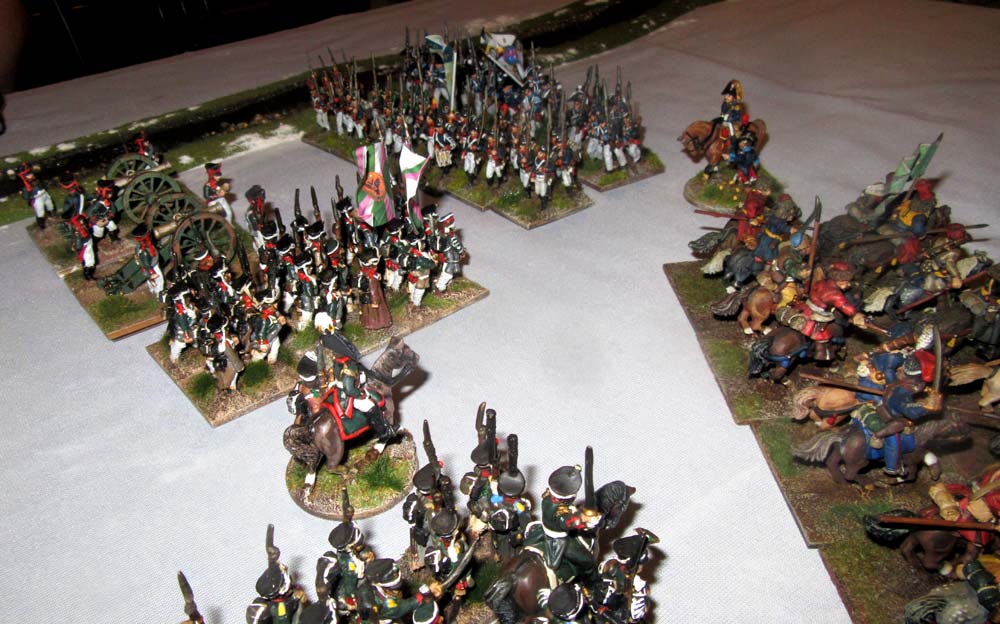 Gyles responded by unleashing his own cavalry. The Cossacks evaded a charge by the Hessian chasseurs, but the French hussars were caught by the Saxon chevaux-legers, then the next turn they were hit in the flank by the Hessians. Amazingly they survived to limb away to regroup. So did the Allied cavalry though, and both groups of horse now stood facing each other, desperately trying to rally off “hits” so they could go in again.
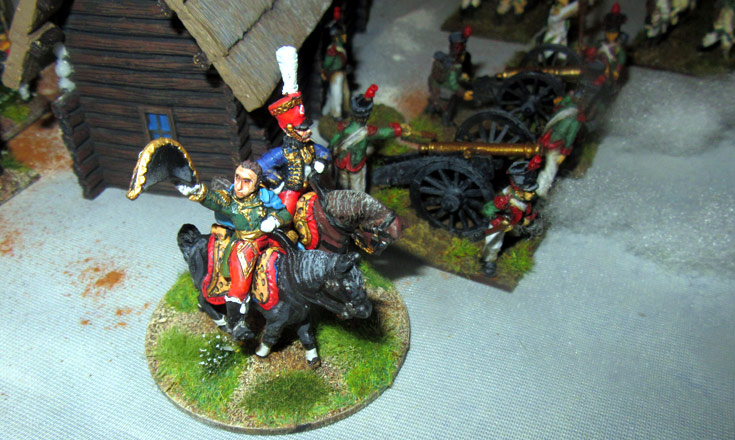
 By this time the Russian right-hand Main Body had arrived on the field – three battalions of infantry and a brigade of cavalry, plus guns. Things were looking a little scrappy now, with battered cavalry units all over the place. The Russian horse battery was in action no, peppering the Saxon cavalry, and softening them up for the next round. Lindsay realised that if the Russians were to make any headway, they had to see off the Allied cavalry, and then get to grips with the enemy foot. So, she ordered her cavalry in again.
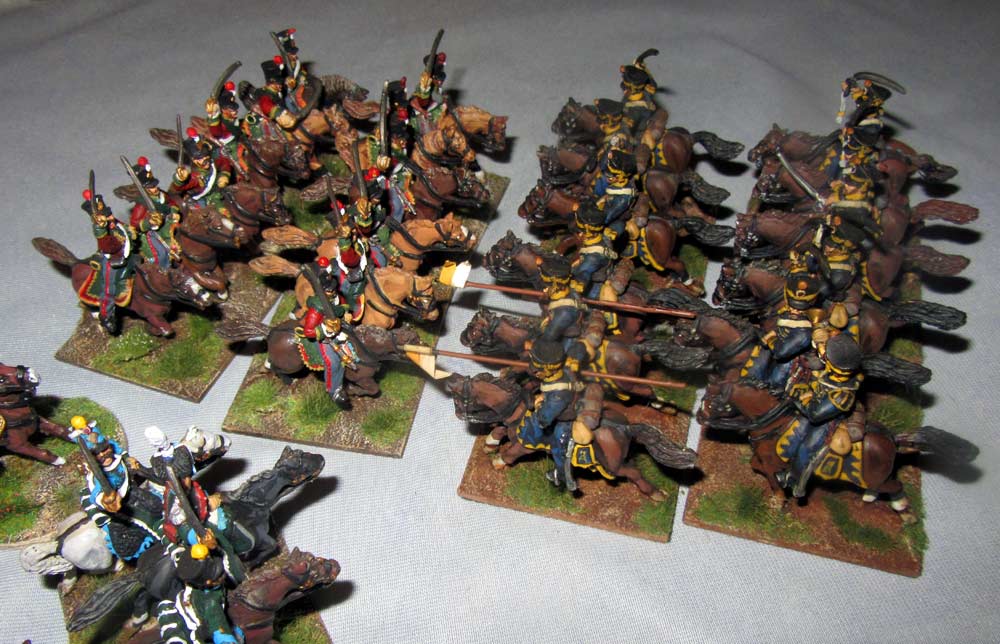 This time the clash went more the Russian way. The smaller Hessian chasseur unit was badly roughed up, and failed its break test. So, it was out of the game. The Russian hussars though, were forced to retire by the Saxon cavalry for the second time in the game. The Russians had a third unit of dragoons, but their commander (me) kept failing the command role, so they never really reached the front of the battle. Meanwhile, the Hessians on the Allied right were suffering but still holding, and the clock was ticking.
 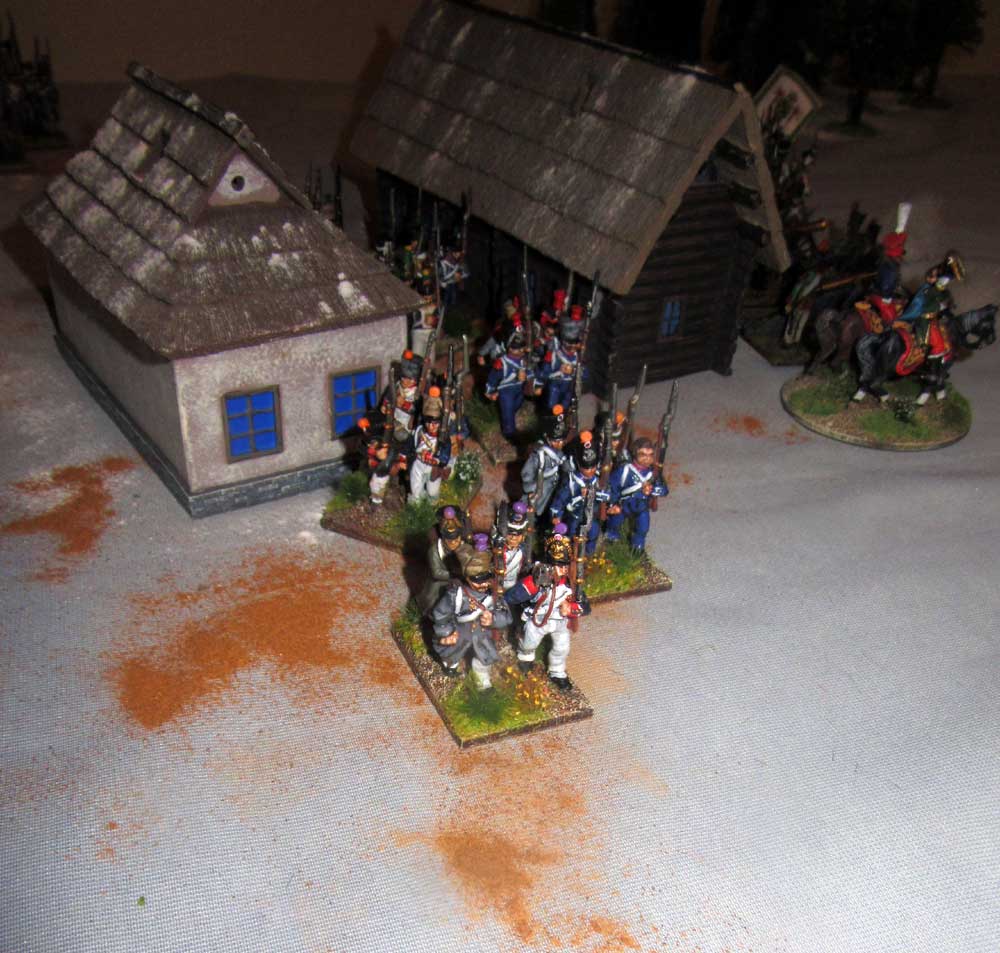 While all this had been going on, the French stragglers – the remnants of the Grand Armee – had been shuffling towards the bridge, and then shambling across it. So far the Russians hadn’t managed to cut off this crucial route to safety on the south bank of the river. Still, they kept pushing hard. By now the Russian infantry on the right had come within musket range of the Saxons, and a spirited musketry duel began. Over on the Allied right the doughtly Hessian Leibregiment (below) finally were forced to retreat, but their place was taken by the still fairly fresh Baden battalion behind them.
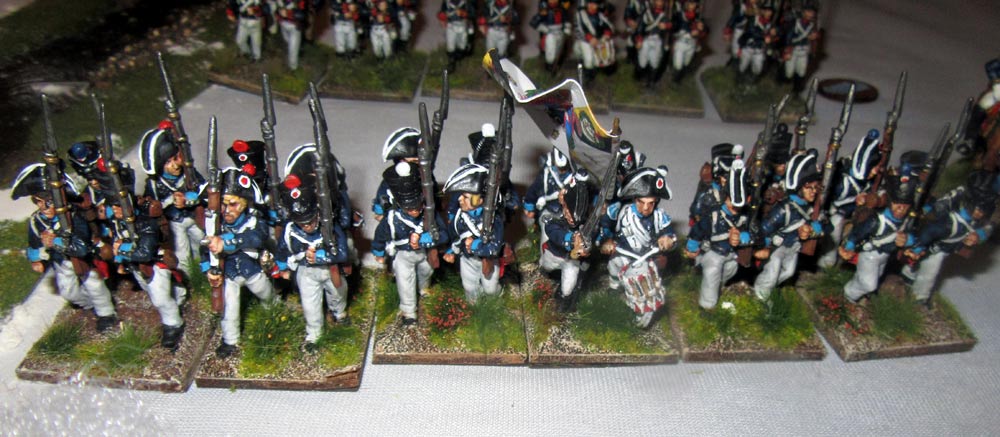 In the centre the cavalry of both sides were still winded, but Lindsay had managed to push her Cossacks forward again, in an attempt to sneak their way through the gap in the Allied line and so on to the retreating stragglers beyond it. However, it wasn’t to be. Time thwarted us. The German line was still holding firm, but the pressure was beginning to tell. I think in another turn or two at least one of Gyles two infantry brigades would have cracked. In the centre his Saxon cavalry were still in the game – just – but the Allied cavalry now had numbers on their side – or would have if the Smolensk dragoons ever joined the fray. However, with the stragglers now crossing the bridge it was a clear defensive victory for Gyles, given we had to stop the game there. No doubt the Russians will have a chance for revenge before too long – if we ever get out of this damned cycle of Covid restrictions and lockdowns…
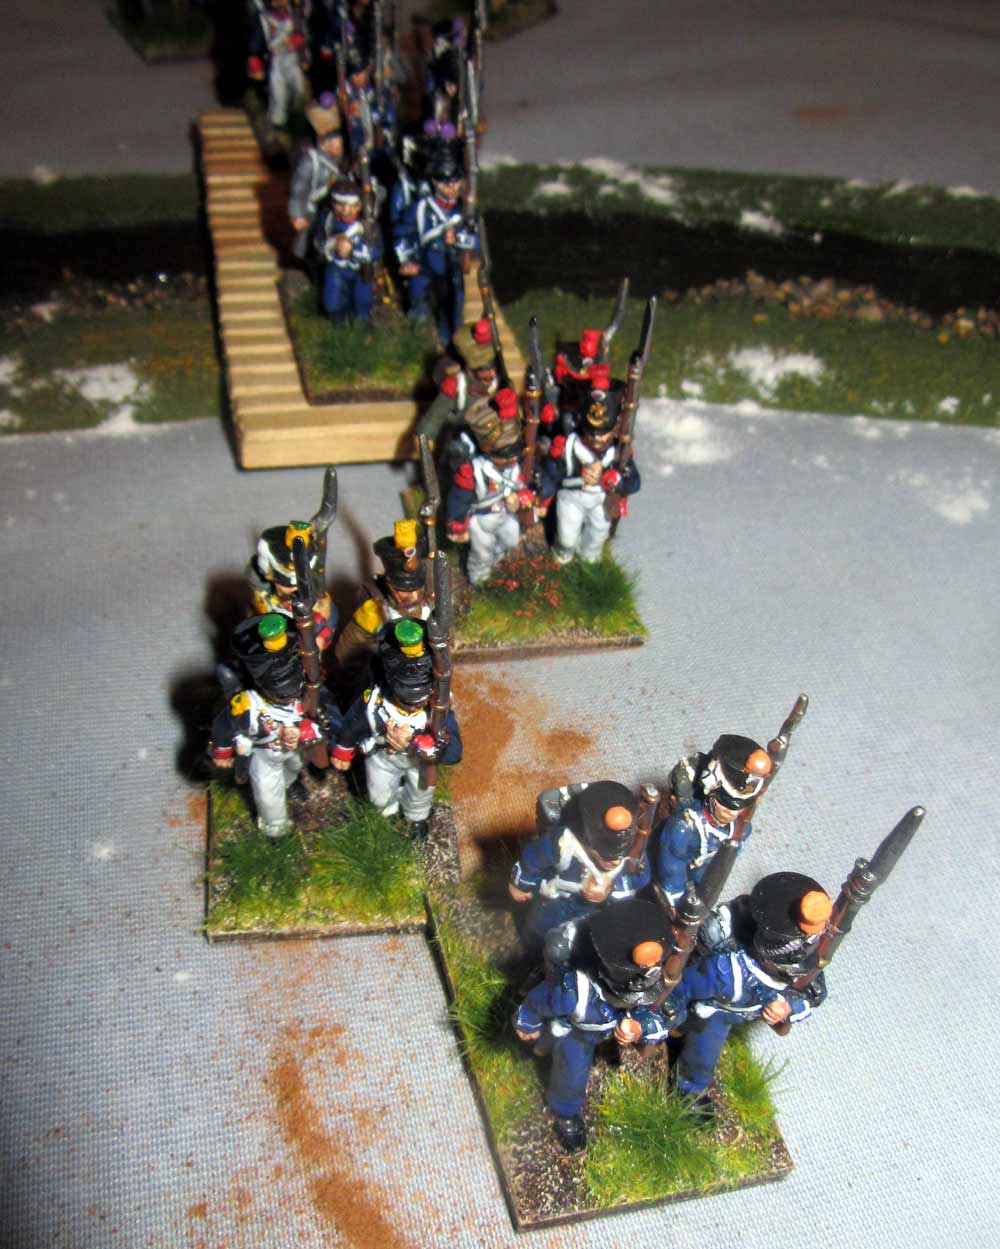
Hi, I’ve just found your great website! I’m solo wargaming with 28mm Black Powder Napoleonics using 66% distances. Your photos and battle reports are really inspiring, thank you!
I’m glad you find it inspiring, Malcolm!