
Massacre at Bart’s Farm, 1777
29th October 2015, 0 Comments
The American War of Independence, Black Powder, 28mm
This game was laid on by Michael Schneider, who supplied all the lead, worked out the scenario and umpired the game. Actually he also took charge of his beloved Hessians on the British left flank, so he was sort of an umpire with mercenary tendencies. Anyway, this small game involved a clash between two small brigades. The British had one of line, grenadier and light units (one each), plus skirmishers, while the Hessians had two foot regiments, a grenadier regiment and a unit of jaegers. Both brigades were supported by a gun, and the British also had the backing of a small unit of light dragoons. For their part the Americans (commanded by Bart Zynda) had a similar number of units – half continental regulars, the other half veteran militia. Again they were supported by two guns, a light dragoon unit and skirmishing Indian allies.
 The battle began well enough – both British brigades advanced on the enemy, and the British lights demolished the Indian skirmish unit lurking on the copse beside Bart’s farm. My British brigade pressed on, and drove back the American militia standing in their path. Their withdrawal opened up the area beyond the farm, and the British readied themselves for an assault by sending their skirmishers into the farm. From that strongpoint they opened up a harassing fire of the American infantry, deployed within close range behind the farmstead. Meanwhile on their left the Hessians advanced, one regiment behind the other, planning to defeat the enemy through a bayonet attack rather than using firepower.
 The Americans had the firepower though -their 6-pounder battery was well-placed to fire into the flank of the advancing Hessians, so when the inevitable melee came they were already softened up for the waiting continentals. Both sides started losing units – first the leading American unit, then the Hessian grenadiers. I sent the 17th Light Dragoons over to help Michael, but some pretty lousy die rolls meant they took their own sweet time riding around the back of the British lines.
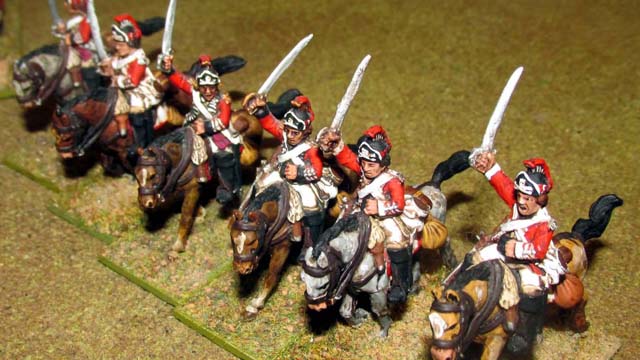
 Fortunately the American cavalry was equally out on a limb, and made no real contribution to the battle. To lift some of the pressure I sent the British grenadiers forward, who launched a spirited bayonet charge that saw off a unit of American militia. then – disaster of disasters – a second Hessian unit failed its break test, and was lifted off the table. This was particularly galling as it had just bested an American unit in melee.
 Fortunately the American militia broke and ran too, which softened the blow a bit. Still, with only one unit left and facing a large battery of guns, Michael pulled back to his starting position, and ended the game on the defensive. My British failed to charge for several turns in the middle of the game, thanks to demoralisation (the Americans kept rolling “6s”)! It was only in the last turn that they got their act together, and the British grenadiers launched their spirited charge. That was where we left the game. it could still have gone either way, and the casualty toll in units was 4 American and 2 Hessian. This though wasn’t as decisive as it sounded, as one of the American units was just a skirmishing group of Indians, and they’d formed themselves into a pretty strong defensive line. So, the game was deemed a draw. It was an enjoyable little game, and one that gave both sides quite a few tactical headaches.