
Action off Minorca, 1805
24th March 2022, 2 Comments
The Age of Fighting Sail, Far Distant Ships, 1/1200 scale
When I was south last week I picked up two battle-ready French ships-of-the-line. My friend Jack Glanville had kindly painted and rigged them for me. So, we decided to stage another fleet action, with the 74s Pluton and Duguay-Trouin reinforcing the French contingent. In this game, played rather unusually in the Territorial Army Centre, a British fleet of eight ships of the line engaged an Allied one of 12 ships – 5 Spanish and 7 French ones. This would be a classic clash between quantity and quality. 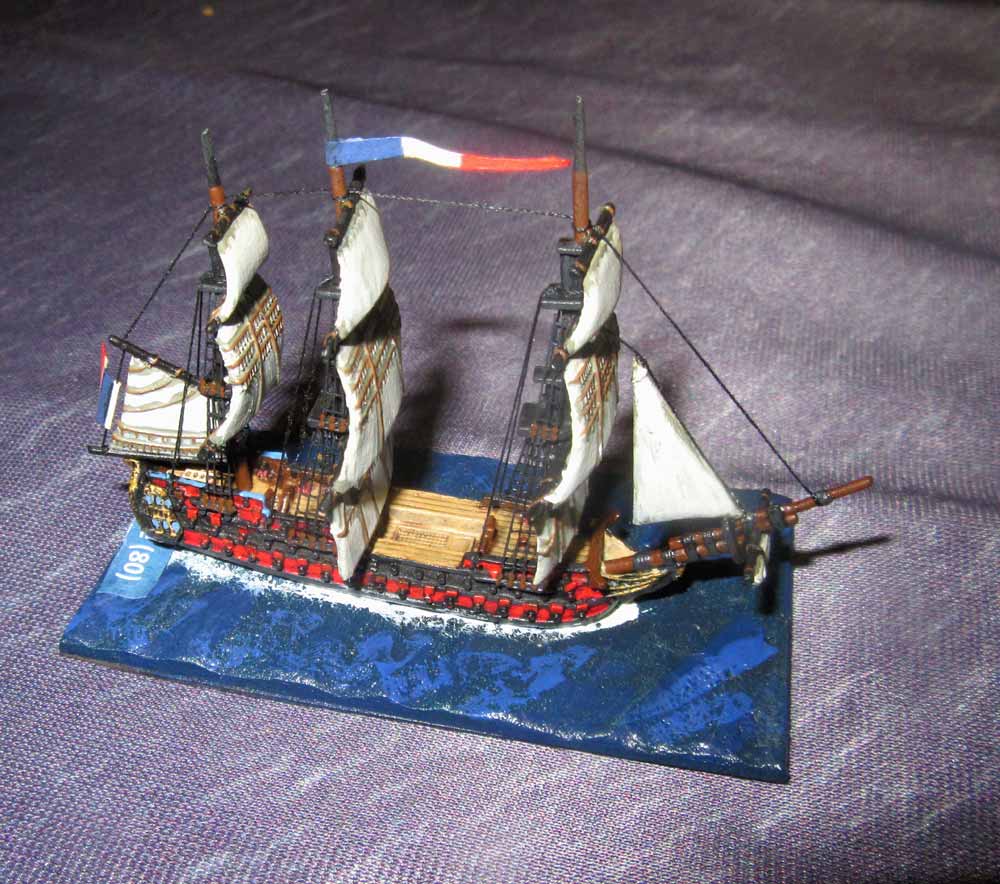 Sean (Vice Admiral Collingwood) and I (Commodore Freemantle) commanded the British, with two squadrons, each of four ships-of-the-line. Reprising their roles from the last battle, Nick (Rear Admiral le Pelley) commanded the French, while Chris (Vice Admiral de Alava) led the Spanish, and acted as overall commander of the Allied fleet. This time though, Nick’s squadron was reduced to four ships, as there was a second French squadron, three ships controlled by Mally (Commodore Cosmao-Kerjulien).
 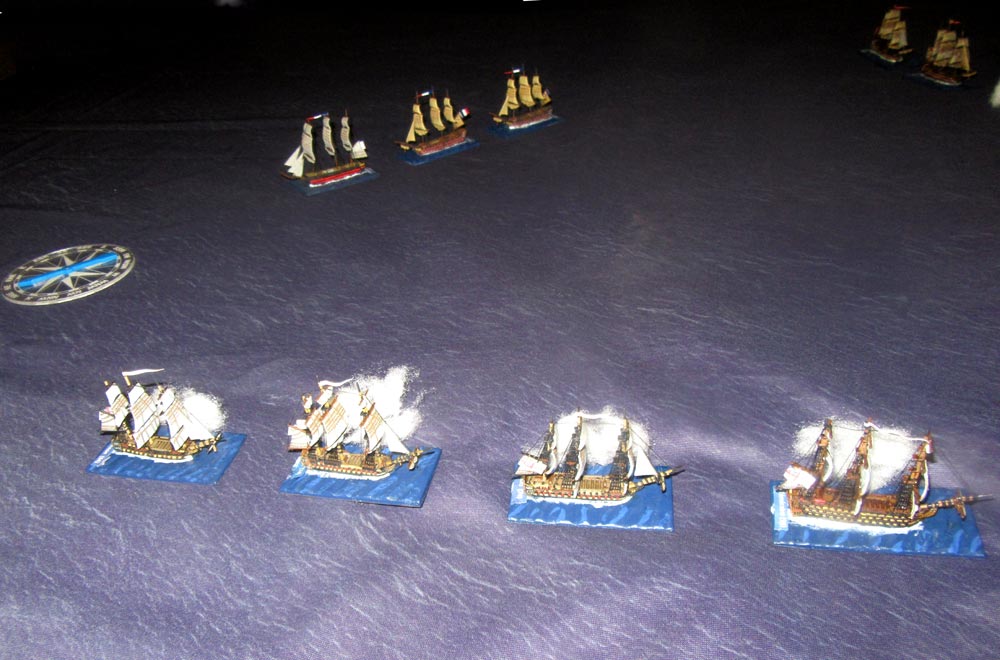 The game was played out on a 6×6 foot table. The Allies had the weather gauge, meaning Collingwood couldn’t really close with the enemy. So, he had to wait and let de Alava make his move. From the start, Nick and Chris closed the range steadily, their line roughly conforming to the British one, but edging a little ahead of it. Mally though, led his three French ships towards the rear of the British line, closing as fast as he could. We could either gang up on that small French squadron, or bring the rest of the Allied fleet to battle.
 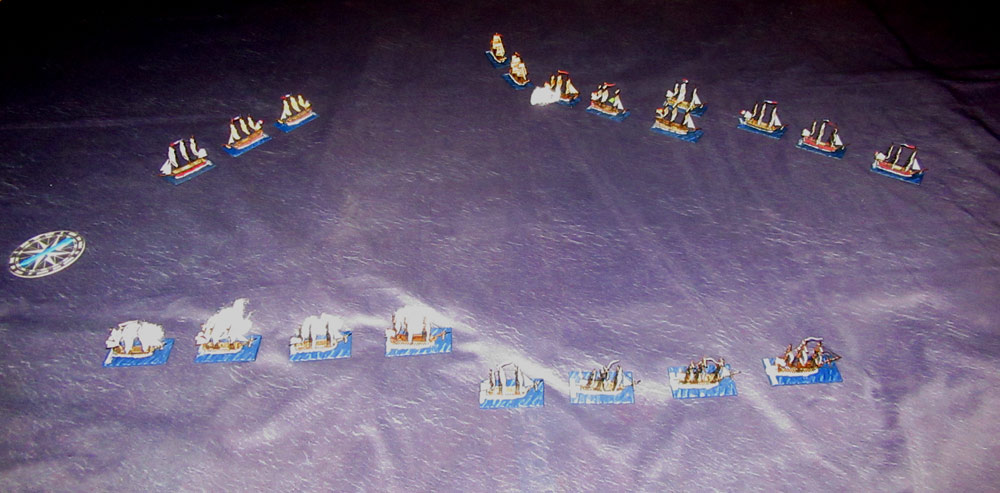 We really had problems with the wind – and closer to the enemy and we’d be in irons. We were sailing quite slowly too, due to the wind direction, and so Sean, with the leading squadron, wasn’t able to stop Nick’s ships passing the head of his line, and then turning to cross the “T” of the British line. The firing was general now, albeit at long range, and ships of both sides began suffering minor damage. With these aggressive Allied tactics though, it was clear things were going to hot up very quickly.
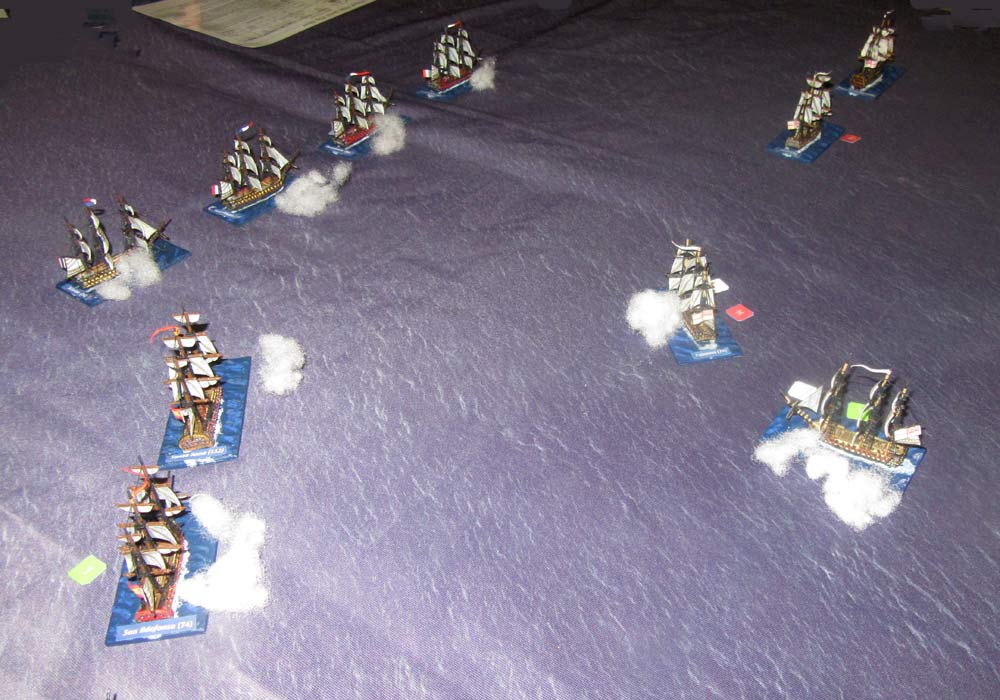 My biggest problem was Mally’s squadron. In these excellent rules, the arc of fire is pretty limited, and while I peppered his ships, they soon passed astern, as the British line continued on towards the east. The Allies though, with the coast of Minorca behind them, made good use of the wind, and Mally’s ships carried on until they began crossing the rear of my line. That’s when it all went wrong!
 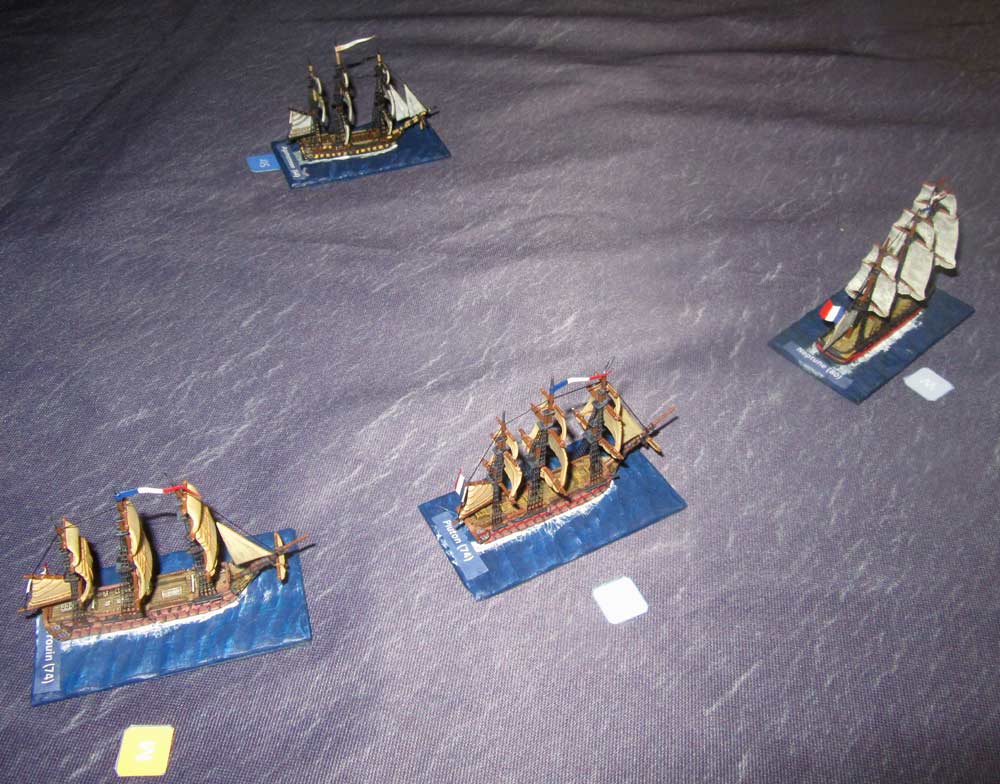 My rearmost ship was the 64-gun Agamemnon. It had done some good work, shooting up Mally’s two leading ships Neptune and Pluton, but it wasn’t enough. Neptune’s gunnery wasn’t too great, but Pluton was perfectly placed for a stern rake at medium range. Mally rolled perfectly, while I rolled a “1”. The result was a devastating broadside, which forced Agamemnon to strike! All kudos to Mally, but at that point I was rather cursing Jack for helping me add Pluton and Duguay-Trouin to my French fleet!
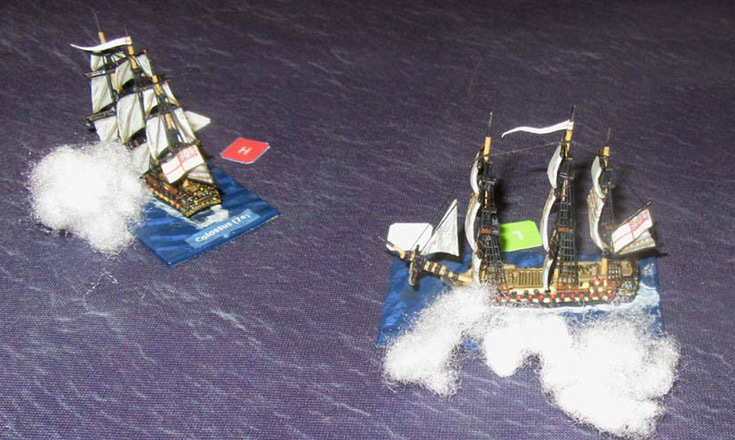
 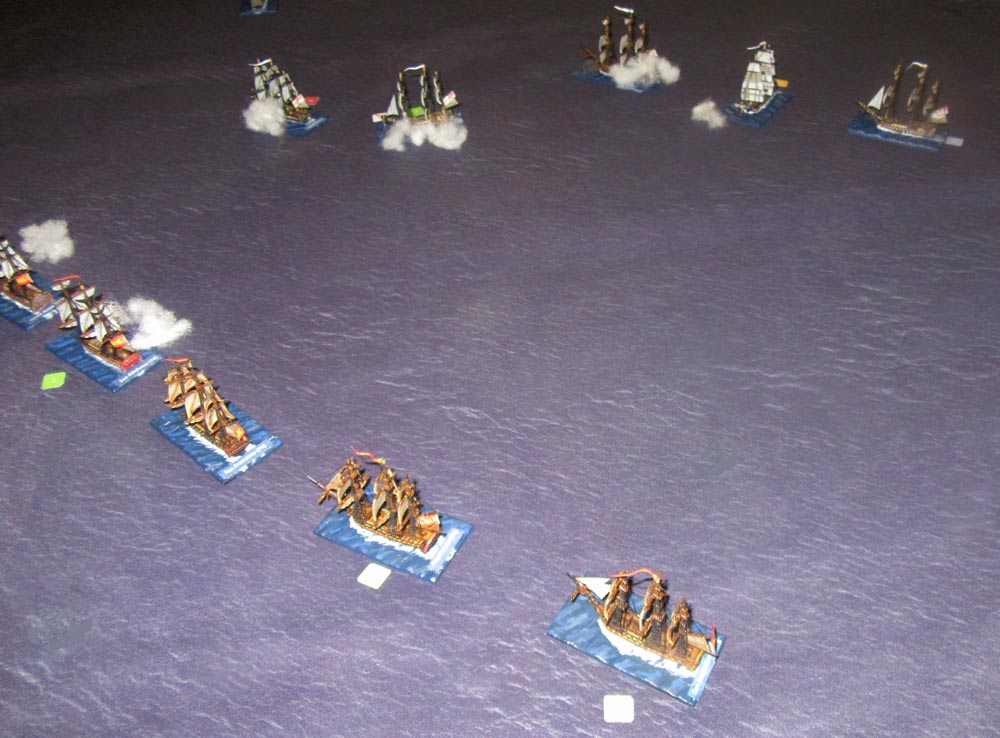 By now Sean was in trouble too. He’d been forced to turn his line to starboard, to stop Nick’s squadron from crossing his “T”, and raking his flagship at close range. The trouble was, while the flagship Royal Sovereign (100 guns) was still in good shape, as was t74 gun Orion astern of her, his last two ships Colossus and Bellerophon were taking some real damage. as the squadron turned in succession, when they reached the turning point themselves they were right under the guns of both Nick and Chris’ squadrons.
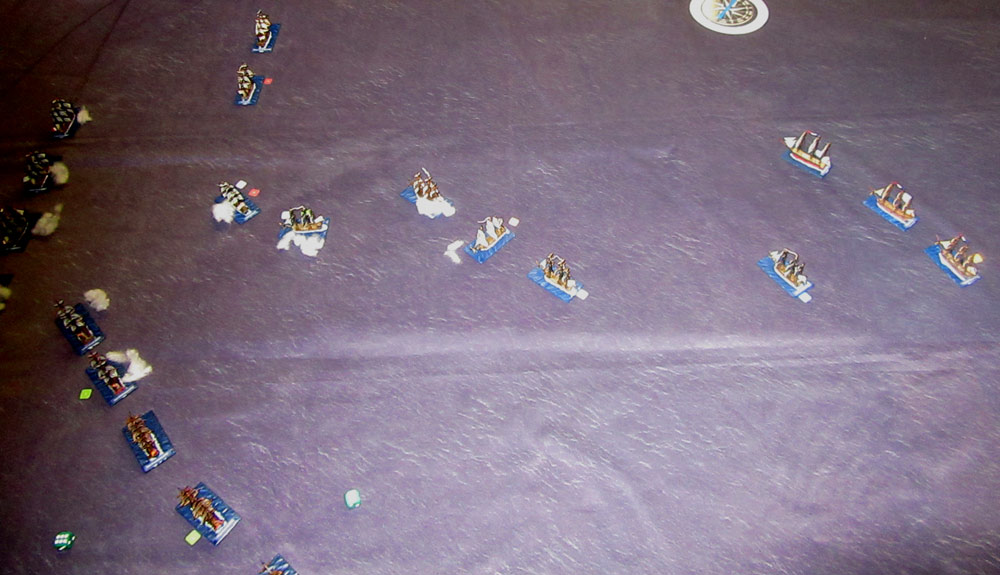 It was now a matter of gunnery – and positioning. My remaining three ships raced up to support the two beleaguered British ships, while Mally busied himself making sure Agamemnon was secured. Then my 74 Mars took a critical hit from the Santa Anna, which wrecked her steering. She headed into the wind, and so was out of the fight until her crew could repair the damage.
 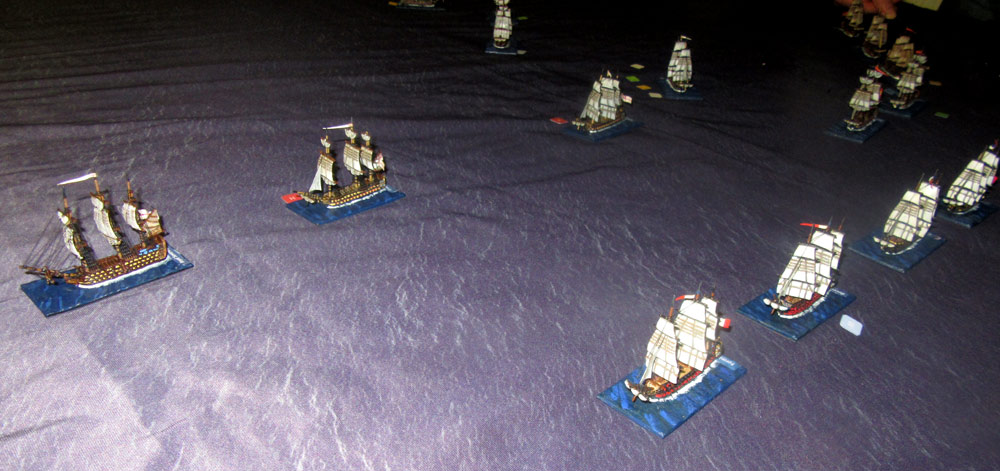 The battle was now reaching a climax. Either British gunnery would prevail, or we’d be forced to break off the action and run away. Unfortunately for us, Nick’s die rolling was surprisingly good. Orion, Colossus and Bellerophon had all suffered heavy damage by now, with reduced their ability to fight – and to take more damage. Things were starting to look bleak. my own squadron – reduced now to just Temeraire and Thunderer – did well enough holding off the five ships of the Spanish squadron, but things were now looking bleak.
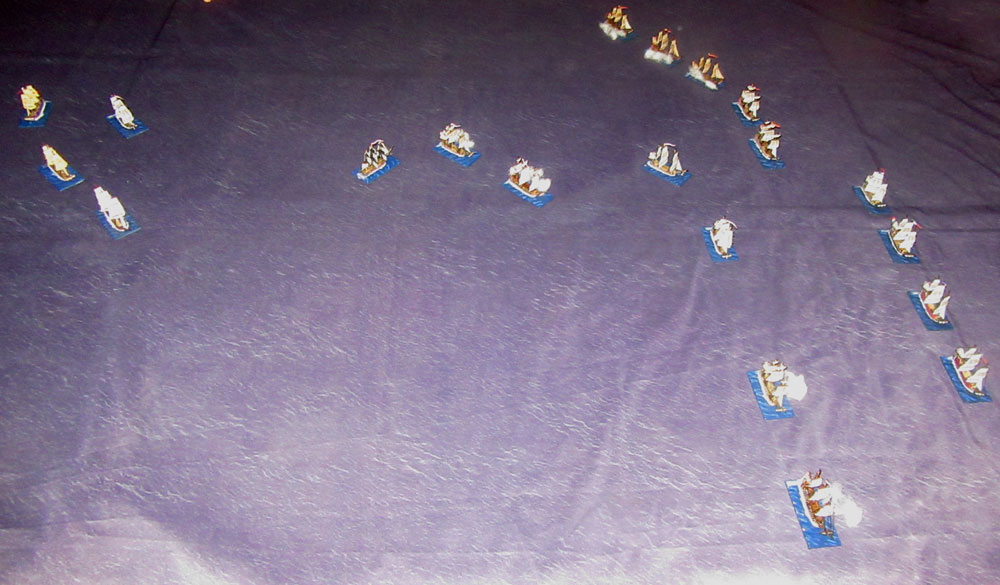 So, Sean made the only sensible decision in the circumstances – he ordered the fleet to disengage. Although this wasn’t in the spirit of British naval mastery, it did mean that we could save the fleet from what was shaping up to be a full-blown disaster! This though, wasn’t that straightforward, as we had a handful of badly-damaged ships to deal with, and of course Mally’s small squadron was in a position to block out escape.
 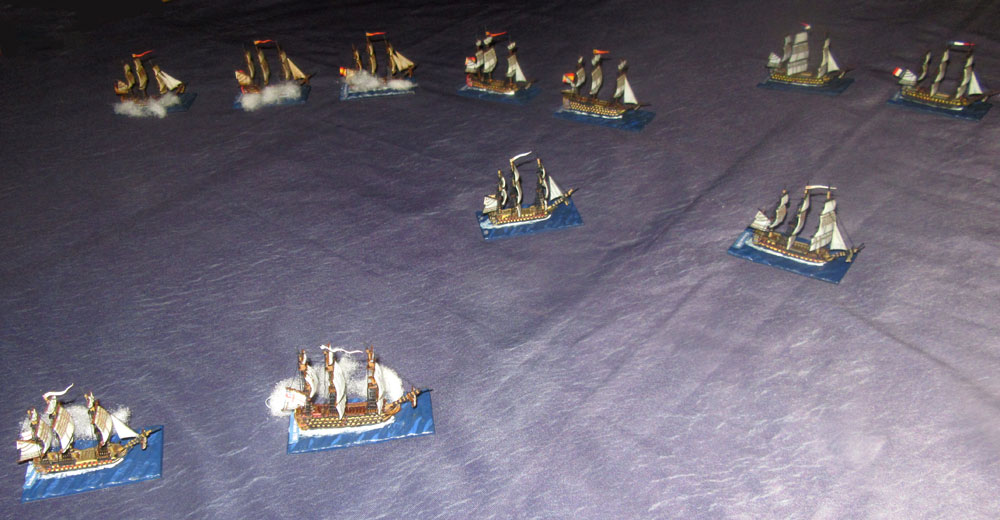 In the end though, we were spared the problems of extrication as we ran out of time. In terms of where the ships were we’d probably had made it, as for once the wind was in our favour. However, while we didn’t game it out, David Manley thought of this when he wrote the rules. He included a post-battle section, and so I rolled dice to see what happened. In the end, Mars fixed her wheel, and limped away, as did Bellerophon. We couldn’t save Colossus though ( below), and so she struck her colours. So, the result of all this was a glorious Allied victory, with the British losing two ships-of-the-line. I’ll be penning my “Reasons in Writing” to the Admiralty, as will Sean, while among the Allies all is joy and jubilation at finally getting one over on “Perfidious Albion”! Well done Chris, Mally and Nick!
Splendid stuff, if a serious disappointment for the Admiralty.
Once Cosmao had separated from the rest of the Franco-Spanish line to double the British rear, Collingwood should perhaps have tacked to open up the options of either attacking the weaker Spanish ships now at the rear of the Franco-Spanish line or concentrating on Cosmao’s isolated French division.
The Royal Sovereign seemed to have reached too far ahead, leaving three British ships fighting nine of the enemy.
Well done indeed by the Allied admirals.
It seems the rules worked well enough though.
Yes James, our two British squadrons had real problems supporting each other, but I set it up that way, giving the British a close-hauled course, with the Allies to windward. As you said, we should have concentrated, but we were too lubberly!