The Fight for the Swiepwald, 1866
10th July 2025, 0 Comments
Bismarck’s Wars, Brigade Fire & Fury, 10mm
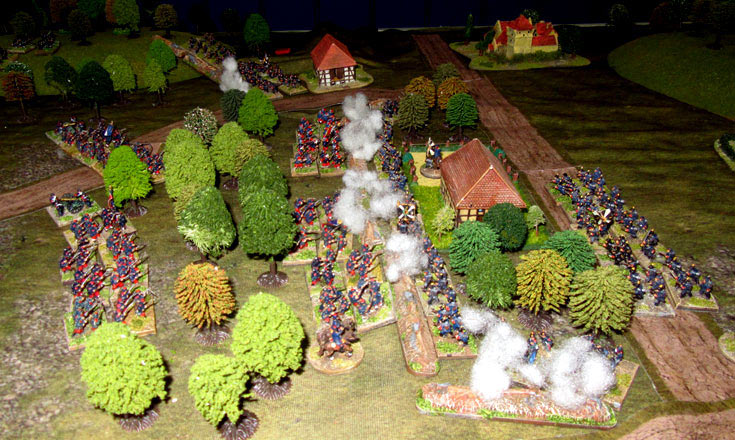
Having just written an Osprey Campaign on the Battle of Königgrätz 1866, I thought I’d let off steam by refighting part of the battle. The Swiepwald – the large wood at the bend in the dog-legged Austrian line, was a big sponge, sucking in over a quarter of the Austrian army. The Prussian 7th Division held the wood against all-comers until the Prussian Second Army arrived to demolish the Austrian right wing and win the day. That then, is this week’s game. For this, I gave Sean the choice of sides, and he sensibly opted for the Prussians. After all, both in games and real life they have a better track record, and they did win the real battle. In our layout, the Swiepwald sat in the middle of the 6×4 foot table, with the villages of Benatek to the north, Cistowes to the south and Maslowed (shown below) to the east. The first one was occupied by the Prussians, while the other two were in Austrian hands.
  Sean though, was outnumbered. His Prussian 7th Division commanded by Maj. Gen. Fransecky had four regiments (each roughly 12 stands strong), plus the odd small unit of jägers and cavalry, and a pair of artillery batteries. They had good leaders though, which helped, including Fransecky, and three brigade commanders, leading the Advanced Guard, the Main Body and the Reserve.
 For my part we were fighting this roughly along historical lines, with the wood garrisoned by small units of jägers from Appiano’s brigade of the Austrian 3rd Corps. Once they were engaged the rest of Appiano’s brigade would activate. Then, two brigades from Count Festetnics’ 4th Corps would march to the sound of the guns. Backing them up were 4th Corps’ artillery, and a cavalry unit. That meant that in our game, the Prussians were outnumbered.
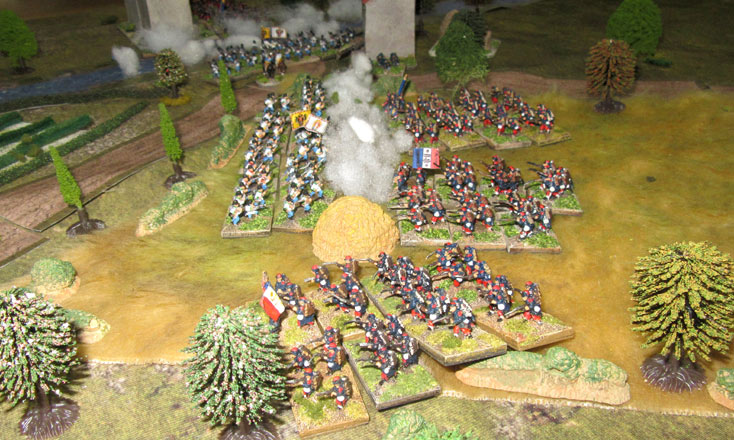
 Each of our Austrian brigades was made up two infantry regiments (each of 12 stands), plus a jäger battalion (4 stands) and an artillery battery. That’s a regiment up above, supported by a jäger battalion. In our ‘Bismarck’s Wars’ version of Brigade F&F, an infantry stand represents 250 men – hence a regiment (three battalions, each of 1,000 men) has 12 stands. The Austrians get a manoeuvre bonus when deployed in assault columns (above).
  From the start though, Sean broke the historic mould. When his Advance Guard moved south from Benatek it headed for the Swiepwald, and drove back the Austrian defenders there. The rest of his division arrived from Turn 4 on, and by that stage the Advanced Guard had reached halfway through the wood, where the forest track divides. The trees in the south-west corner of the wood had been felled, so there was open broken ground over there.
  For my part I sent in the rest of Appiano’s brigade from Cistowes, to support the struggling Austrian defenders in the wood. Then, when the first of my reinforcements arrived – von Brandenstein’s Brigade of 4th Corps, it appeared on the south-eastern corner of the table, and marched towards Maslowed. Surprisingly, Sean sent his Main Body that way too, skirting the wood to the north, to appear in front of Maslowed. So, that broke with history.
  Still, it was pretty threatening. Fortunately for me, my second brigade appeared the next turn, thanks to the dice gods, and so von Fleischhacker’s command bypassed Maslowed, and headed for the south-west corner of the wood, marked by its piles of cut logs. things were hotting up over there, as Appiano’s brigade had pulled back and reformed, amalgamating its battered wood garrison into the rest of the brigade.
  It then advanced again and pinned von Gordon’s (yes, really!) Prussian Advanced Guard where they were in the centre of the wood. My Austrians were suffering badly from the fire of the Prussian needle-guns, but so far they were holding. That bought time for Fleishhacker’s brigade to reach the fight. With that it charged home, supported by Appiano’s men. The Prussians rolled for their closing fire, and managed to halt Fleischhaker – for the moment.
  Over beyond Maslowed the Prussians seemed to stop in the middle of a big empty space, standing in a ploughed field, while my von Brandenstein brigade moved up to face them off. Meanwhile the Austrian guns around Maslowed had turned around and were firing into the Prussian lines, while the village itself was reinforced by a jäger battalion. It turned out that Sean kept rolling badly on the Manoeuvre Table – hence the lack of activity!
  Over in the Swiepwald, my troops recovered from their disorder, and charged in again. This time the Prussian closing fire went poorly, and in the melee that followed the Prussian Advanced Guard were ejected from the northern end of the Swiepwald. Huzzah! It was a heady moment, but it had been costly – I’d lost about a third of my stands from my two brigades there. That’s where we left the game – still with everything to play for when we finish the fight!