The Bridge at Fattibum, 1857
1st July 2016, Comments Off
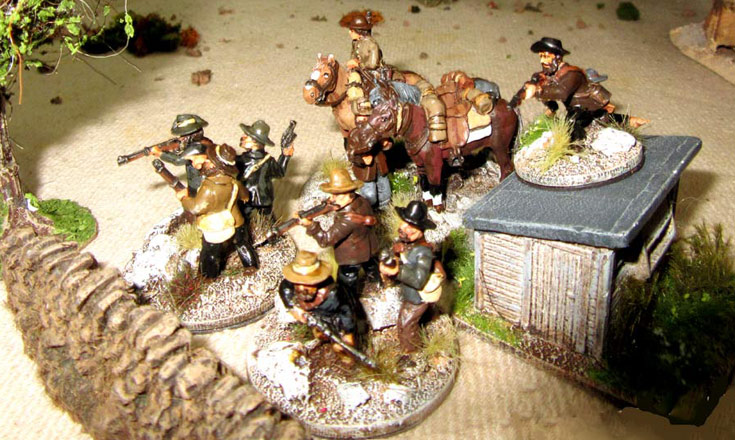
Queen Victoria’s Little Wars, Sharp Practice, 28mm
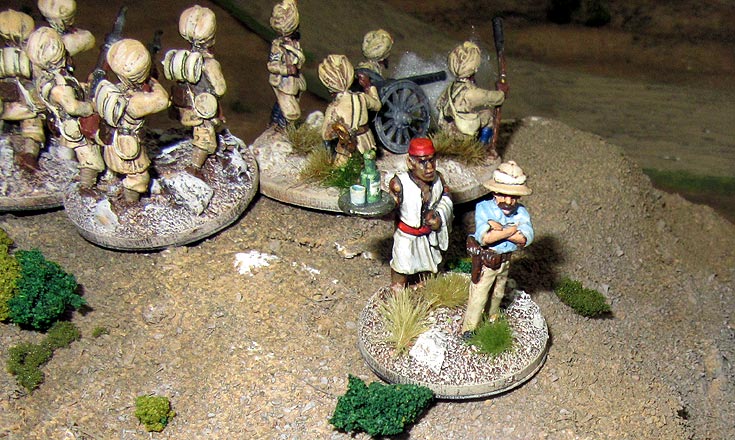
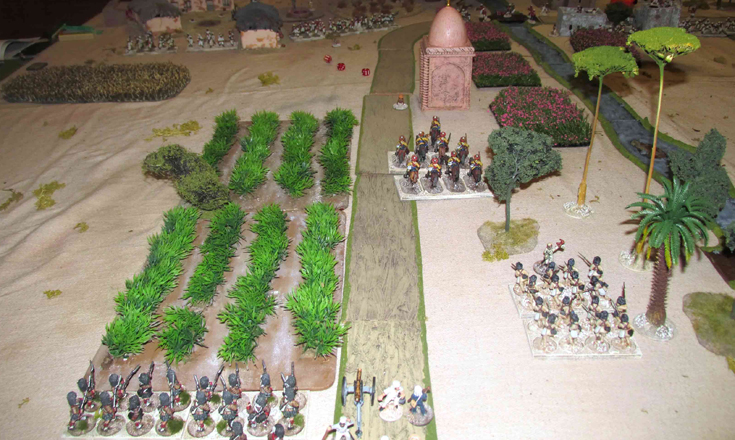
This was little more than an excuse to get all my Indian Mutiny toys out on the table. I was actually going to lay on the figures for two games, fought out on two single 6×4 foot tables, separated by an impassable river. With a certain degree of inevitability it turned into one big game – with all the advantages of spectacle, and the disadvantages of being – well – too big! In the end, two British columns entered the table, charged with capturing an objective. On the left flank was my table, with my troops advancing from a short edge, and near its far end was the bridge at Fattibum. That was the objective – capture the bridge. Unfortunately a detachment of rebellious engineers were rigging it to be destroyed, so the clock was ticking. Effectively, every time the engineer officer’s chit was drawn, he got to roll a die. When it reached 24 the bridge was ready to blow. On the other side of the river the second British column had a much easier objective – the capture of the Khazi’s palace. For obvious reasons it was nicknamed “The Smurf Mahal”, after the little blue cartoon characters. It was defended by the Khazi’s yellow-turbaned matchlockmen, but their mutineer allies weren’t far away – on both tables the Mutineers’ deployment areas were in villages. So, the troops were ready – and the game was all to play for. Let the mayhem begin!
 Actually, not quite. Both sides had to roll for their force morale – one roll for each side. Both sides rolled low, so morale was set at “8”. this goes down when units are routed or destroyed, leaders killed – that kind of thing. That’s a pretty low starting point, so, the plan was to avoid disasters. As the British we should have had the edge though – most of our non-native troops had Enfield rifles, and so outranged their opponents. Then again, we had objectives to take, so couldn’t sit stand around shooting all day…
 The first unit on for the mutineers was their cavalry – deployed on the table with the Smurf Mahal in it. The leading British unit was actually the loyal sepoys, commanded by Sir Harry Flashadder. Inevitably, hey fired a volley at the cavalry, who promptly charged the infantry. The battle could have gone either way – and in fact the British Volunteer Cavalry arrived just in time to swing the balance of the fight. Still, the sepoys had been roughly handled, and while both sides pulled back the morale of both forces suffered, thanks to the retreats. then the players noticed Sir Harry, lying in the dust, trampled and bleeding. As Derek rolled first one “1” and then another for the officer casualty test, poor Sir Harry copped it. That was another three points down on the Morale Chart.
The Highlanders were next, and in a spirited long-range firefight they managed to rout the yellow-turbaned Khazi’s matchlockmen, although they took a few casualties themselves. Then they stopped where they were, engaged in an even longer range duel with the sepoys in the village. As a result the Smurf Mahal remained untaken. Over on my side of the table things got off to a slow start until we learned the umpire had missed out putting my order chits into his bag. With that problem overcome we started rolling forward, supported by the excellent fire from a 6-pounder. Then it started unravelling. My rather stupid plan was to send my unit of Bengal Irregular cavalry forward to the bridge, to deal with the engineers. needless to say, they had to pass close to the village first, and before they even got halfway – just as they were passing the Hindu shrine – they were fired at from a line of sepoys. They caused enough casualties to force the cavalry back, and so it became clear I had to use my infantry to stop the engineers rather than my mounted coup de main. So, the foot pushed forward through the poppy fields lining the river bank, while other troops – my 93rd Highlanders – fired volleys of long-range suppressing fire at the mutineers. That worked well, right up until the engineer officer rolled a “6”, and the bridge was ready. The next tame his card came up it could be blown – so I had to get there first.
 I sent my leading unit of skirmishers forward, but on the far side of the table the 78th Highlanders suffered pretty heavy casualties, and a unit retired. That meant another morale test, and we were down to just “1”. reach “0” and you lose the game. The mutineers were down to “2” themselves, so it was still all to play for. Then, two things happened. First, the sepoy engineer’s card came up, and the bridge was blown sky high. We’d just lost the game on my side of the table. Then, the sepoys fired a pretty effective close-range volley at my skirmishers, and caused three casualties. That forced an officer test for it. Henry Edwards-Banyan (aka “Lt. Two Dads”) – and my officer was wounded. We passed the morale test, and didn’t lose any points, but by then the unit was “pinned”, and we had to test fore that. We rolled badly, and our force morale dropped to that crucial zero – meaning we lost the game!
 Still, despite its size it was a great little bash for a club night, and the tension really racked up during the last few turns, thanks to the force morale. The game was too big, which meant it was slower than I would have liked – but it still moved along quickly enough to get a very firm resolution by the end of a few hours of play. The main thing though, is that we all enjoyed ourselves, and the rules – tested to breaking point – stood firm – firmer than my British troops! The mutiny is a great period, and I’m sure we’ll be returning to Oudh some time soon!