L’Abbaye Blanche, 1944
22nd May 2025, 0 Comments
Second World War, Chain of Command, 28mm
Wow! So good to be back at the keyboard, without actually having to write something for work! Anyway, this was the first of a new Chain of Command (CoC) ‘pint-sized campaign’, played a few weeks ago now between Sean and I. It was set in Normandy, around the time of the Mortain counterattack, and involved the attacking 2nd SS Pz. Div. and the US 30th Inf. Div., who was trying to defend the village of L’Abbaye Blanche. 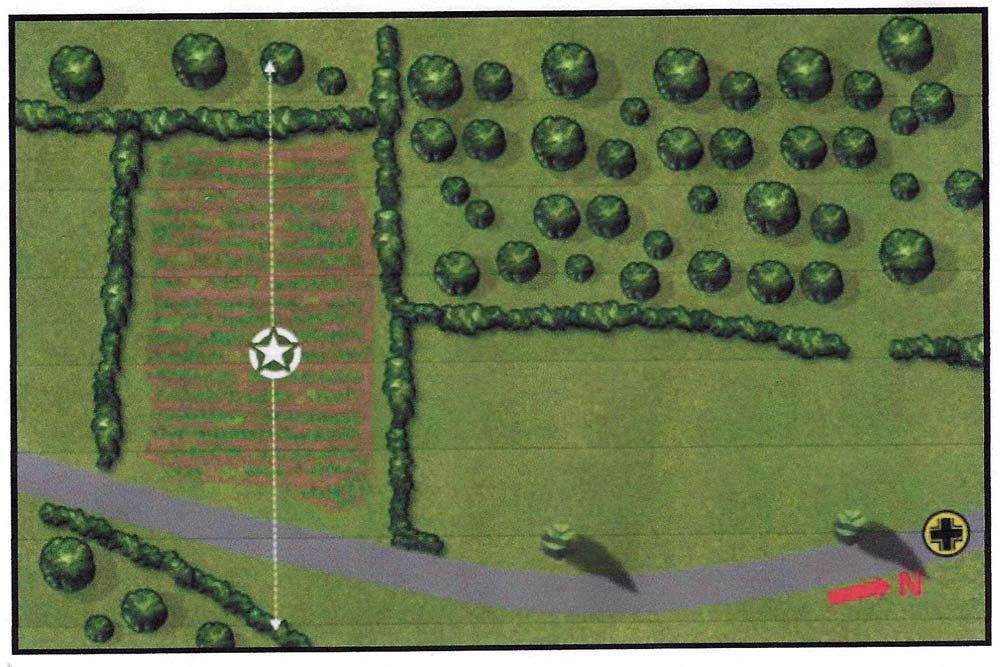 In this one, I took the Americans and Sean commanded the Germans. Like all of these CoC games, it was played out on a 6×4 foot table – completely devoid of buildings. In this ‘Attack & Defend’ scenario, called ‘The Road North’, Sean had a platoon of Panzer Grenadiers, backed up by a Pz.IV and mortars. For my part I had a regular US infantry platoon, with a 57mm AT gun and a mortar observer. For this, Sean had 12 support points, and I had 3.
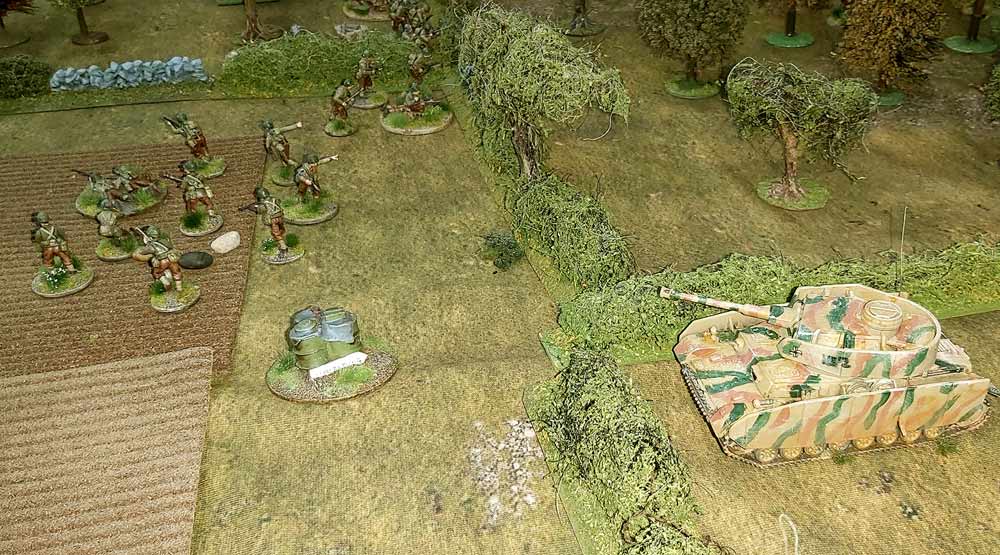
 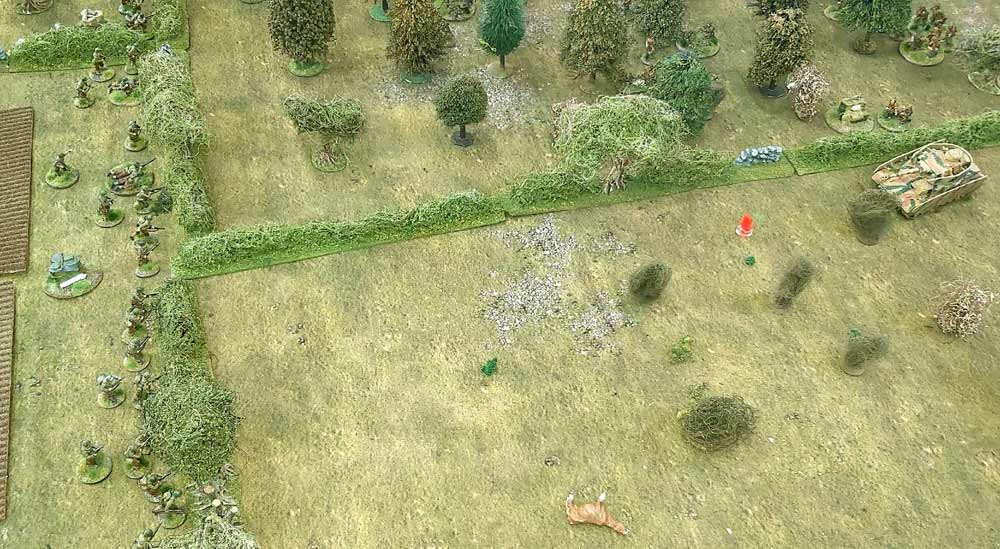 The German objective was to push on down the road leading south, and force the enemy off the table. This effectively meant overwhelming my American defenders. In the Patrol Phase I got to deploy behind the hedge running down the middle of the table, and I stuck my AT gun in the trees at the bottom left (south-east) , covering the road. That turned out to be something of a mistake! The Germans placed their ‘Jump Off’ points in the woods to the west.
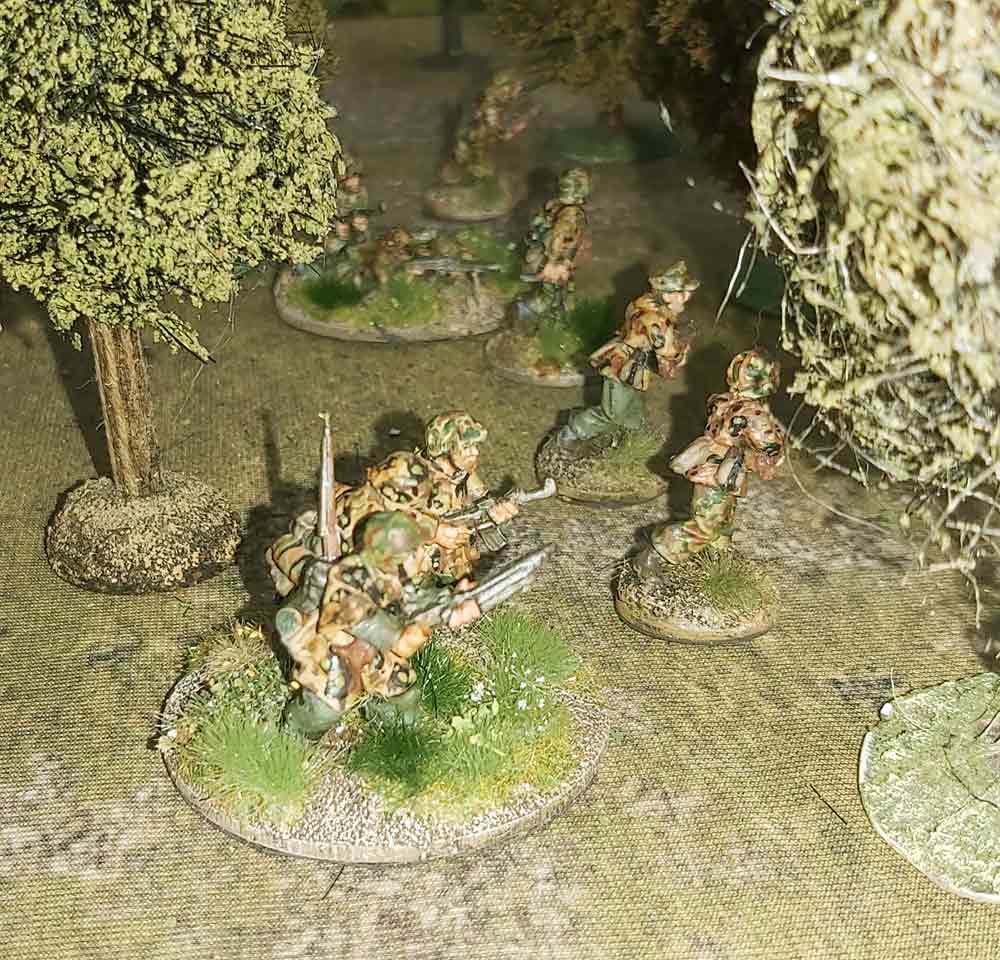 The game began with the German panzer-grenadiers advancing through the woods at the top of the table, heading towards the midpoint hedge. To the west of the ‘big ploughd field’ I had an infantry squad, backed up by a .30 MMG team. When the Germans came within range I let rip, and caused a bit of mayhem. The panzer-grenadiers pulled back to lick their wounds – the got a lot of ‘hits’ and a few men killed’ – and responded by calling up a tank!
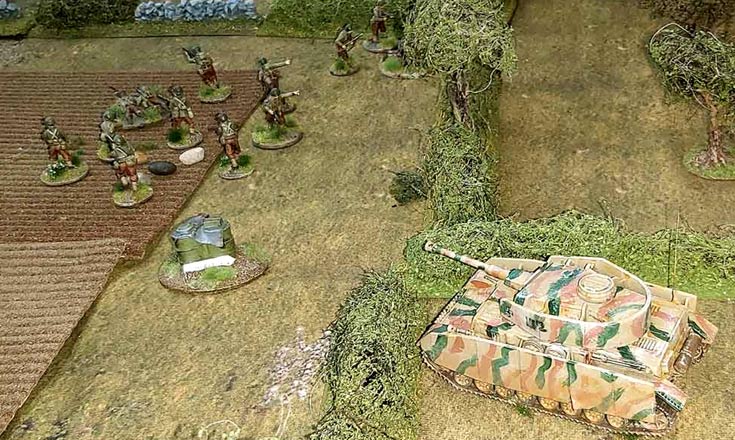
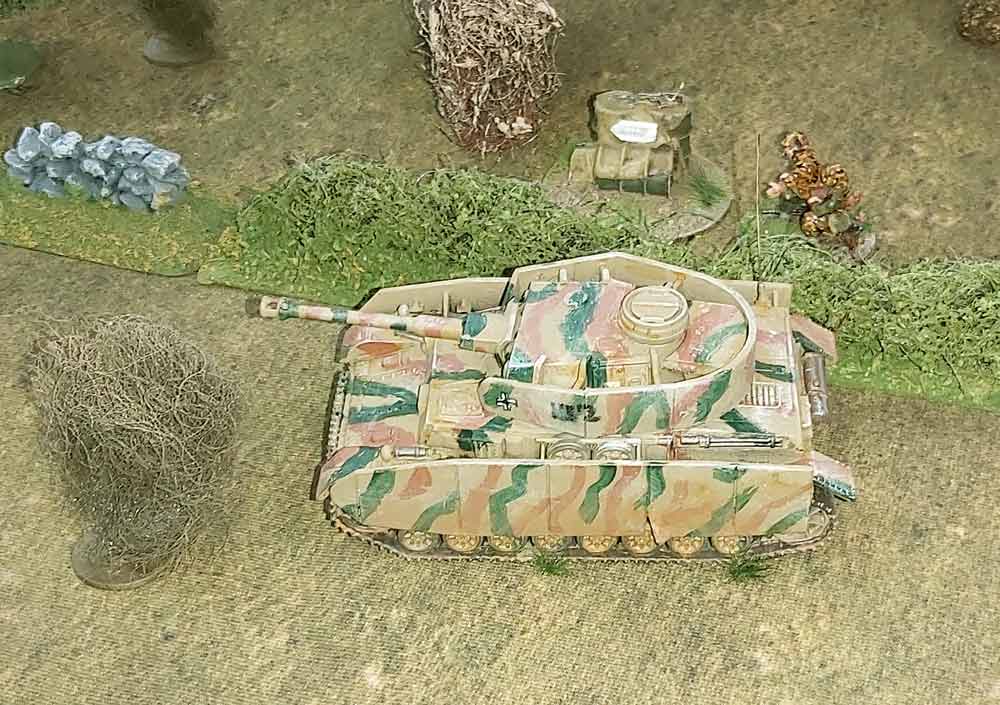 This was something of a bugger. This was especially so as Sean had it skirt the eastern edge of the wood, following the hedge, and so neatly avoiding my waiting AT gun. Damn! My only recourse then, was to call down a mortar barrage, to stop Sean from spraying the midway hedgeline with machine gun fire. The mortar rounds – you can see the ranging shot above – and a German ‘jump off point’ behind the hedge – came in quickly, thank goodness.
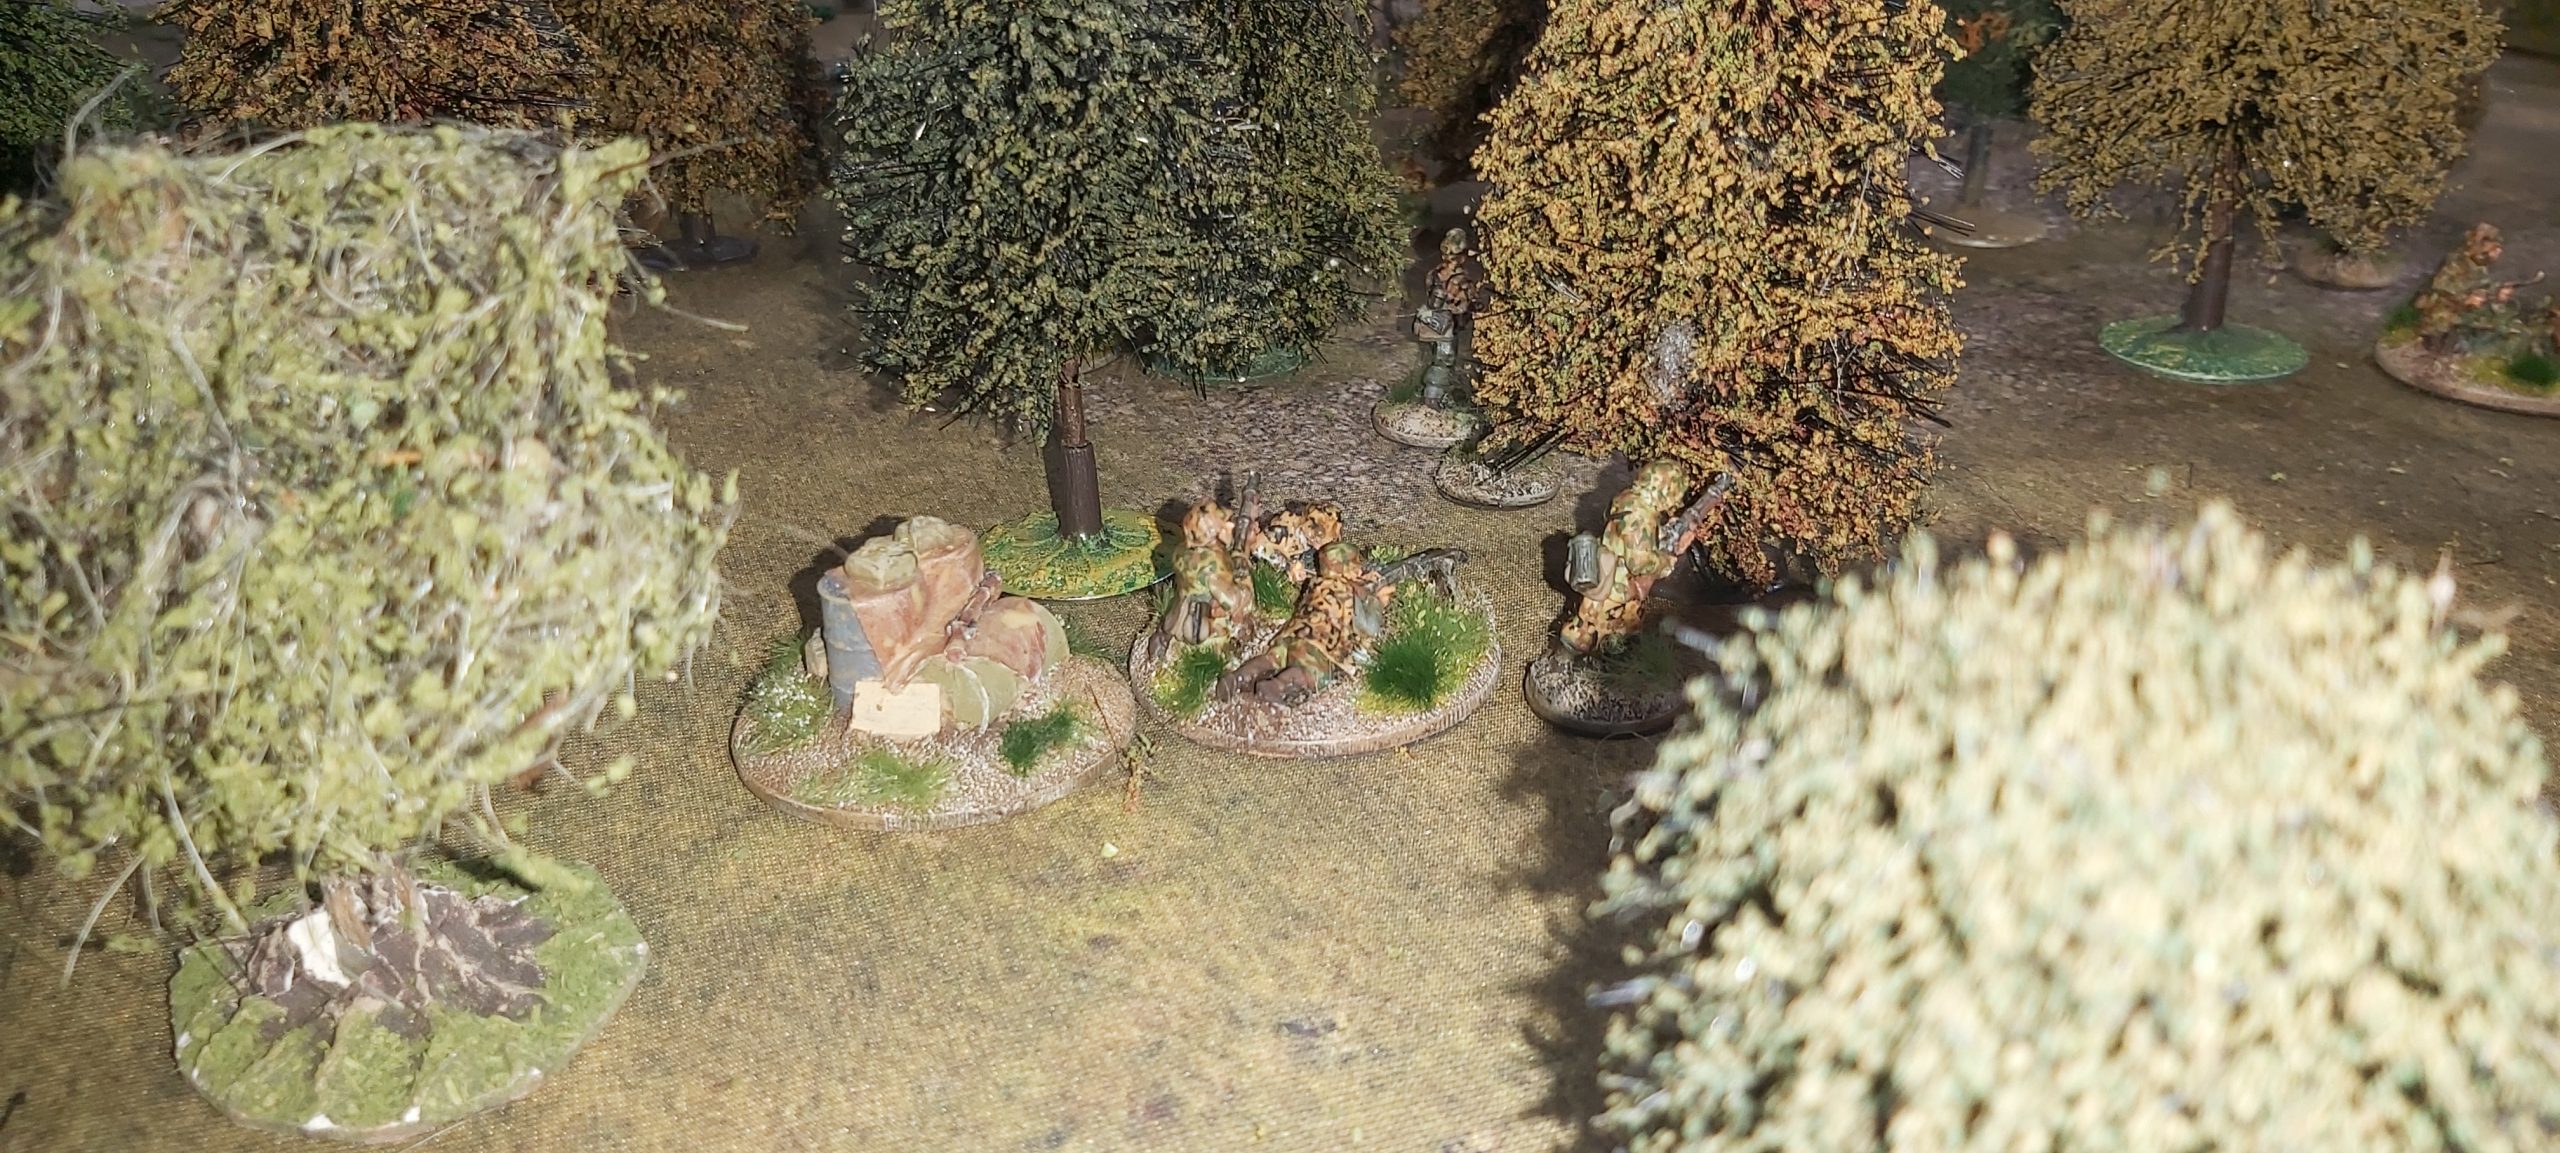 This pretty much stopped the tank – er, in its tracks, and it pulled back to avoid the ‘stonk. Better still, Sean then got a Command Dice roll which included three 6s, so he ended the turn,. and I lost my barrage. Meanwhile Sean’s panzer-grenadiers had more or less recovered from their initial setback, and they began massing for another attack through the woods. Worse still, Sean then began calling down his own mortar barrage.
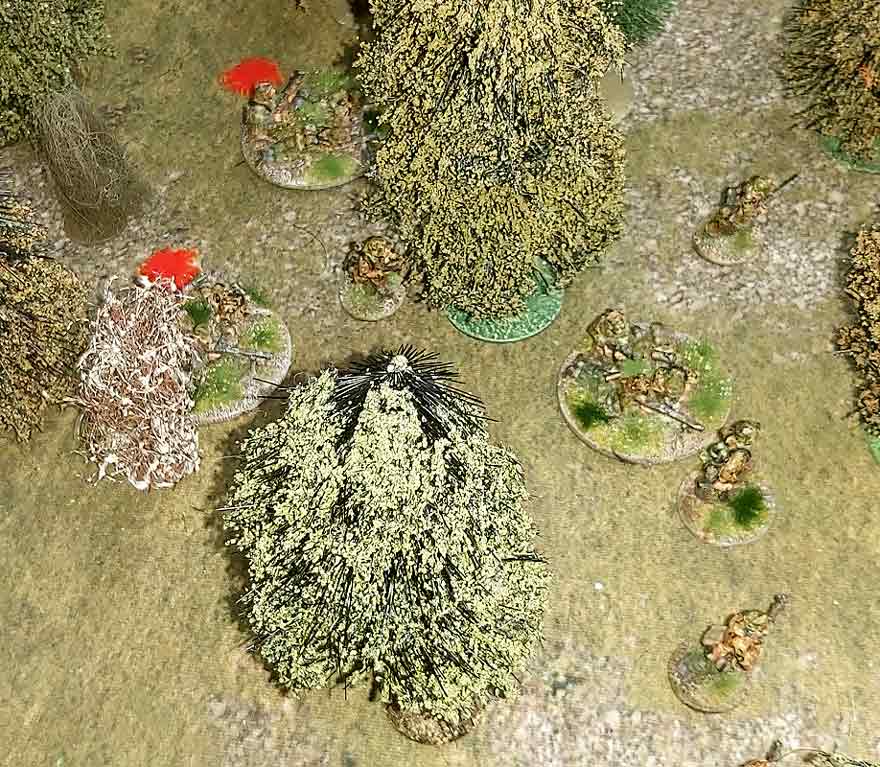 To support the infantry the Panzer IV began trundling forward again, spraying the hedgeline very effectively. I’d nothing to counter it – my AT gun still had no line of sight to the tank – so all I could do was suffer. I had a bazooka team, but I’d held it off the table, and as my Command Dice steadfastly refused to turn up a ‘1’, that’s where it stayed. By this time, while the tank was spraying the hedgeline, the panzer grenadiers were creeping forward again.
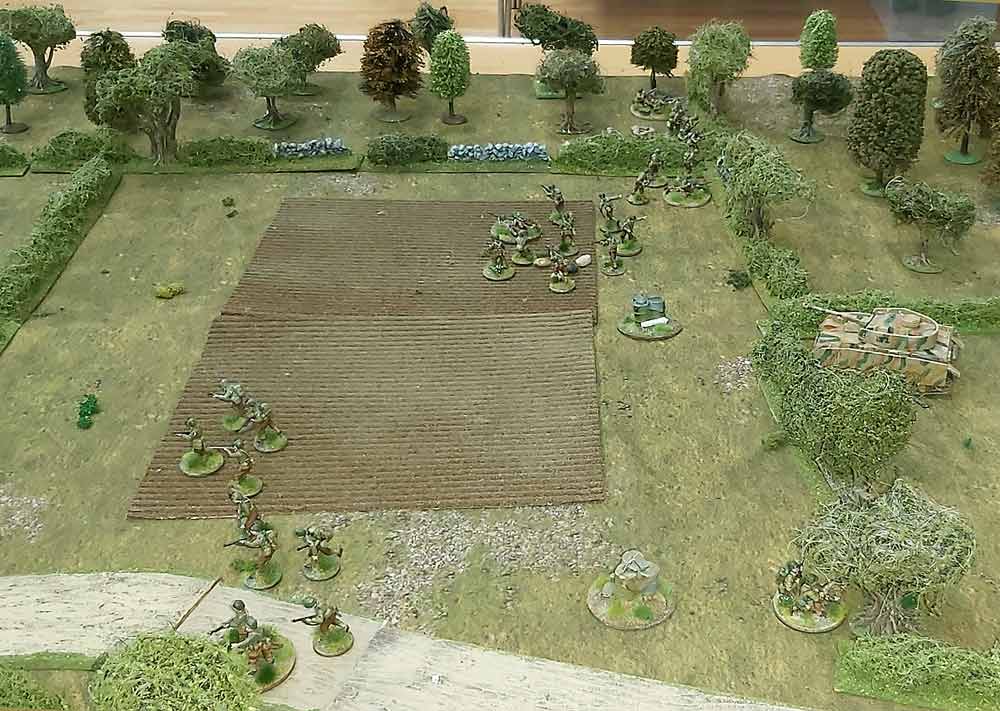 At that point I decided to do the cowardly thing and run away. Actually, it wasn’t entirely voluntary, as I’d lost some infantrymen by now, to the tank’s machine guns, and sticking around didn’t seem a good option, as one squad was forced to withdraw. So, my second squad withdrew too. I had one heading down the road towards the next field, and the other heading towards the hedgeline at the western end of the big ploughed field.
 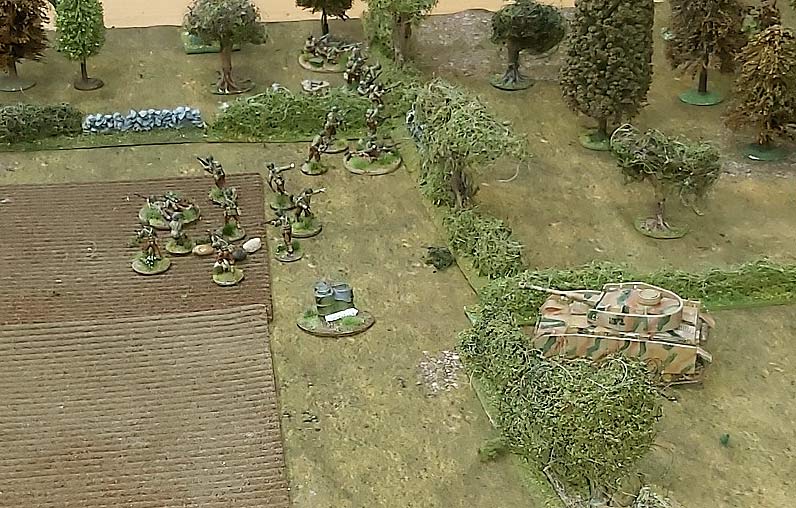 Things were starting to look bad. I didn’t even have the CoC dice to move my exposed ‘jump off point’, which was about to be rolled over by the panzer. The only two bright spots was the tank machine gunner started missing a lot, and after a few tries my mortar observer team managed to get through to the battery again, and so could call up another mortar ‘stonk’. Then, at that pretty grim point in the game, everything turned around.
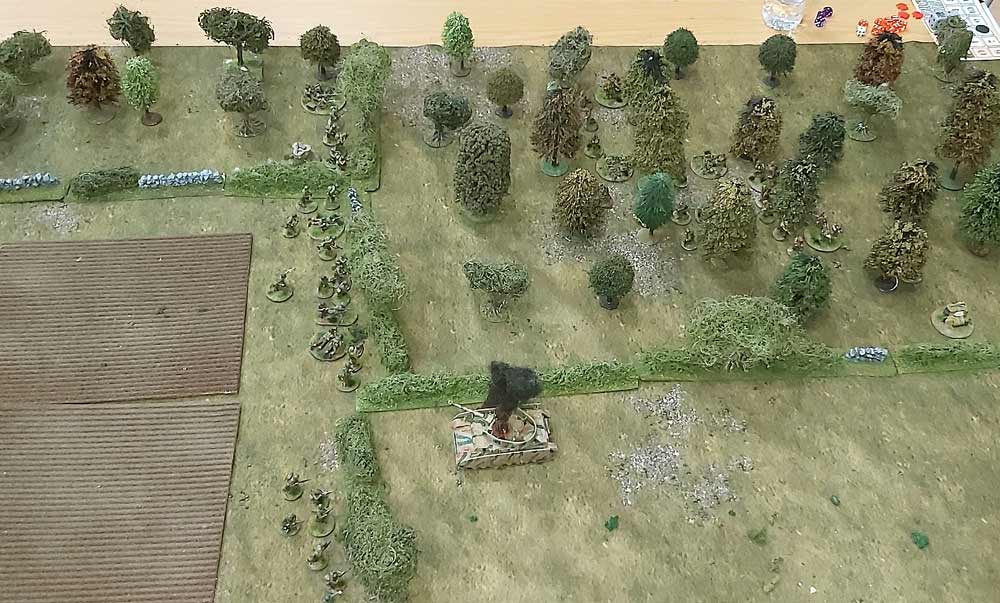 I managed to roll well, and got enough for a CoC dice, and got a double turn as well. At that point I thought ‘sod it’, and turned my infantry around, running back towards the midway hedgeline. the real turning point though, was having the points I needed to deploy my Bazooka team, which was duly whistled up. That’s when not moving my Jump Off Point came in handy. I stuck the bazooka team behind the midway hedgeline, took a deep breath and rolled.
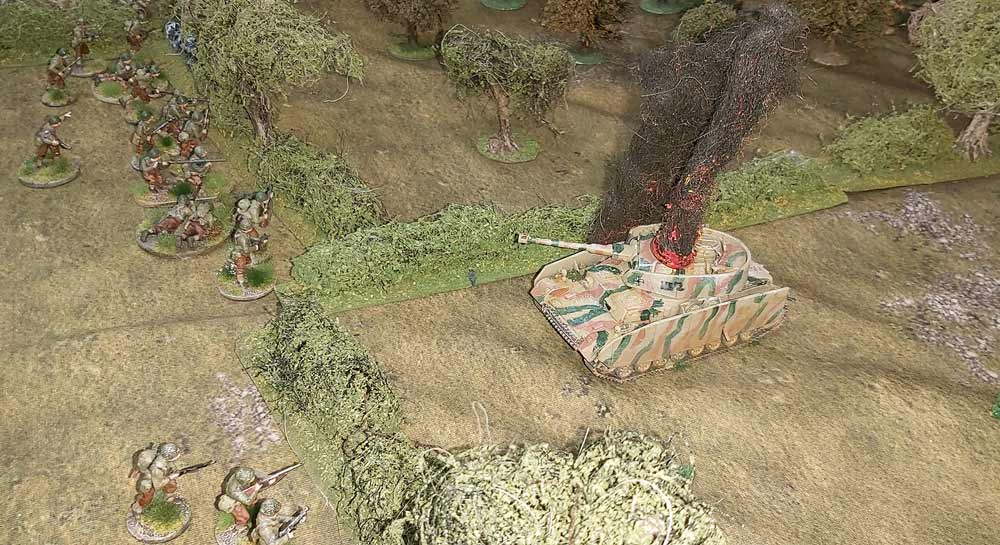 Kaboom! The Panzer IV, just a few yards away from the bazooka team, and presenting its side to them, was hit squarely by the bazooka projectile, which racked up an impressive six out of seven hit points. The tankers’ saving throw was a measly three out of six, and so the Americans scored three net hits. the tank exploded in a fireball, and every little plastic American on the table breathed a huge sigh of relief!
 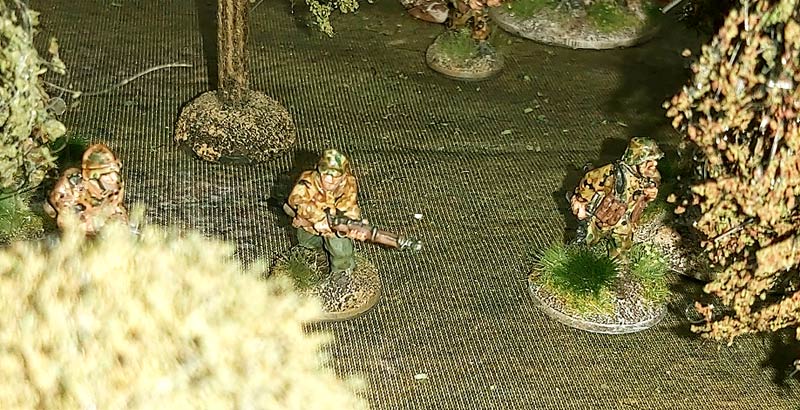 Sean though, wasn’t quite finished. His panzer grenadiers had called up their mortars, and these began landing along my defended midway hedgeline. Under cover of them, the German grenadiers edged forward, in a perfect set-piece attack. However, I had a CoC dice up the spout, and I duly ended the turn. That left the Germans exposed again, and although it had taken a couple of hits, my machine gun team opened up again, to deadly effect.
 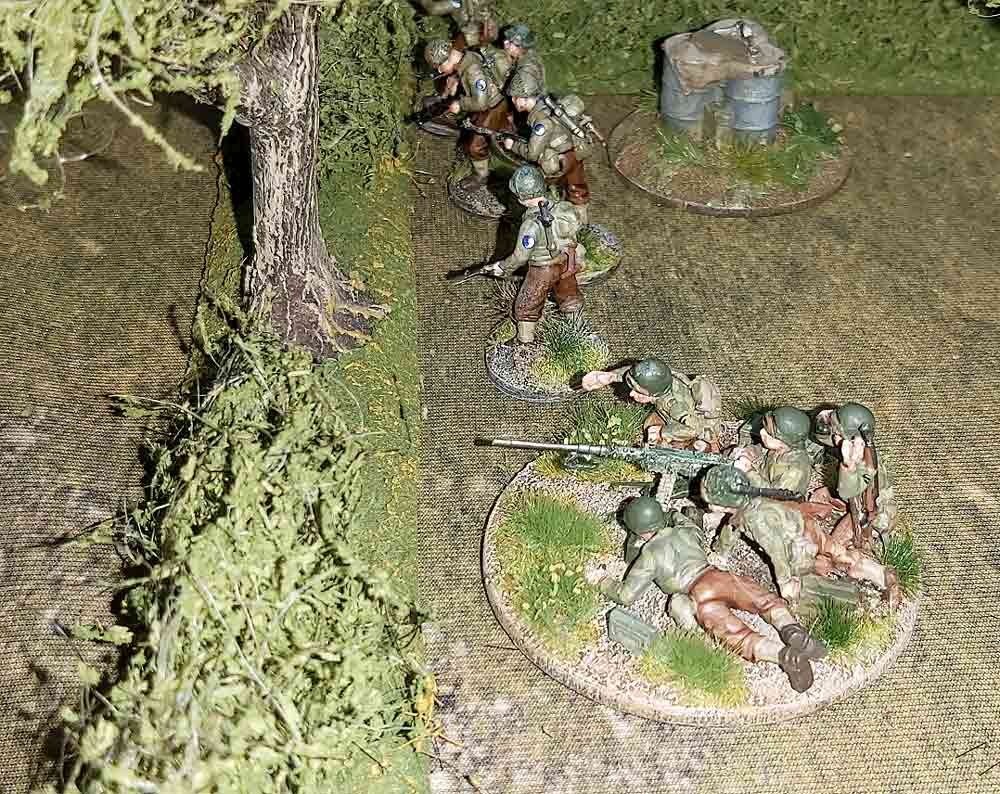 Not so impressive was the fire from the supporting slightly battered squad of GIs, who only racked up a pair of hits between them. Still, it was enough, this wiped out a German MG42 LMG team, and a squad leader. The panzer grenadiers withdrew again, and vanished into the trees. Amazingly, the line had held. At that point Sean conceded. We’ll be running the scenario again, and this time he’ll have more points, and I probably won’t be so lucky!